8
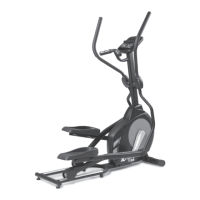
FS3.0 Elliptical
#29. 1/2” x 70mm
Carriage Bolt (2 pcs)
#30. 1/2”
Nyloc Nut (2 pcs)
#44. 5/16” Flat
Washer (2 pcs)
#46. 5/16”
Split Washer (2 pcs)
#52. 5 x 12mm
Sheet Metal Screw
(2 pcs)
#53. M5 x 12mm
Phillips Head
Screw (2 pcs)
#98. 5/16” x 1”
Button Head Socket
Bolt (2 pcs)
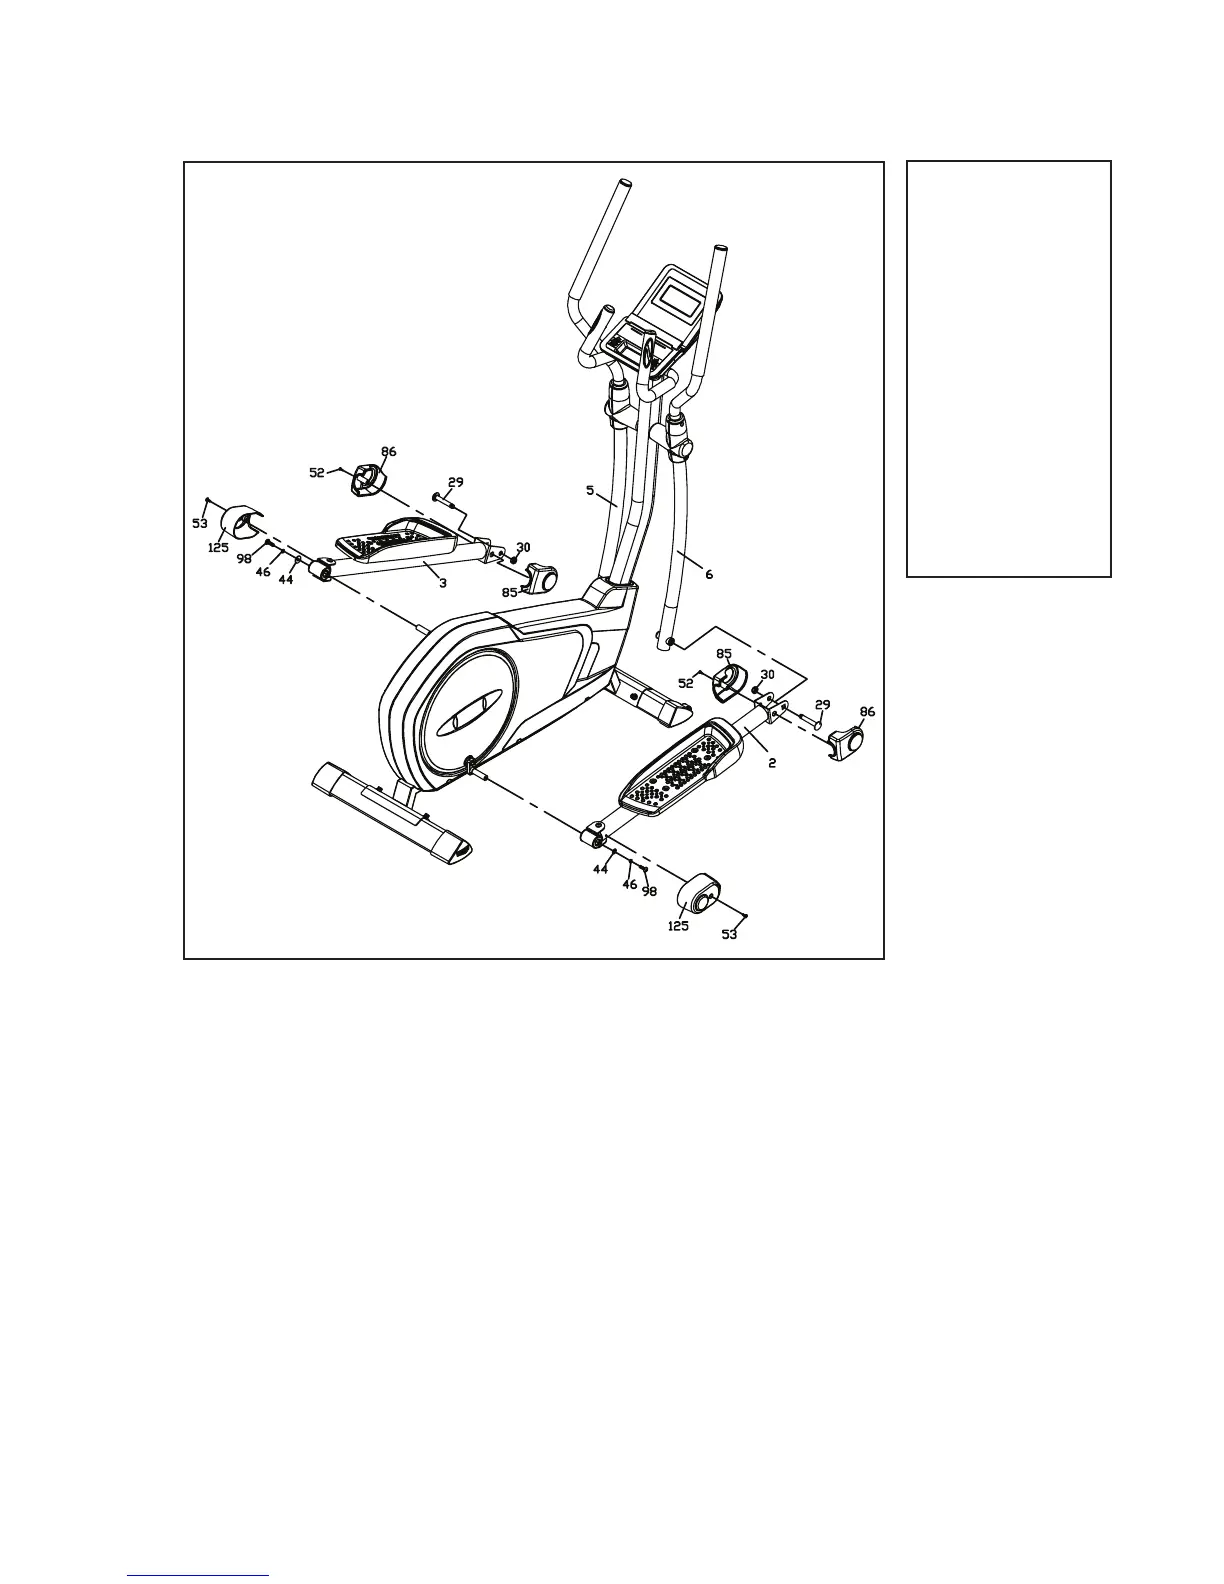
Pedal Arms Assemblies
4
Hardware Step 4
1. Locate the Right side Pedal Arm Assembly (2) and install onto the
pedal axles’ large rotating wheel at the rear of the elliptical. Attach with
one Button Head Socket Bolt (98), one Split Washer (46) and one Flat
Washer (44). Use the M5 Allen Wrench (68) to tighten.
2. Locate the Carriage Bolt (29) and slide it through the bracket at the front
of the Pedal Arm Assembly (2) and Lower swing arm (6). Fasten a Nyloc
Nut (30) to the carriage bolt (29) with the 19mm Wrench (69).
3. Attach the Pedal Arm Covers (85, 86) onto the Pedal Arm Assembly (2)
with one Sheet Metal Screw (52). Tighten using the Phillips Head Screw
Driver (68).
4. Attach Rear Cover (125) onto the Pedal Arm Assembly (2) with one Phil-
lips Head Screw (53). Tighten with Phillips Head Screw Driver (68).
5. Repeat the steps above for the left side pedal arm assembly.

 Loading...