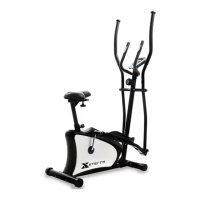
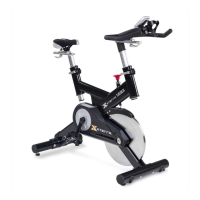
SB4.5r Fitness Bike
7
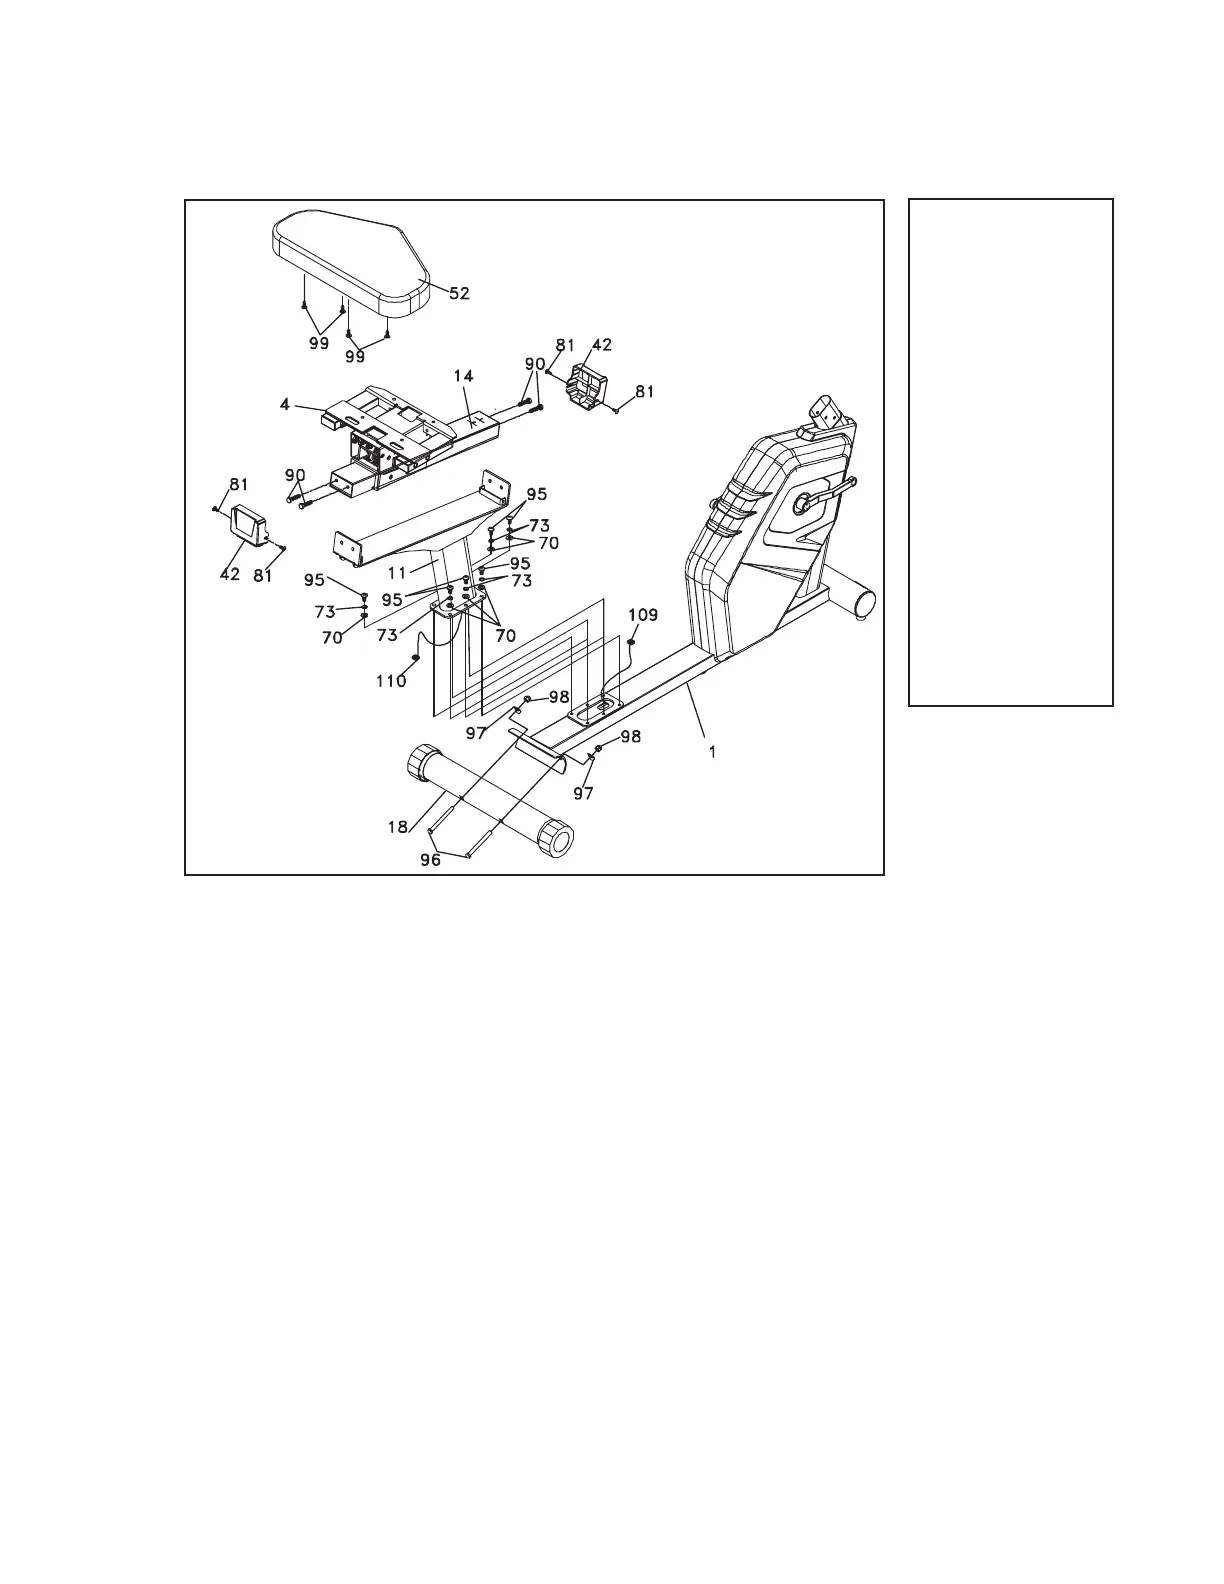
1. Install the Rear Stabilizer Tube (18) and secure with two Carriage Bolts
(96), Curved Washers (97) and Cap Nuts (98).
2. Sitting next to the unit with the Seat Post (11) in your lap, connect the
two wires together (109 & 110). Secure the Seat Post to the Main Frame
be careful to not pinch the wires with the six Button Head Socket Bolts
(95), Split Washers (73) and Flat Washers (70).
3. Lay the Seat Cushion (52) on the oor, cushion side down, and then lay
the Seat Carriage Assembly (4 & 14) on top of the Seat Cushion. Align
the holes and secure the Seat Cushion with four Phillips Head Screws
(99). Make sure Seat Cushion is facing the right direction.
4. Secure the Seat Carriage Assembly (4 & 14) to the Seat Post with four
Hex Head Bolts (90). Make sure these bolts are very tight. Assemble
the plastic end caps (42) to the Seat Carriage with four Phillips Head
Screws (81).
SB4.5r Assembly Instructions
Hardware Step 1
Seat Assembly & Rear Stabilizer
1
#70. 5/16” x 18mm
Flat Washer (6 pcs)
#73. 5/16”
Split Washer (6 pcs)
#81. M5 x 12mm
Phillips Head Screw
(4 pcs)
#90. 5/16” x 1-1/4”
Hex Head Bolt (4 pcs)
#95. 5/16” x 3/4” Button
Head Socket Bolt
(6 pcs)
#96. 3/8” x 3-1/2”
Carriage Bolt (2 pcs)
#97. 3/8” x 23mm
Curved Washer (2 pcs)
#98. 3/8”
Cap Nut (2 pcs)
#99. M6 x 15mm
Phillips Head Screw
(4 pcs)
 Loading...