EasyManua.ls Logo

Xylem CentriPro Aquavar SOLO - User Manual

Xylem CentriPro Aquavar SOLO
48 pages
Print Icon
To Next Page IconTo Next Page
Loading...
AQUAVAR SOLO
SUBMERSIBLE PUMP CONTROLLER
INSTALLATION, OPERATION AND TROUBLESHOOTING MANUAL
INSTRUCTION MANUAL
IM229R06

Table of Contents

Questions and Answers

  • D
    dianaphillipsAug 14, 2025
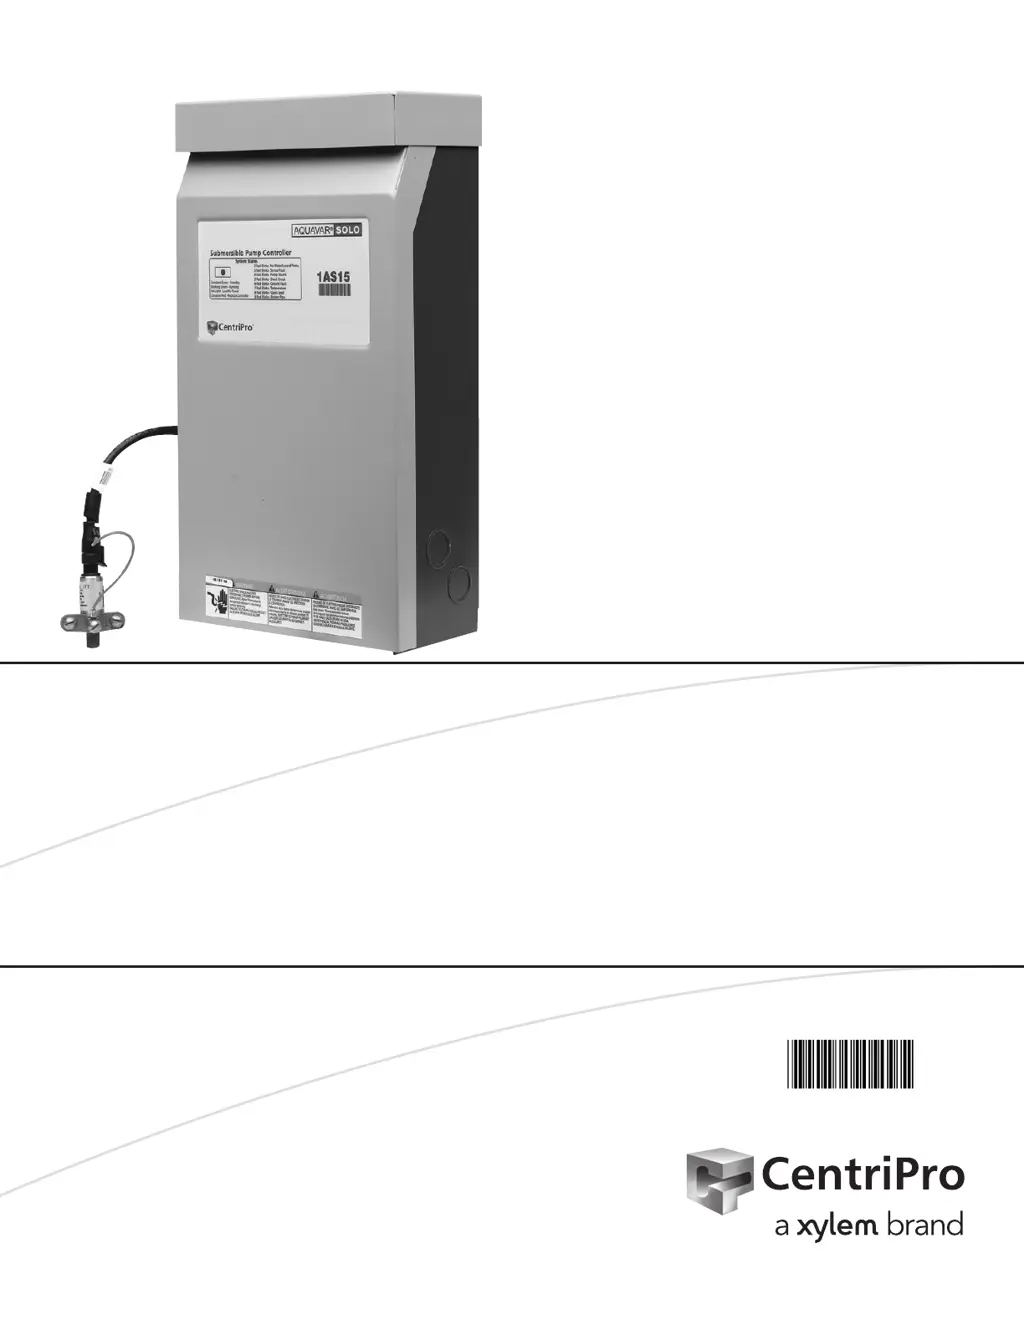
    What to do if Xylem Controller shows 4 blinks?
    • A
      Annette ReyesAug 14, 2025
      If the Xylem Controller shows 4 blinks, it could be due to several reasons: * The wrong motor is installed (wrong voltage or phase). Replace it with the correct motor. * There's mechanical binding from debris in the pump. Remove the debris. * There's an electrical or mechanical failure of the motor. Check and repair the motor. * The 'MOTOR OVERLOAD SETTING (SFA)' switch is incorrectly set. Adjust the switch to a suitable setting. * The pump wire insulation is breaking down. Check the insulation with a megger.
  • M
    Maureen DavisAug 20, 2025
    Why is my Xylem Controller showing a constant red light?
    • S
      Shawn RobinsonAug 21, 2025
      A constant red light on the Xylem Controller indicates an internal controller fault. To clear the fault, turn off the power to the controller, wait one minute, and then turn the power back on. If the fault persists, the controller needs to be replaced.
  • A
    Alexis RobertsAug 25, 2025
    How to fix Xylem CentriPro Aquavar SOLO blinking 7 times?
    • J
      Joshua RamirezAug 25, 2025
      If the Xylem Controller is blinking 7 times, this could be due to: * High ambient temperature. Ensure the ambient temperature is below 122º F (50º C). * Low ambient temperature. Ensure the ambient temperature is above 14º F (-10º C). * Fan failure. Check fan connections and replace as needed. * Blocked or clogged external fan intake filter. Clean or replace the fan intake filter.
  • A
    Allison JacksonAug 27, 2025
    What does it mean when the Xylem CentriPro Aquavar SOLO blinks 6 times?
    • S
      Sharon SmithAug 27, 2025
      If the Xylem Controller is blinking 6 times, it indicates: * An electrical failure of the motor. Check and repair the motor. * An electrical failure of wiring between the controller and motor. Check wiring and repair as necessary. * Miswiring of the motor cable. Verify the wiring is correctly installed.
  • V
    Virginia BellAug 30, 2025
    What to do if Xylem Controller blinks 5 times?
    • D
      David MooreAug 30, 2025
      If the Xylem Controller is blinking 5 times, it may be caused by: * Electrical failure of the motor. Check the motor and replace if necessary. * Electrical failure of wiring between the controller and motor. Verify and repair the wiring.
  • C
    Caleb GlennSep 3, 2025
    Why is there no light on my Xylem Controller?
    • B
      Brett RandallSep 3, 2025
      If there is no light on your Xylem Controller, the possible causes are: * Low or no input voltage. Check the input voltage to the controller. Measure the voltage between L1 and L2 using an AC Voltmeter. This voltage should be between 196 and 265 VAC. * Leaving a jumper in the programming position. Remove the jumper covering the two right-most pins just above the DIP switches.
  • J
    Jennifer FloresSep 6, 2025
    What does it mean when my Xylem CentriPro Aquavar SOLO is blinking 8 times?
    • E
      Emily ReedSep 6, 2025
      If your Xylem Controller is blinking 8 times, it indicates a disconnected or broken wire between the controller and motor. Check the wiring and repair or replace it as necessary.
  • A
    amber08Sep 9, 2025
    What to do if Xylem CentriPro Aquavar SOLO blinks 9 times?
    • C
      Cheyenne SanchezSep 9, 2025
      If the Xylem Controller blinks 9 times, it means the pressure is 20 PSI below the set point for 30 seconds. Investigate for a broken pipe or a tripped pressure relief valve.
  • J
    Jacob ChapmanNov 16, 2025
    What does it mean if the Xylem Controller is blinking 3 times?
    • K
      Katherine TuckerNov 16, 2025
      If the Xylem Controller is blinking 3 times, it could be due to: * A disconnected sensor. Disconnect and reconnect the sensor from the sensor cable connector to ensure a good connection. * A disconnected sensor cable lead inside the controller. Check for loose wires where the sensor cable connects to the circuit board by tugging on each wire. * A broken wire in the sensor cable. Replace the broken wire. * A miswired sensor cable. Check that the wires are connected to the correct terminals on the sensor connector. * A failed sensor. Measure the DC voltage between the black and white wires of the sensor cable at the sensor connector. The voltage measured should be between 0.5Vdc and 4.5Vdc depending on the system pressure. * A vacuum on the sensor (transducer) of 17" Hg or more....

Summary

Safety Instructions

Ratings

Information regarding product ratings and specifications.

Required Materials

List of materials necessary for installation.

Typical Installation

Opening Controller Cover

Steps for accessing the controller enclosure.

Mounting Controller

Instructions for securely mounting the controller unit.

Pump and Piping

Guidance on installing pump and piping systems.

Tank Sizing and Pressure Setting

Recommendations for tank size and pressure settings.

Splicing Drop Cable to Motor Leads

Procedure for waterproof splicing of motor drop cables.

Wiring Pressure Transducer

Instructions for connecting the pressure transducer wiring.

Input Power

Connecting the unit to the main power supply.

Input Power and Motor Lead Connections

Detailed connections for power and motor leads.

Wire Sizing and Voltage Drop

Guidelines for selecting wire size and managing voltage drop.

Controller, Breaker, Generator Sizing

Selecting appropriate controllers, breakers, and generators.

Service Factor Amps

Information on motor service factor amps.

Installer Pre-Start Selections

Drive Settings and Protection

Configuration of drive settings and motor protection.

Motor Overload Setting Dial

Adjusting the motor overload setting dial.

Purge the System of Air

Procedure for purging air from the system.

Controller Status Indicator

Understanding the controller status indicator light.

Pressure Adjustment

Adjusting system pressure beyond the default setting.

Switch Input Options

Optional Switch Input and Status Light

Using optional switches and their status indicators.

Constant Pressure System with Over-Pressure Switch

Setup for constant pressure systems with over-pressure switches.

Float Switch Operation for Filling

Operating with float switches for filling ponds or tanks.

Insulation and Winding Resistance Tests

Insulation Resistance

Measuring insulation resistance of the motor.

Motor Winding Resistance Checkout

Checking motor winding resistance.

Cable Resistance - Copper

Table for copper cable resistance values.

Advanced Settings;Options

When to Use Advanced Settings

Situations requiring advanced settings adjustments.

How Settings Are Changed

Procedure for changing advanced settings.

Resetting Factory Defaults

Restoring controller settings to factory defaults.

Dry Well Trigger Conditions

Setting conditions for dry well fault detection.

Dry Well Power Calibration

Calibrating the controller for dry well detection.

Manual Reset of Dry Well Fault

Dry Well Restart Time

Pressure Variation for Flow Detection

Troubleshooting

Troubleshooting Error Codes

Understanding system error codes indicated by the status light.

No Light Fault

Troubleshooting when no light is visible on the controller.

Green Light Codes

Interpreting green light status indicators.

Controller Error Fault

Addressing internal controller errors.

Dry Well Fault

Troubleshooting dry well faults.

Sensor Fault

Over Current Fault

Short Circuit Fault

Ground Fault

Temperature Fault

Open Lead Fault

Low Pressure Cut-Off Fault

CentriPro Limited Warranty

Xylem CentriPro Aquavar SOLO Specifications

General IconGeneral
Control MethodVariable Frequency Drive (VFD)
EnclosureNEMA 3R
Output Voltage200-480V AC
CommunicationModbus RTU
DisplayLCD
Operating Temperature-10°C to 40°C (14°F to 104°F)

Related product manuals