Figure 29. Calibration Title Screen
Press the Enter Key (*) to enter the Calibration Menu and the system will display the first submenu in the
Calibration Menu, the Load Weight Display submenu, which is shown in Figure 30. Press the Enter Key
again if you want to enter this submenu. If you want a different submenu, use the Scroll Back Key or Scroll
Forward Key to move to another submenu and press the Enter Key.
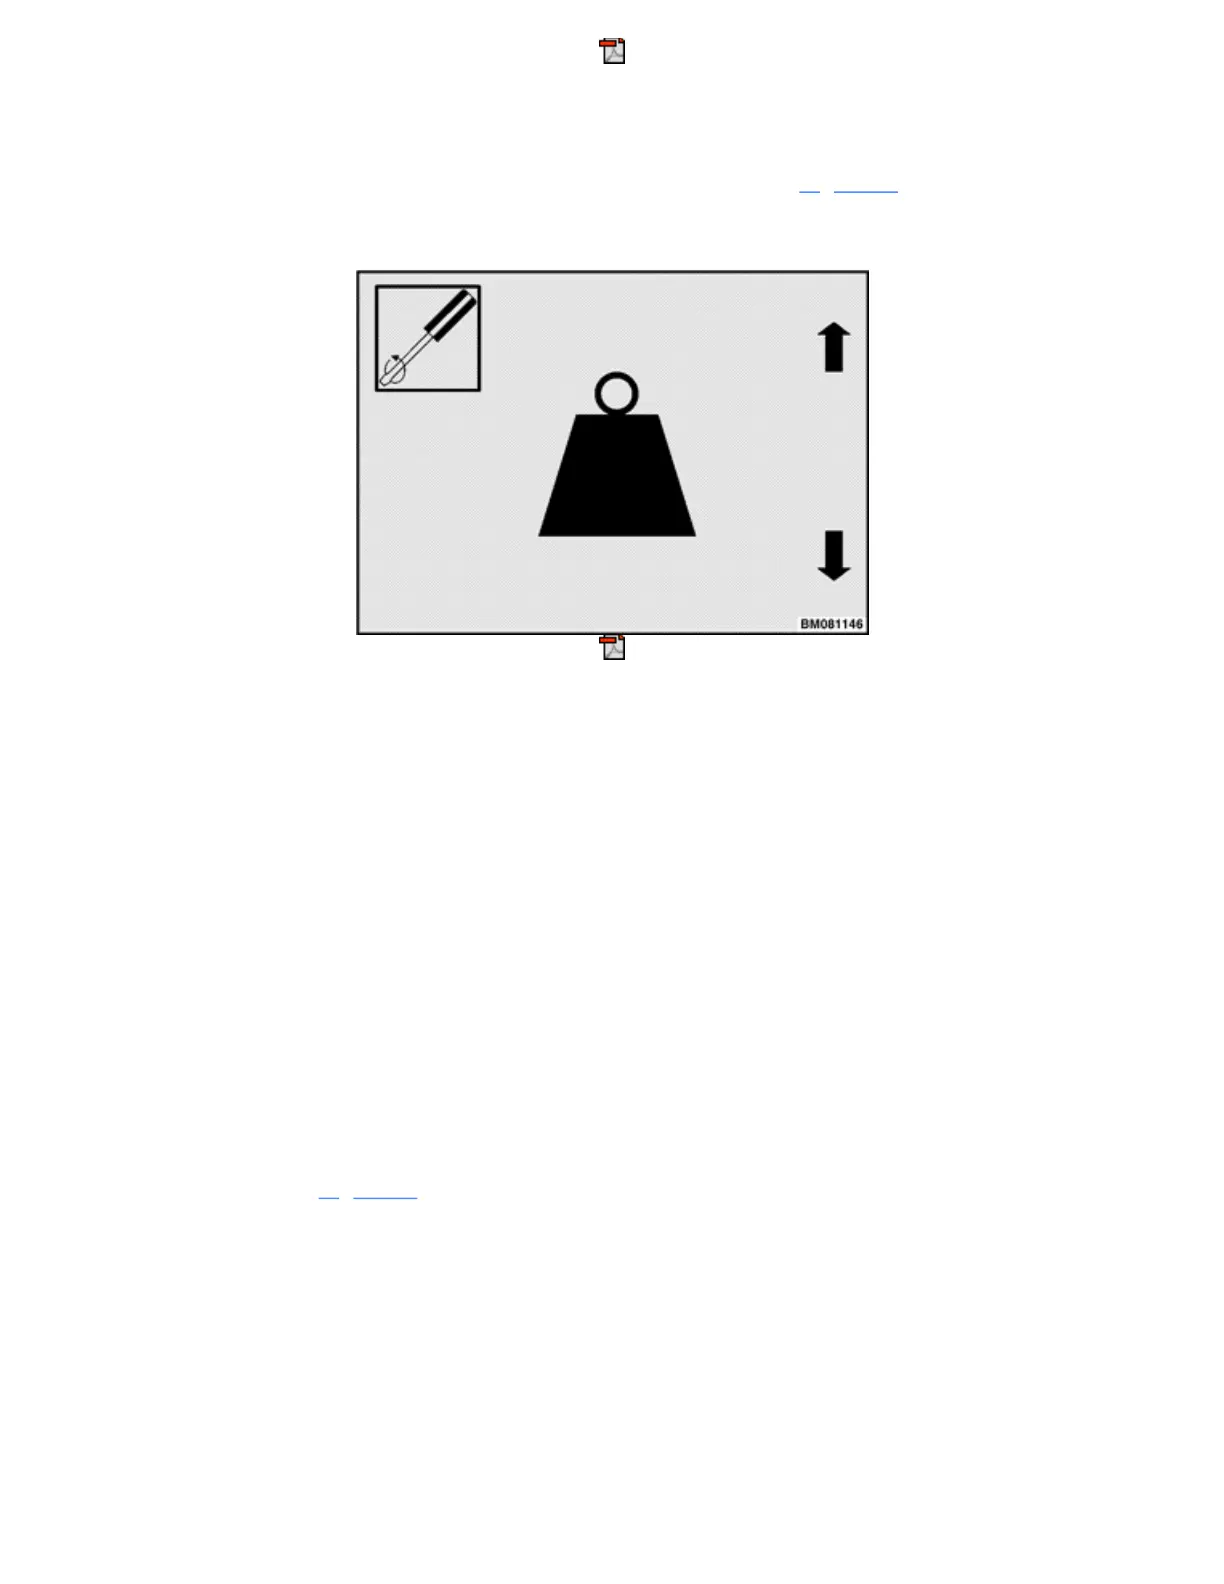
Figure 30. Load Weight Display Submenu
The Calibration Menu presents these submenus:
•
Load Weight Display
•
Return to Set Tilt Stop Point
•
E-Hydraulic Valves
•
Steering Wheel Center Point
•
Steer Axle Position
•
Steer Axle Center Point
•
Manual Hydraulics
The following sections describe the Calibration submenus.
LOAD WEIGHT CALIBRATION
NOTE: This measurement is not for trade.
This menu item, shown in Figure 30, allows a Service Technician, Supervisor, or Operator to calibrate Load
Weight. To calibrate Load Weight, select this submenu from the Calibration Menu and follow the prompts on
the display.
NOTE: When the user is logged in under an operator level password or default password, only the
tare weight default zero point calibration is available.
To calibrate the Load Weight Display:
1
Starting from the Calibration Menu, scroll to the Load Weight Display screen and press the Enter Key.
2
When prompted, position the empty forks at the load weight height, which is site dependent.
3
Press the Enter Key.