Style Creator
126 Reference
Style Creator
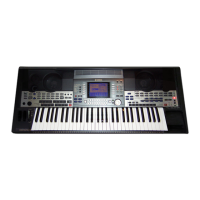
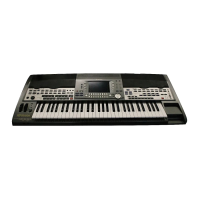
The 9000Pro lets you create original styles which can be used for auto accompaniment in the same way
as the preset styles.
When creating a song (page 110), you record your keyboard performance to the
9000Pro as MIDI data. Creating of styles, however, is done in a different way.
The Style Creator provides two basic ways: assembling and recording.
■ Assembling styles ....... Page 129
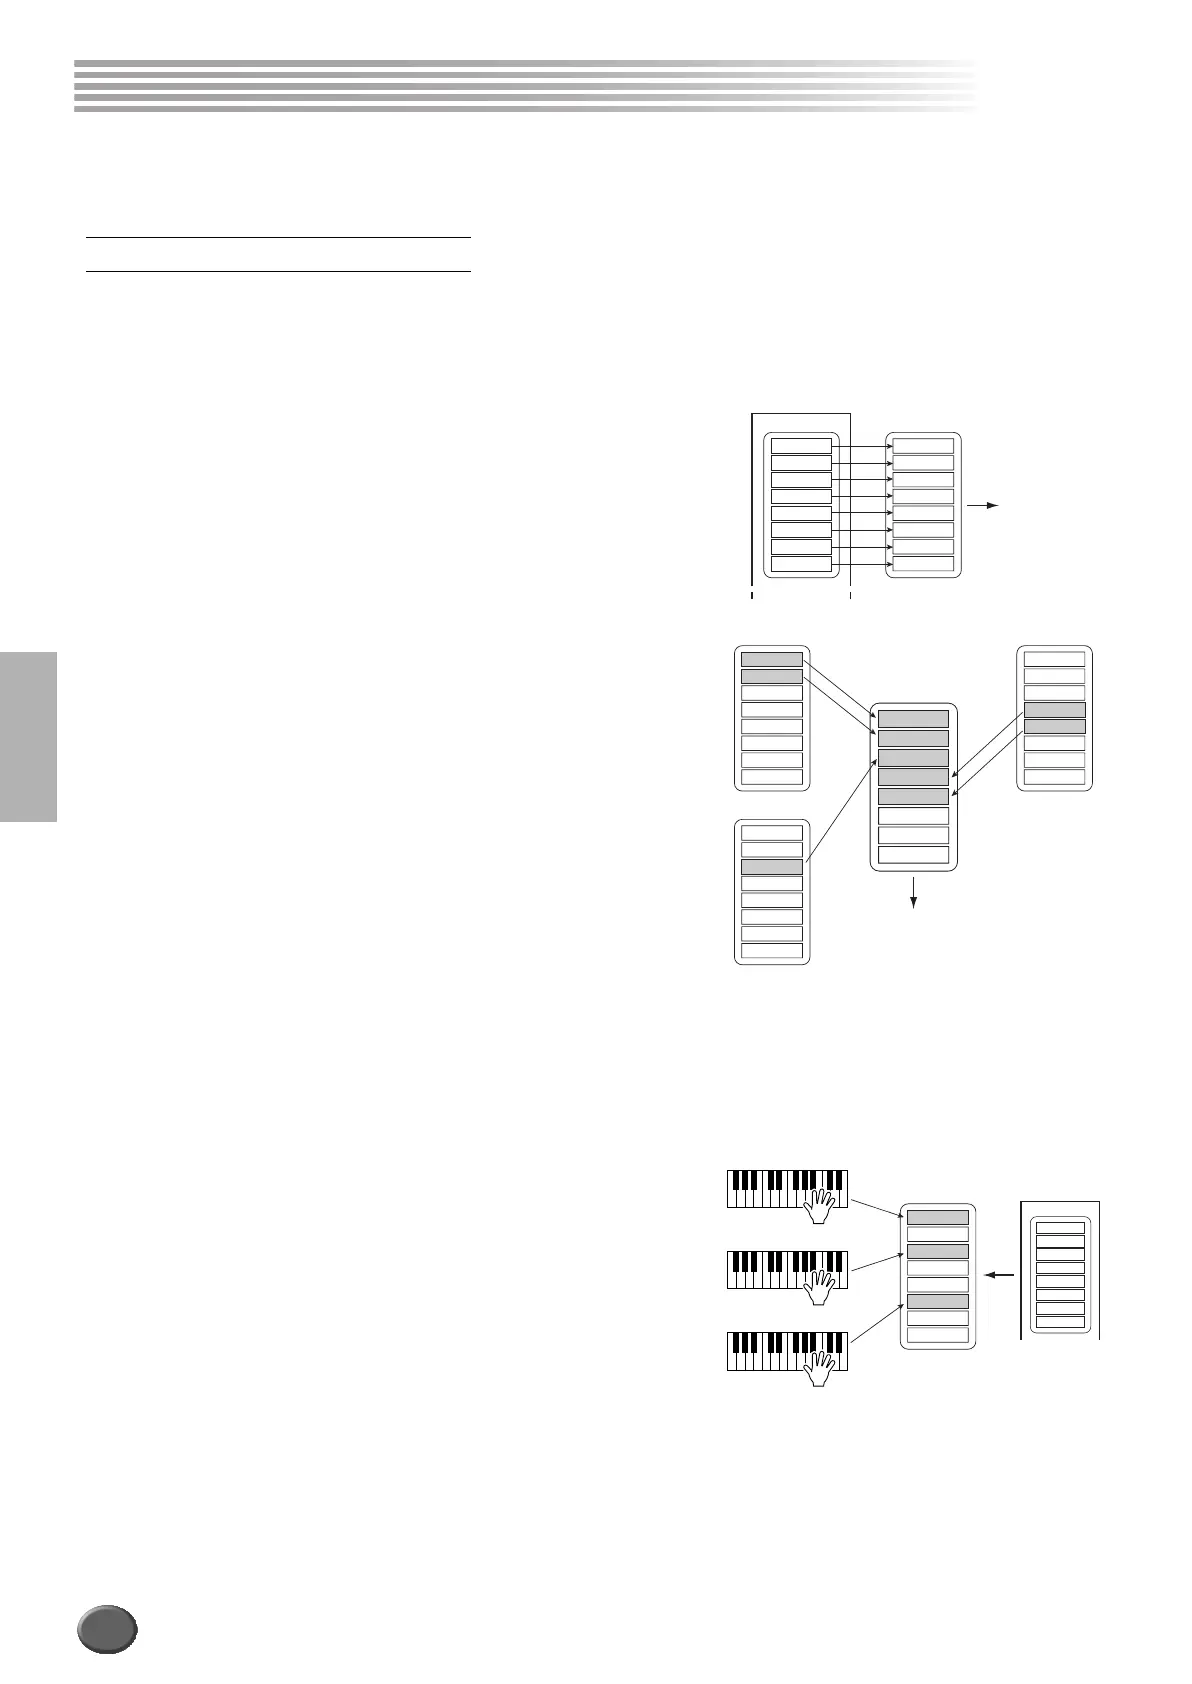
The Style Creator provides two basic ways to assemble styles:
● Easy Edit
This method lets you assemble styles based on the preset/flash style that is
most similar to the style you wish to create.
● New Style Assembly
The 9000Pro allows you to create “composite” styles by combining various
patterns from the internal Preset and Flash styles.
For example, in creating your own 8-beat style, you could take the rhythm
pattern from the “8 Beat 1” style, use the bass pattern from the “8 Beat 2”
style, and take the chord pattern from the “Pop Rock” style — combining
the various elements to create one style.
■ Recording styles (Full Edit ....... page 132)
When recording a song, you record your keyboard performance to the 9000Pro as
MIDI data. Recording styles, however, is done in a different way. Here are
some of the aspects in which style recording differs from song recording:
● Using Preset Styles
As shown in the chart at right, when you select the preset/flash style that is
the closest to the type of style you wish to create, the preset style data will
be copied to a special memory location for recording.
You create (record) your new, original style by adding or deleting data from
the memory location. All parts (with the exception of the rhythm track) of
preset styles must be cleared before recording (page 133).
● Loop Recording
Auto accompaniment repeats the accompaniment patterns of several mea-
sures in a “loop,” and style recording is also done using loops. For example,
if you start recording with a two-measure main section, the two measures
are repeatedly recorded. Notes that you record will play back from the next
repetition (loop), letting you record while hearing previously recorded mate-
rial.
● Overdub Recording
This method records new material to a track already containing recorded data, without deleting the
original data. In style recording, the recorded data is not deleted, except when using functions such
as Clear and Drum Cancel (page 132).
For example, if you start recording with a two-measure main section, the two measures are repeated
many times. Notes that you record will play back from the next repetition, letting you overdub new
material to the loop while hearing previously recorded material.
Guidelines for Style Creating
Rhythm 1
Rhythm 2
Bass
Chord 1
Chord 2
Pad
Phrase 1
Phrase 2
Preset Style
8Beat 1
Rhythm 1
Rhythm 2
Bass
Chord 1
Chord 2
Pad
Phrase 1
Phrase 2
Create your own 8-beat style
Store as
Custom Style
to Flash ROM
Rhythm 1
Rhythm 2
Bass
Chord 1
Chord 2
Pad
Phrase 1
Phrase 2
8Beat 1
Rhythm 1
Rhythm 2
Bass
Chord 1
Chord 2
Pad
Phrase 1
Phrase 2
8Beat 2
Rhythm 1
Rhythm 2
Bass
Chord 1
Chord 2
Pad
Phrase 1
Phrase 2
Pop Rock
Rhythm 1
Rhythm 2
Bass
Chord 1
Chord 2
Pad
Phrase 1
Phrase 2
Store as Custom Style
to Flash ROM
Rhythm 1
Rhythm 2
Bass
Chord 1
Chord 2
Pad
Phrase 1
Phrase 2
Preset Style
8Beat 1
Rhythm 1
Rhythm 2
Bass
Chord 1
Chord 2
Pad
Phrase 1
Phrase 2
Replacing
Replacing
Replacing
124
 Loading...