RIVAGE PM7 System Setup Guide
37
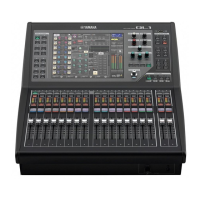
7. The unit displays “DONE”, and automatically
restarts.
8. Perform the same procedure for other
devices.
Be sure to assign a unique Unit ID to each device.
9. When the setting is complete, turn off the
power to the devices.
Connecting the devices
Make sure that power indicators are off.
Connecting the digital mixing console and
I/O rack
Use fiber optic cables to connect
the TWINLANe IN/OUT
connectors on the HY card
installed on the digital mixing
console to the TWINLANe IN/
OUT connectors on the HY card
installed on the I/O rack.
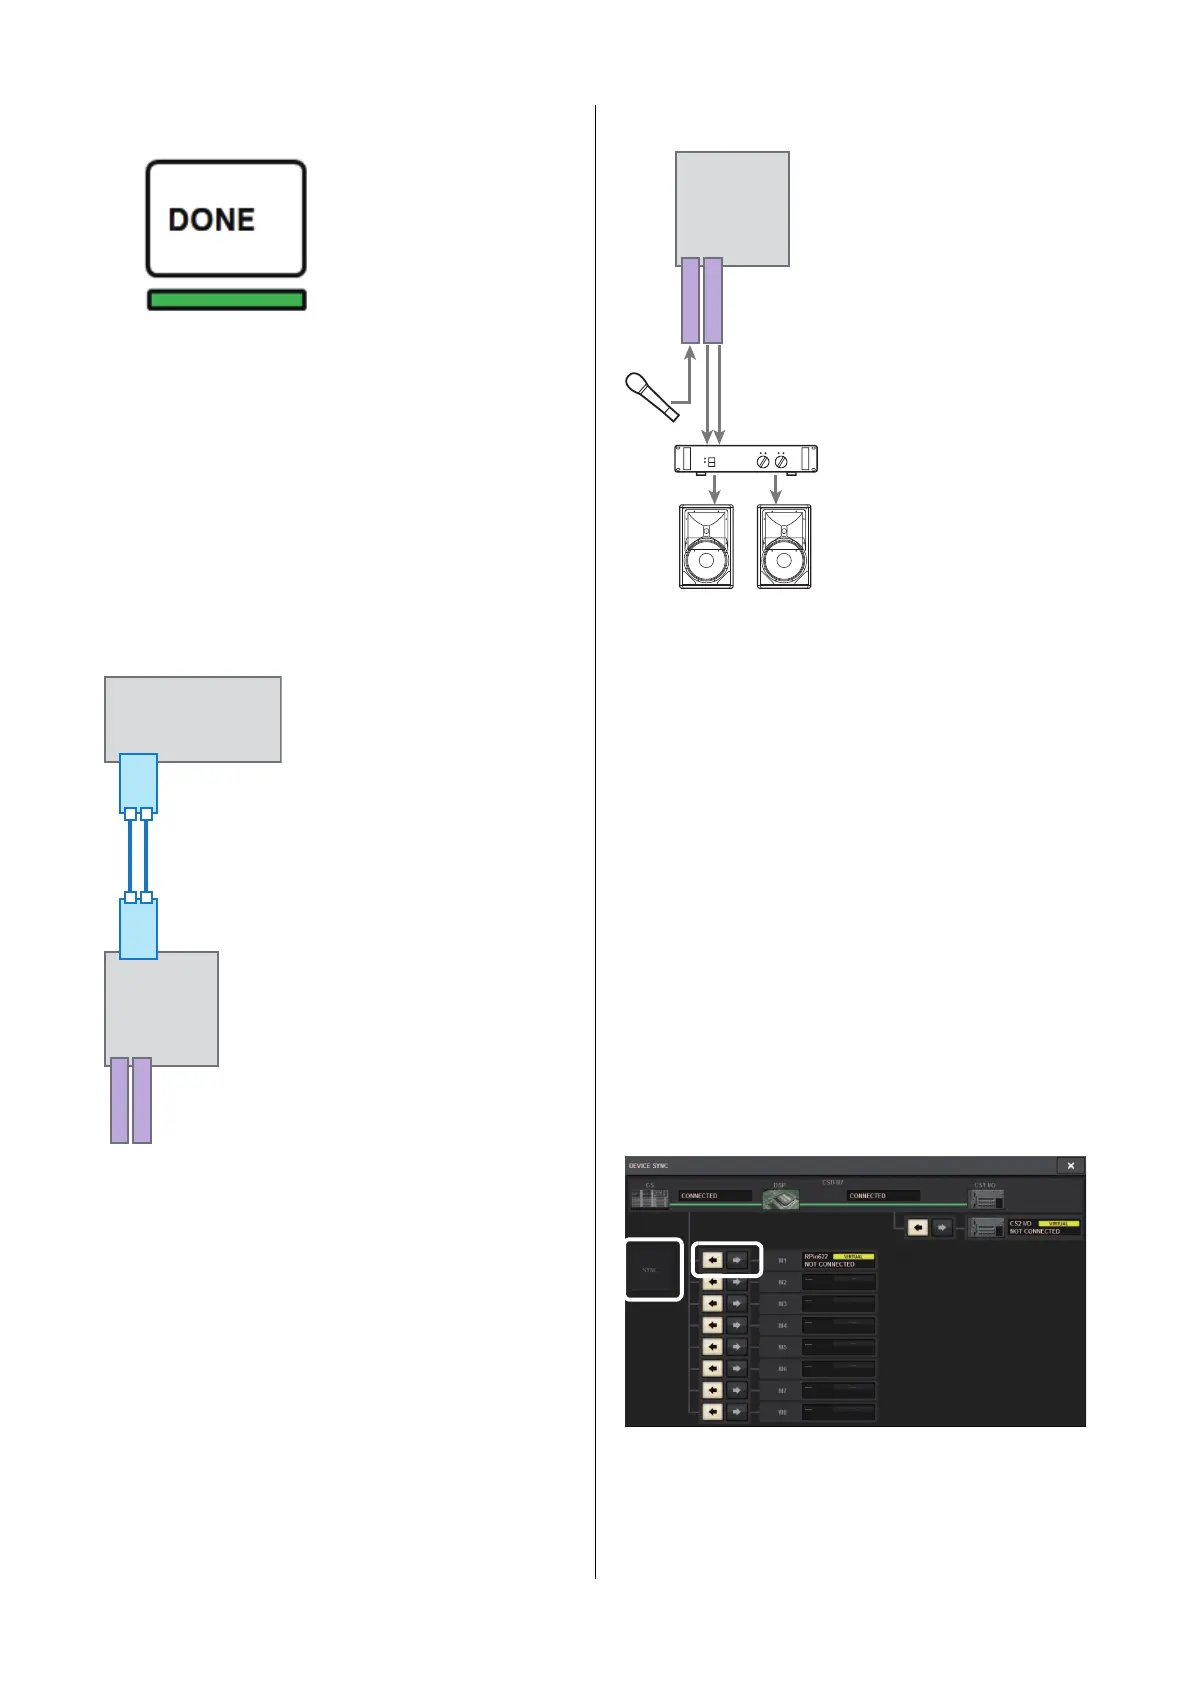
Audio I/O connections
Digital input/output connections
In order to connect a digital audio device, you must first
install an optional card on the I/O rack. You can also use
the AES/EBU jacks on the digital mixing console to
connect digital audio devices.
Turning on the power to the
RIVAGE PM7 system
After you have set Unit IDs and made connections, turn
on the power to all devices.
Once the digital mixing console starts, information on the
connected devices will automatically be collected and all
devices will synchronize. A popup screen will appear.
Select the data sync direction and press the SYNC button.
RPio622
RY16-ML-SILK
RY16-DA
CSD-R7
HY
(TL)
HY
(TL)
OUT IN
OUTIN
RPio622
RY16-ML-SILK
RY16-DA
1 Analog input
connections
Connect a microphone and/
or line level devices to the
input jacks on the RY card
(RY16-ML-SILK).
NOTE
In the default state, the input
jacks are not patched to input
ports. To use the signals
connected here as inputs, you
will need to make patch
settings. (➔ page 40)
2 Analog output
connections
Connect a speaker system to
the output jacks on the RY
card (RY16-DA). You can
patch output channel signals
(MIX, MATRIX, STEREO),
monitoring signal, or cue
signal to these jacks.
 Loading...