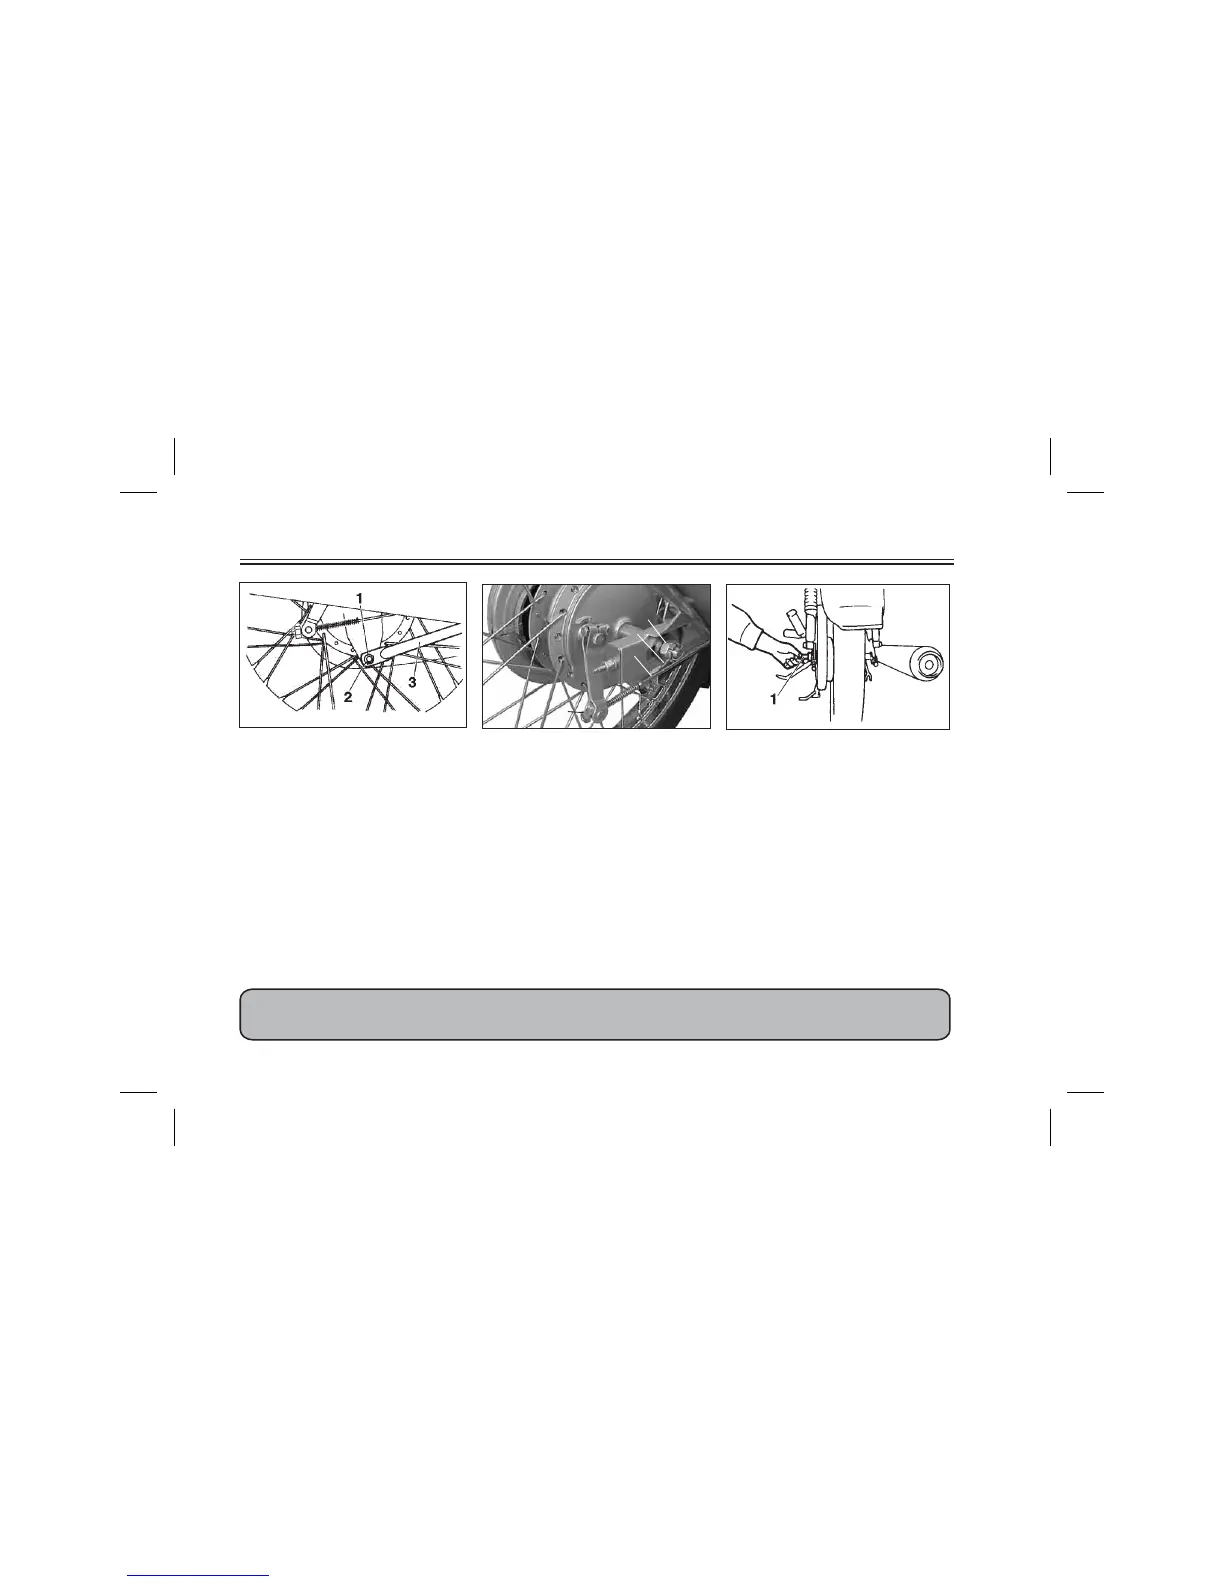
1. Nut
2. Cotter pin
3. Tension bar
1. Place the Motorcycle on the
centerstand.
2. Remove the cotter pin and nut.
Then remove the tension bar
from the brake shoe plate.
1. Axle nut
2. Cotter pin
3. Brake rod
4. Brake adjusting nut
3. Remove the brake adjusting nut
and brake rod from the brake cam
lever.
4. Remove the axle nut cotter pin
and the axle nut.
1. Rear axle
5. Pull out the rear axle.
6. Remove the wheel assembly.
PERIODIC MAINTENANCE AND MINOR REPAIR
6-32
ALWAYS USE YAMAHA GENUINE SPARE PARTS
1
2
3
4