MSP5 STUDIO
7
Guide
(ガイド)
Cut
(切り込み)
Metal Grille
(メタルグリル)
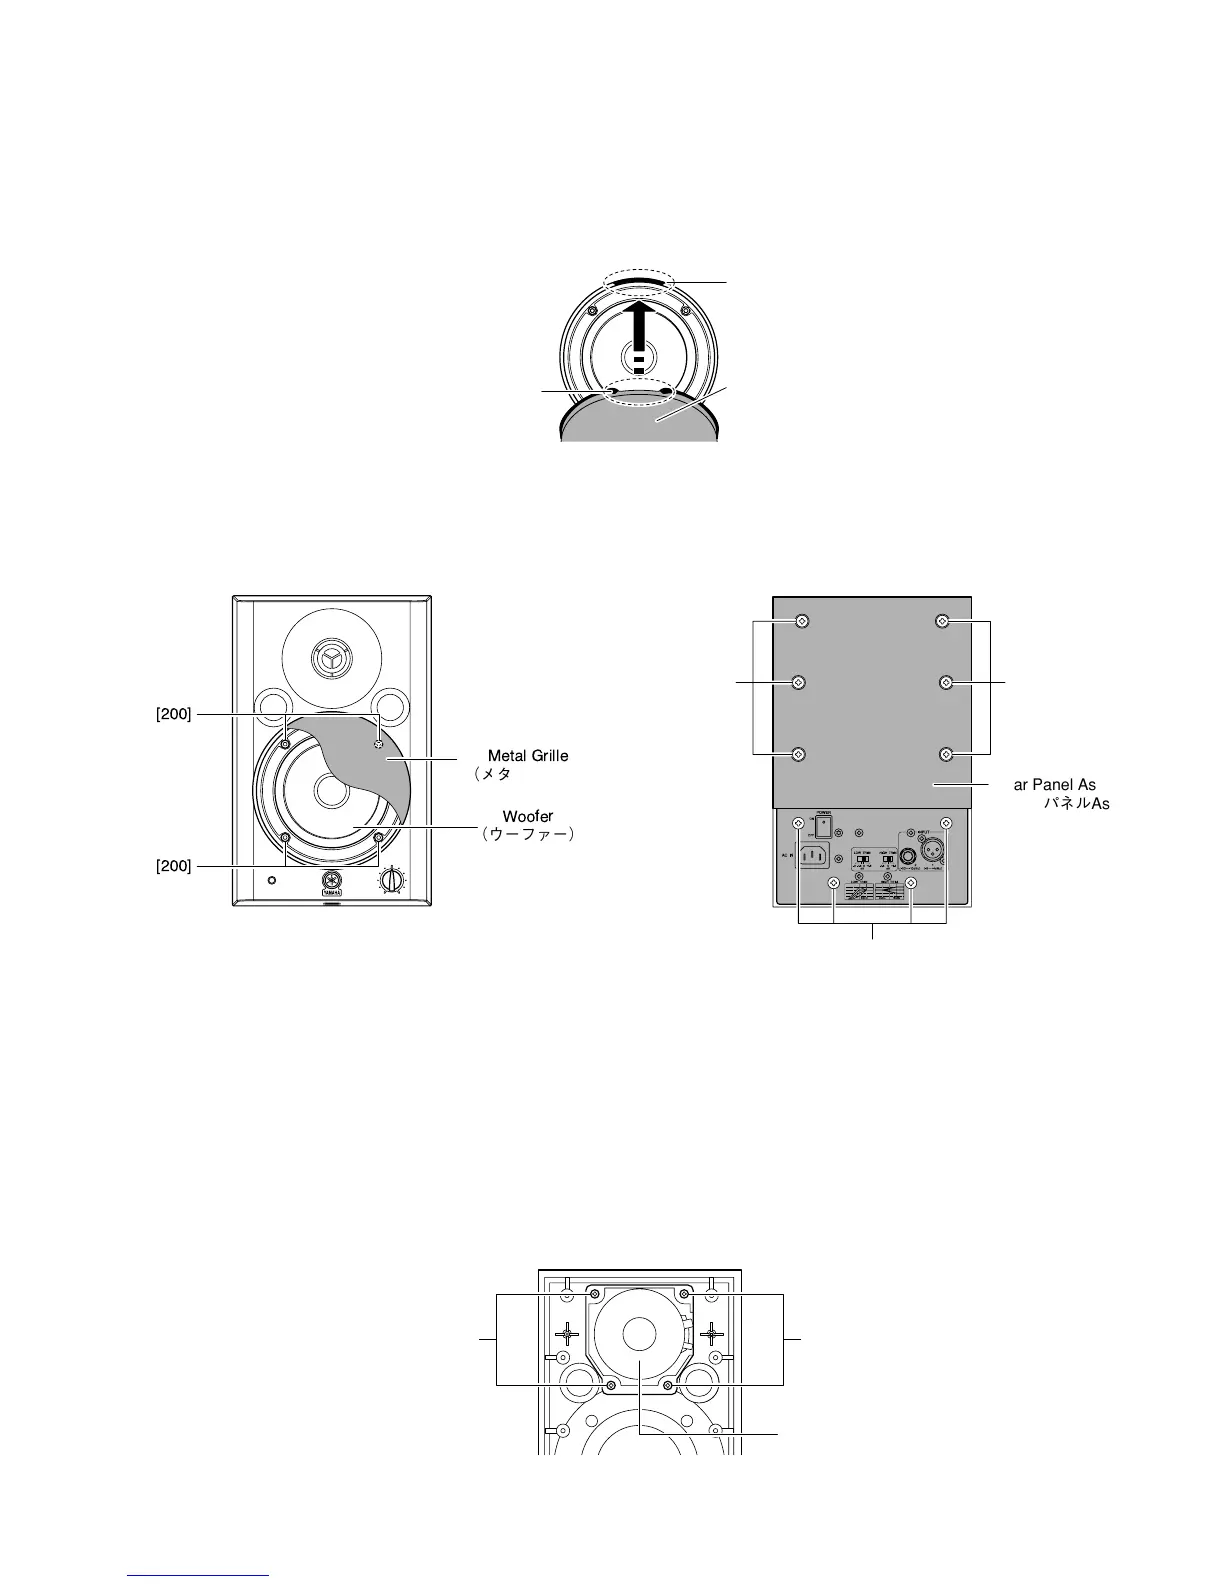
■ DISASSEMBLY PROCEDURE (分解手順)
1. Woofer (Time required: About 1 minute)
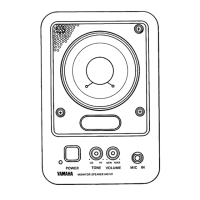
1-1 Remove the metal grille. (Fig. 1)
1-2 Remove the four (4) hexagonal socket screws marked
[200]. The woofer can then be removed. (Fig. 1)
Fig. 1(図1) Fig. 2(図2)
1. ウーファー(所要時間:約1分)
1-1 メタルグリルを外します。(図1)
1-2 [200]の6角穴付ネジ4本を外し、ウーファーを外しま
す。(図1)
[200]
Woofer
(ウーファー)
Metal Grille
(メタルグリル)
[200]
Rear Panel Assembly
(リアパネルAss'y)
[210]
[210]
[210]
[200]: Hexagonal Socket Tapping Screw-P 4x14 (WJ271000) 6角
穴付Pタイト
[210]: Bind Head Tapping Screw-P 5x25 (WJ286300) +バインドP
タイト
3. ツィータ(所要時間:約3分)
3-1 リアパネルAssyを外します。(2項参照)
3-2 [A]のネジ4本を外し、ツィータを外します。(図3)
※ 軽く手前に力を加えれば容易に外せます。
3. Tweeter (Time required: About 3 minutes)
3-1 Remove the rear panel assembly. (See procedure 2)
3-2 Remove the four (4) screws marked [A]. The tweeter
can then be removed. (Fig. 3)
* Pull the tweeter lightly away from the cabinet to re-
move it.
[ A ][ A ]
Tweeter
(ツイータ)
Rear view
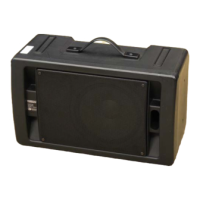
2. Rear panel Assembly
(Time required: About 2 minutes)
2-1 Remove the ten (10) screws marked [210].
The rear panel assembly can then be removed. (Fig. 2)
2. リアパネルAssy(所要時間:約2分)
2-1 [210]のネジ10本を外し、リアパネルAssyを外しま
す。(図2)
※ メタルグリルの取付時には、切り込
みをガイドに合わせてください。
* When installing the metal grille, align
the cut with the guide.
Fig. 3(図3)
 Loading...