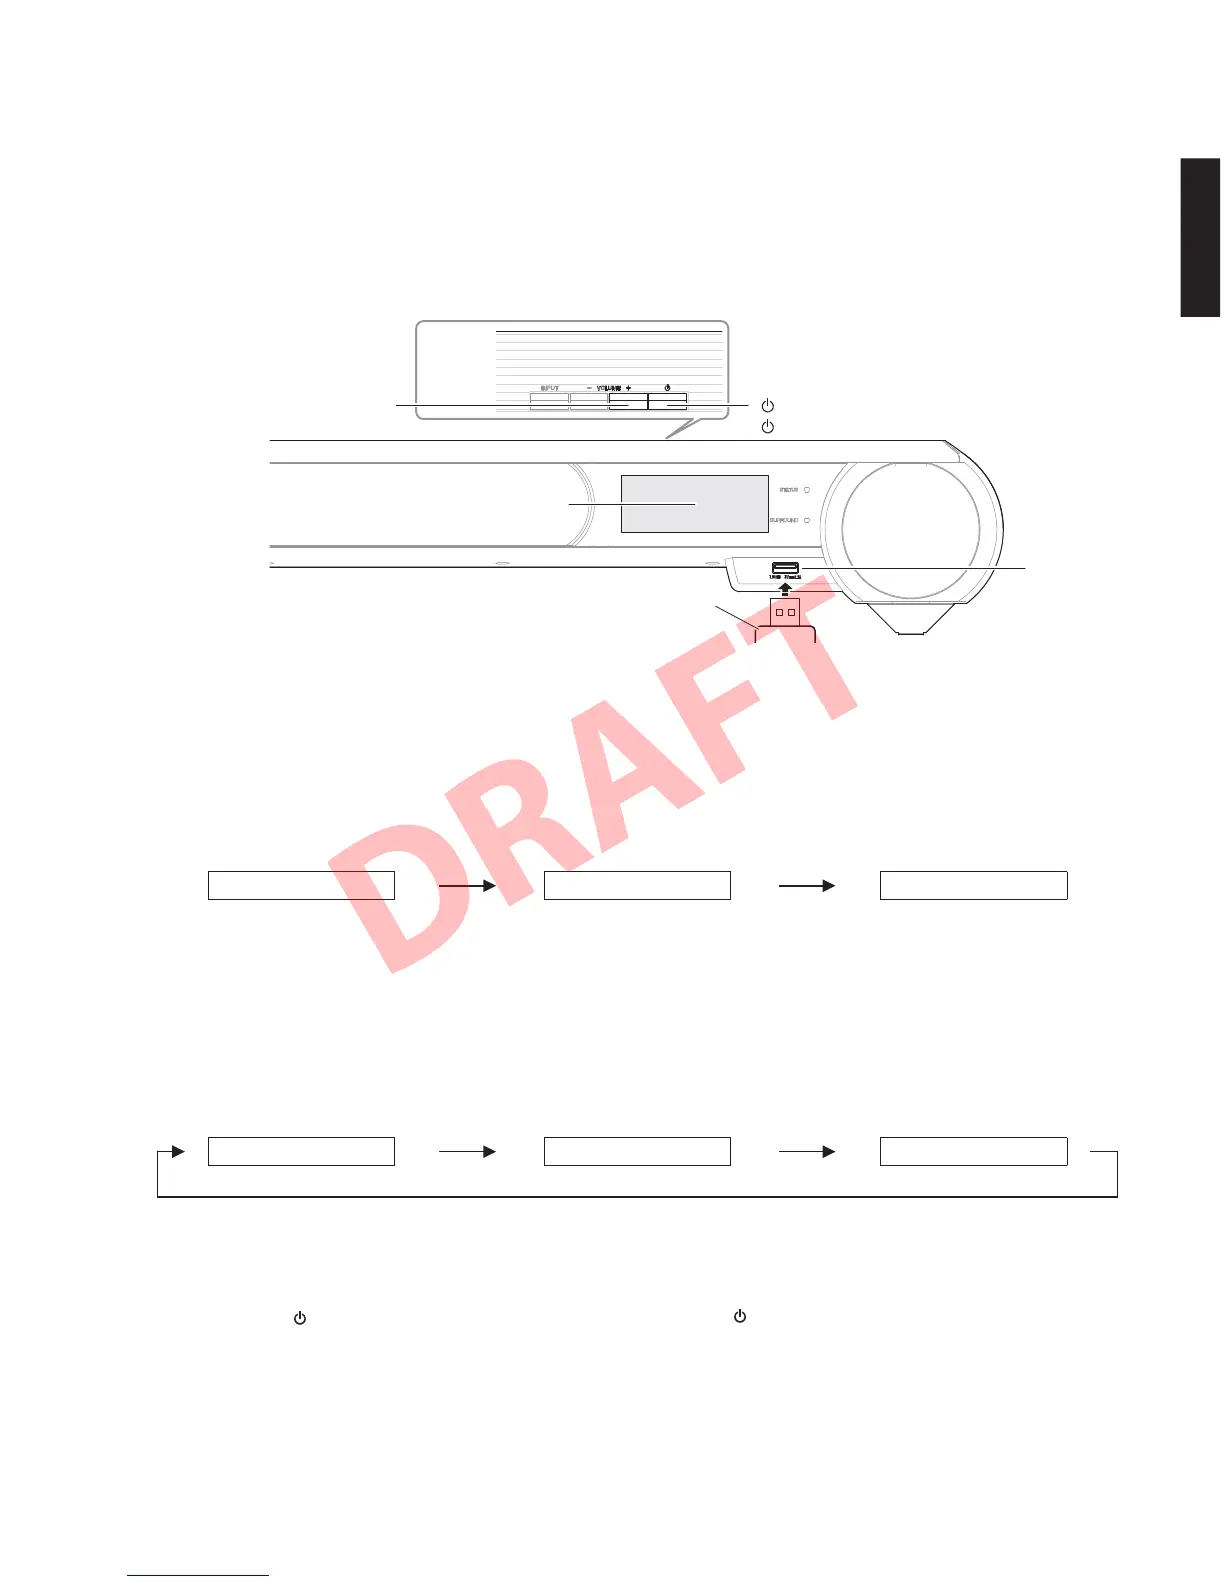
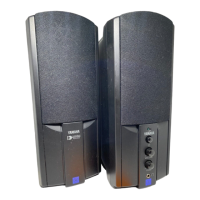
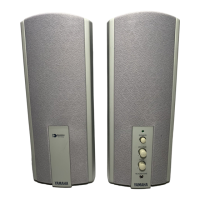
"VOLUME +" key
"VOLUME+" キー
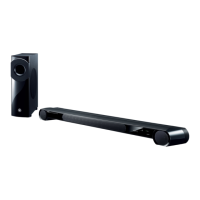
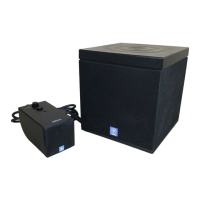
Front view
Top view
USB storage device
USB フラッシュメモリー
USB jack
USB 端子
" " (Power) key
""(電源)キー
FL display
FL ディスプレイ
Fig. 1
Fig. 2
Fig. 3
● Operation Procedures
1. Insert the USB storage device to the USB jack.
(Fig. 1)
2. While pressing the “VOLUME +” key, connect the
power cable to the AC outlet. (Fig. 1)
3. The USB UPDATE mode is activated and “USB
Update” is displayed. Writing of the firmware
starts automatically. (Fig. 2)
Writing is started. /
書き込み開始
Writing is completed. /
書き込み完了
Writing being executed. /
書き込み中
4. When writing of the firmware is completed,
“Success”, “Please...” and “Power Off!” are
displayed repeatedly. (Fig. 3)
5. Press the “
” (Power) key to turn off the power.
6. Remove the USB storage device from the USB
jack. (Fig. 1)
7. Start up the self-diagnostic function and check that
the firmware version and checksum are the same
as written ones. (For details, refer to “Confirmation
of firmware version and checksum”)
● 操作手順
1. USB 端子に USB フラッシュメモリーを差し込みま
す。(Fig.1)
2. “VOLUME +” キーを押しながら、電源コードを
AC コンセントに接続します。(Fig.1)
3. USBUPDATE モードが起動し、“USBUpdate” が表
示されて、ファームウェアの書き込みが自動的に
開始されます。(Fig.2)
4. ファームウェアの書き込み完了後、“Success”、
“Please...”、“PowerOff!” が繰り返し表示されます。
(Fig.3)
5. “
”(電源)キーを押して電源を切ります。
6. USB 端子から USB フラッシュメモリーを抜きま
す。(Fig.1)
7. ダイアグを起動し、ファームウェアのバージョン
とチェックサムが、書き込まれたものと同じであ
ることを確認します。(詳細は “ファームウェアの
バージョンとチェックサムの確認” を参照してく
ださい。)
USBUpdate...
Success
ConnectUSB!
Please...
Update...xx%
PowerOff!
39
YSP-CU4300/YSP-CU3300/NS-WSW160
YSP-CU4300/YSP-CU3300/
NS-WSW160