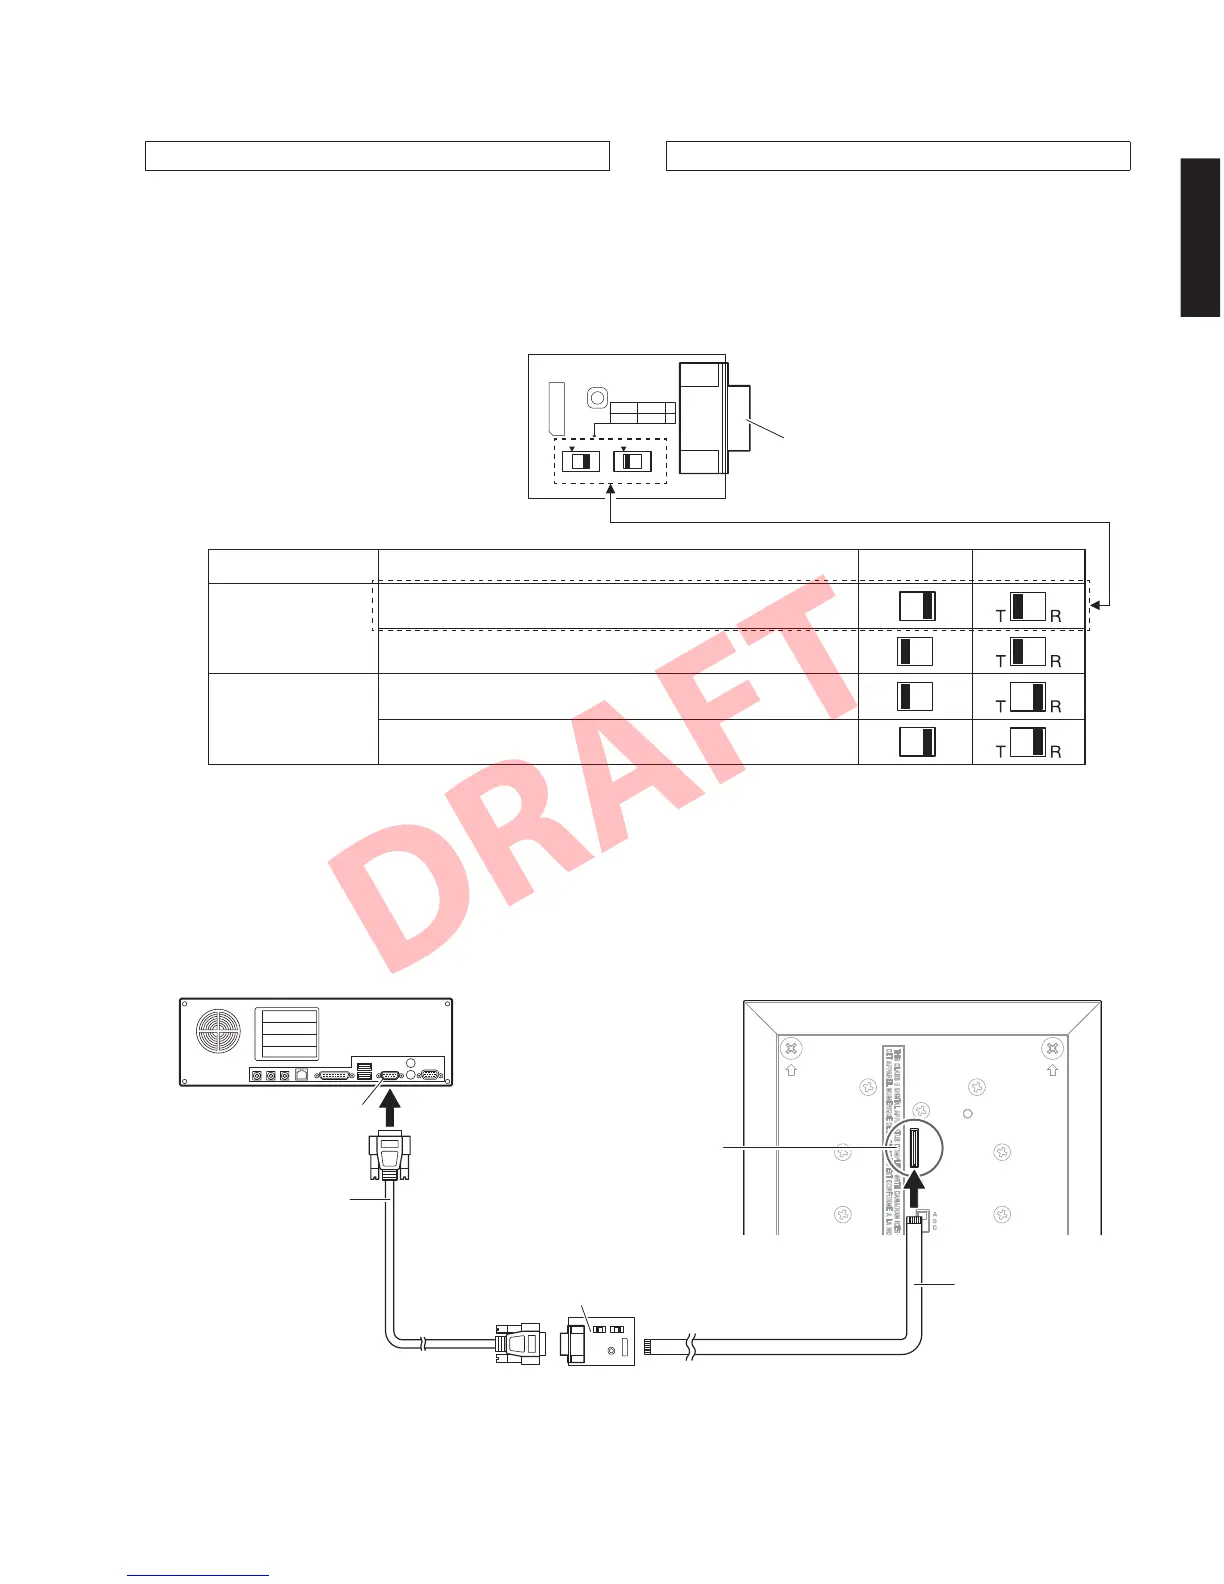
Serial port (RS-232C)
シリアルポート(RS-232C)
RS-232C cross cable
RS-232C クロスケーブル
PC
Rear view of this unit /
本機の後面
Flexible flat cable (9P)
カード電線(9P)
RS-232C conversion adaptor
RS-232C 変換アダプター
Writing port / 書き込みポート
(CB205 on MAIN (3) P.C.B.)
SW7 SW4
T
DSP ucom T
R
ucom DSP R
RS-232C conversion adaptor
RS-232C 変換アダプター
Updating the main microprocessor firmware
メインマイコンファームウェアのアップデート
● 接続
※ 本機の電源コードを AC コンセントから抜きます。
・ RS-232C 変換アダプターのスイッチを下記のよう
に設定します。(Fig.1)
・ 本機の書き込み用ポート(MAIN(3)P.C.B. の
CB205)と PC のシリアルポート(RS-232C)を下
記のように接続します。(Fig.2)
Switches Setting /
スイッチ設定
● Connection
* Disconnect the power cable of this unit from the
AC outlet.
• Set the switches on RS-232C conversion adaptor
as shown below. (Fig. 1)
Fig. 1
Microprocessor type Firmware to be updated SW7 SW4
T type
Microprocessor firmware writing mode
マイコンファームウェア書き込みモード
Self-diagnostic function mode
ダイアグモード
R type
Microprocessor firmware writing mode
マイコンファームウェア書き込みモード
Self-diagnostic function mode
ダイアグモード
• Connect the serial port (RS-232C) of the PC to
the writing port (CB205 on MAIN (3) P.C.B.) of this
unit as shown below. (Fig. 2)
Fig. 2
45
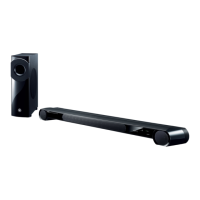
YSP-CU4300/YSP-CU3300/NS-WSW160
YSP-CU4300/YSP-CU3300/
NS-WSW160