PERIODIC MAINTENANCE AND MINOR REPAIR
6-40
6
EW000119
WARNING
_
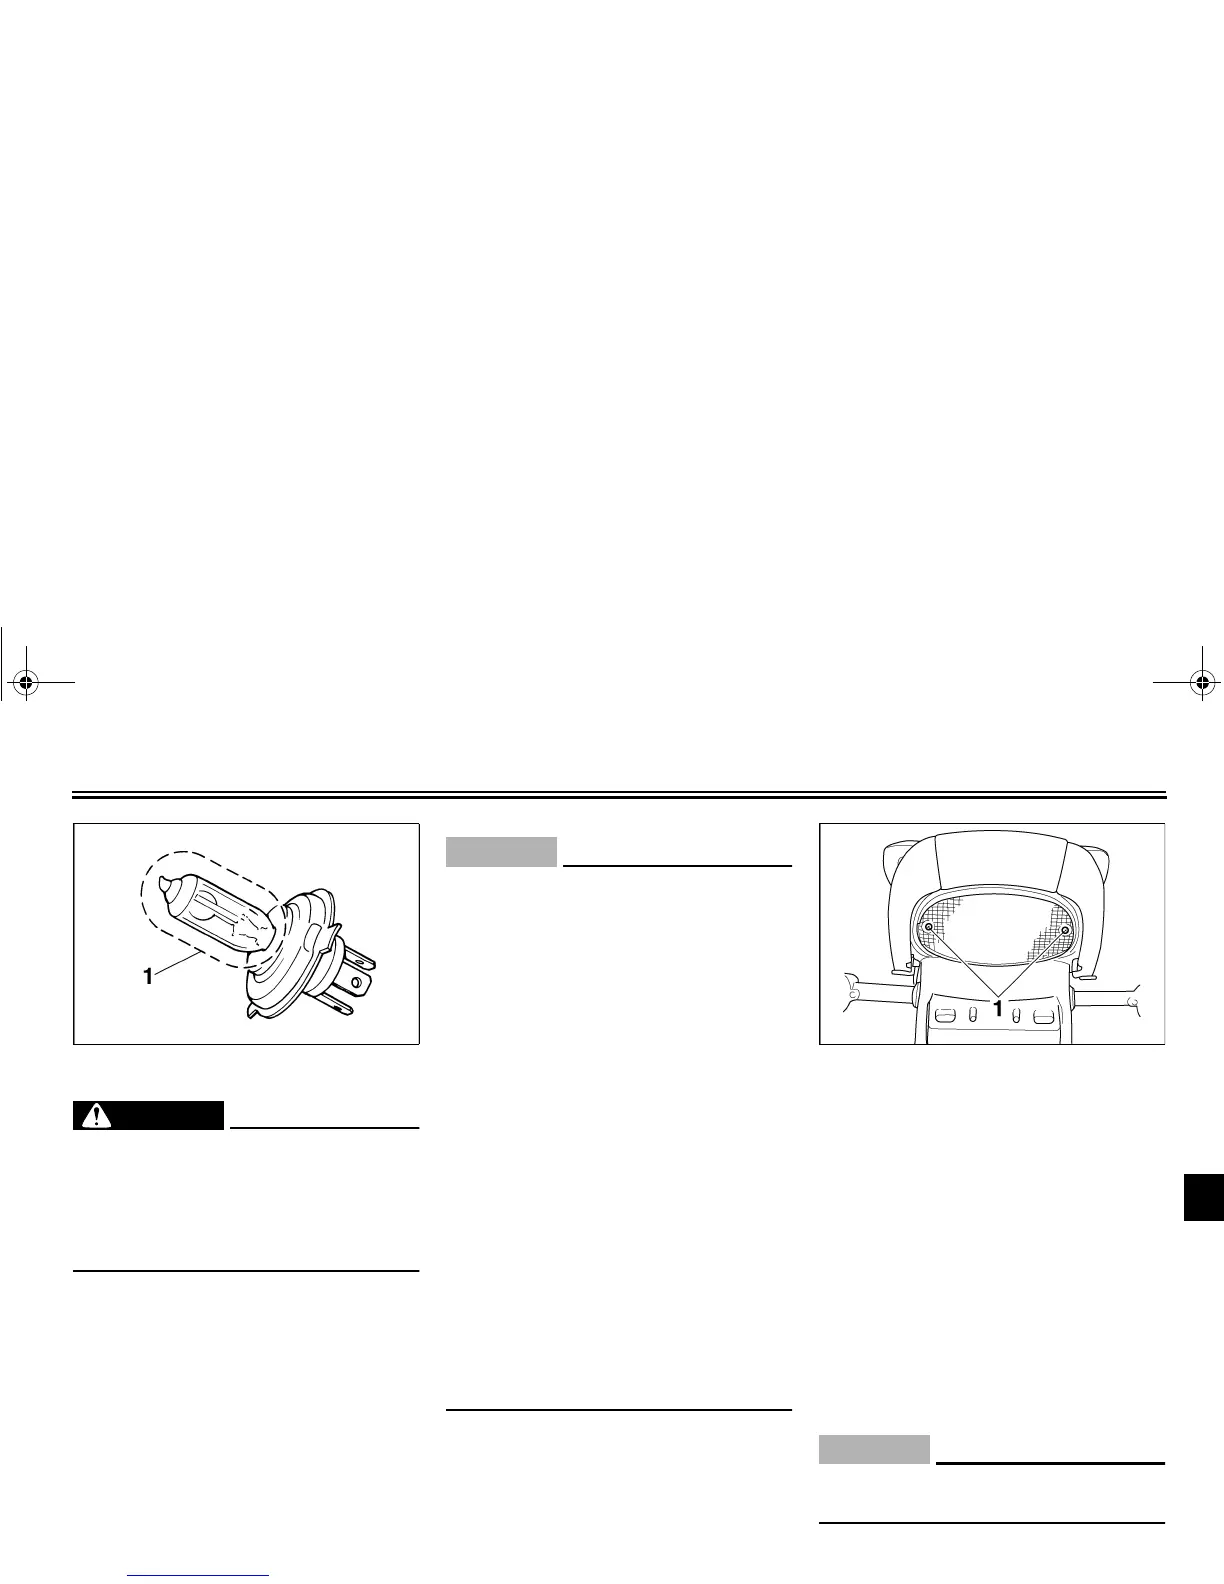
Headlight bulbs get very hot. There-
fore, keep flammable products away
from a lit headlight bulb, and do not
touch the bulb until it has cooled
down.
_
3. Place a new headlight bulb into
position, and then secure it with
the bulb holder.
EC000104
CAUTION:
_
Take care not to damage the follow-
ing parts:
●
Headlight bulb
Do not touch the glass part of
the headlight bulb to keep it free
from oil, otherwise the transpar-
ency of the glass, the luminosi-
ty of the bulb, and the bulb life
will be adversely affected. Thor-
oughly clean off any dirt and fin-
gerprints on the headlight bulb
using a cloth moistened with al-
cohol or thinner.
●
Headlight lens
• Do not affix any type of tinted
film or stickers to the head-
light lens.
• Do not use a headlight bulb of
a wattage higher than speci-
fied.
_
4. Install the headlight bulb cover,
and then connect the coupler.
5. Have a Yamaha dealer adjust the
headlight beam if necessary.
EAU01623
Replacing the tail/brake light
bulb
1. Remove the tail/brake light lens by
removing the screws.
2. Remove the defective bulb by
pushing it in and turning it counter-
clockwise.
3. Insert a new bulb into the socket,
push it in, and then turn it clock-
wise until it stops.
4. Install the lens by installing the
screws.
EC000108