7
ASSEMBLY INSTRUCTIONS
On some units, the handle may installed, but is turned
down under to help in packaging. In this case you must
adjust the handle to fit the operator.
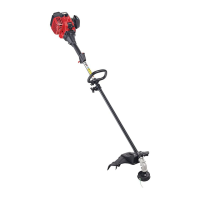
INSTALL / ADJUST THE HANDLE
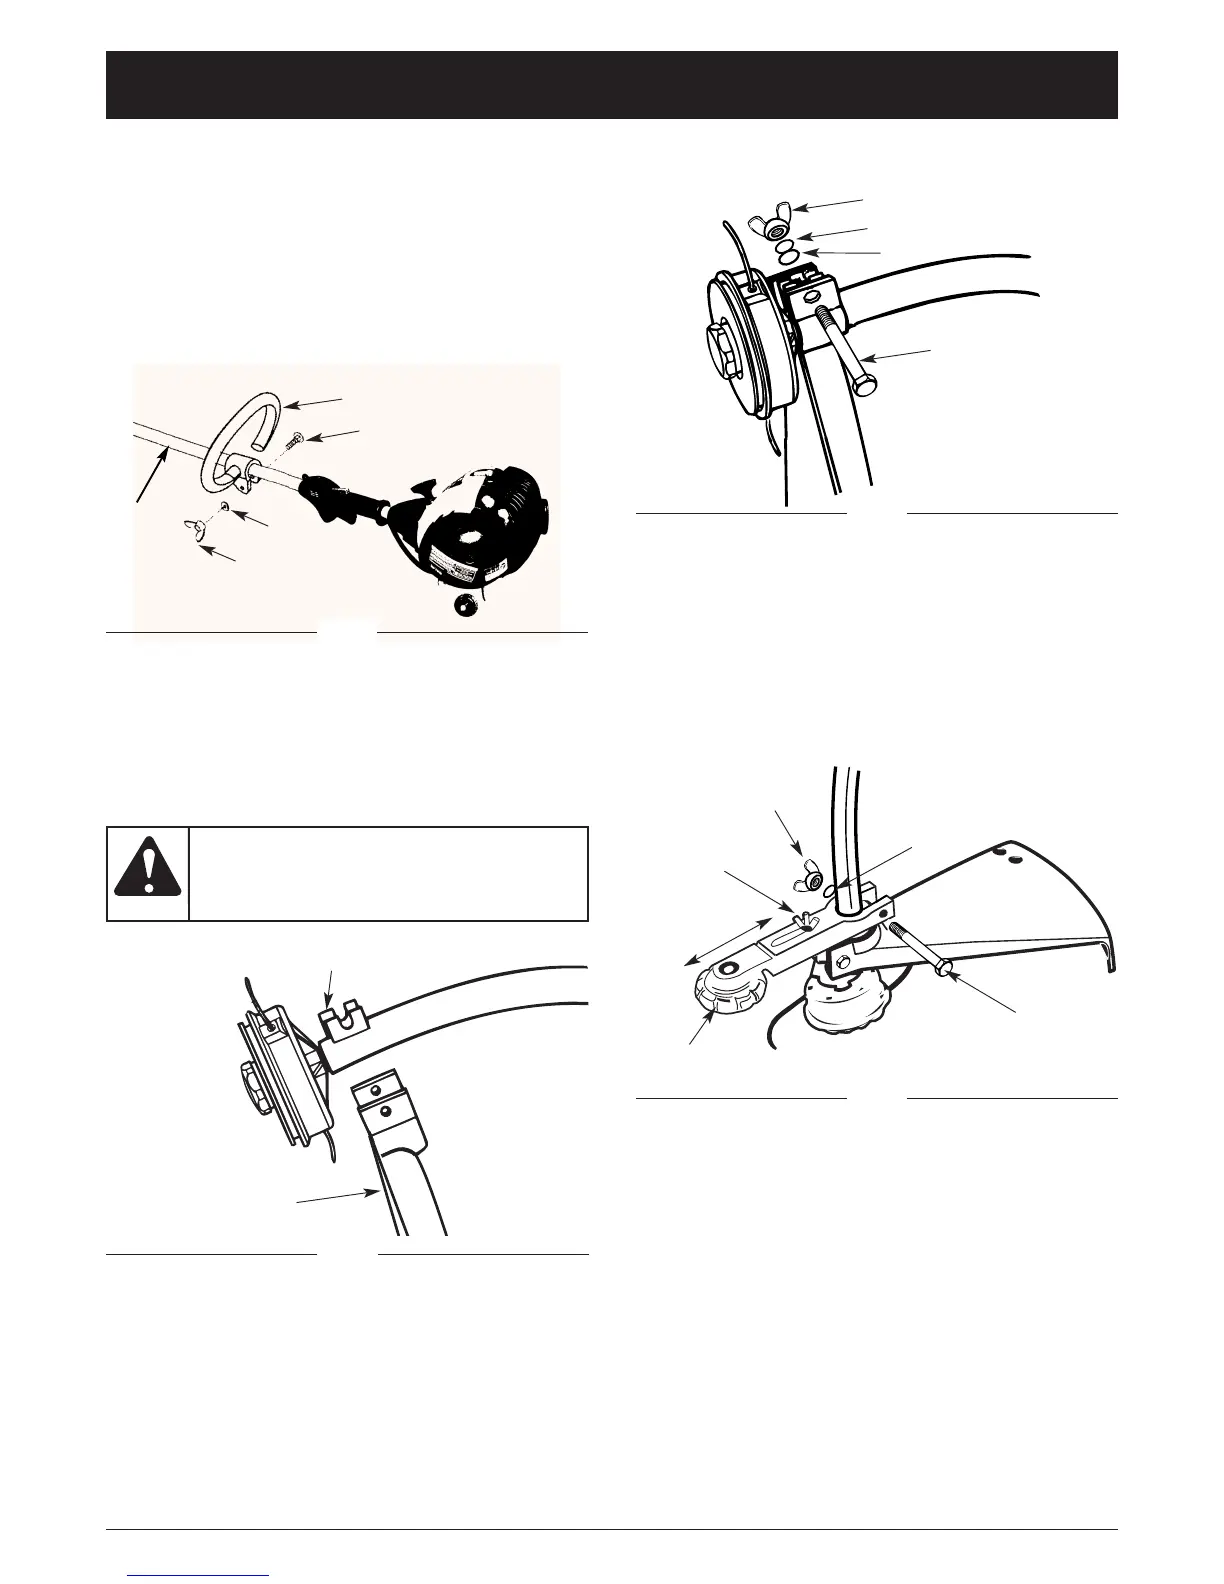
1. Place the handle on the drive shaft.
2. Insert the bolt through the handle in secure it with
the washer an wing nut (Fig. 1).
3. Adjust the handle to fit the operator and tighten the
wing nut.
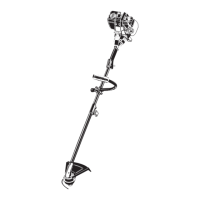
INSTALL THE CUTTING ATTACHMENT SHIELD
NOTE: The cutting attachment shield must be installed
to properly dispense the trimming line.
To install the cutting attachment shield:
1. Place the cutting attachment shield onto the shaft
bracket (Fig. 2).
2. Insert the bolt through the shield, bracket, washer
and lock washer tighten with the wing nut (Fig. 3).
Bracket
Cutting Attachment
Shield
Fig. 3
Never operate the
trimmer without the
cutting attachment shield in place to pre-
vent serious personal injury.
WARNING:
Fig. 4
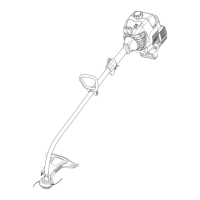
EDGE GUIDE WHEEL
1. Push edge guide wheel onto the shaft (Fig. 4). Some
force may be required.
Fig. 2
Bolt
Handle
Washer
Wing Nut
Shaft
Fig. 1
Bolt
Lock Washer
Washer
Wing Nut
Bolt
Wing Nut
Depth
Adjustment
Nut
Edge Guide
Wheel
Washer
3. Adjust the edging depth by loosening the depth
adjustment nut. Then move the guide wheel along
the path shown by the arrows to the desired position
(Fig. 4). Tighten securely.
2. Install the bolt, washer and wing nut and tighten
securely.
 Loading...