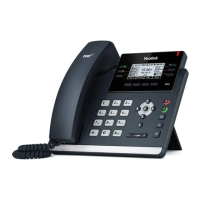
Your quick start guide Yealink T42s
The box for your handset will contain a number of items:
• The main handset chassis
• A plastic ‘foot’ which should be attached to the base of the
chassis
• A handset receiver
• A curly wire to attach the receiver to the main chassis
• An RJ45 Ethernet cable to connect the handset to your local
network
If you have ordered a power supply unit (PSU) then this will be
provided separately. Note that the phone does not need a PSU if
your network supports power over Ethernet (POE).
The phone has a second Ethernet port which can be used to attach
another device (e.g. your PC) to the same network port in your
office.
The phone also supports the use of a headset which should
be attached using an RJ9 square type connecting cable to the
appropriate socket on the rear of the chassis.
Once the handset is powered and connected to your network it
should boot up ready for use, with the correct extension number,
date and time displayed on the screen.
In the event that the handset does not boot up correctly then
please contact our Support team.
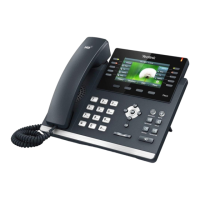
1 LCD Screen 7 Dial Pad
2 Power Indicator 8 Select Keys
3 Line Keys 9 Soft Keys
4 Quick Keys (mute, headset, message, redial) 10 Speaker
5 Speakerphone 11 Reversible Tab
6 Volume Key 12 Hook switch
Installing Your Handset
1
2
7
5
10
9
3
8
6
11
4
12

 Loading...