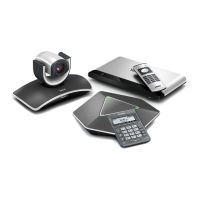
YealinkVC120
UnpackthecontentsoftheYealinkVC120
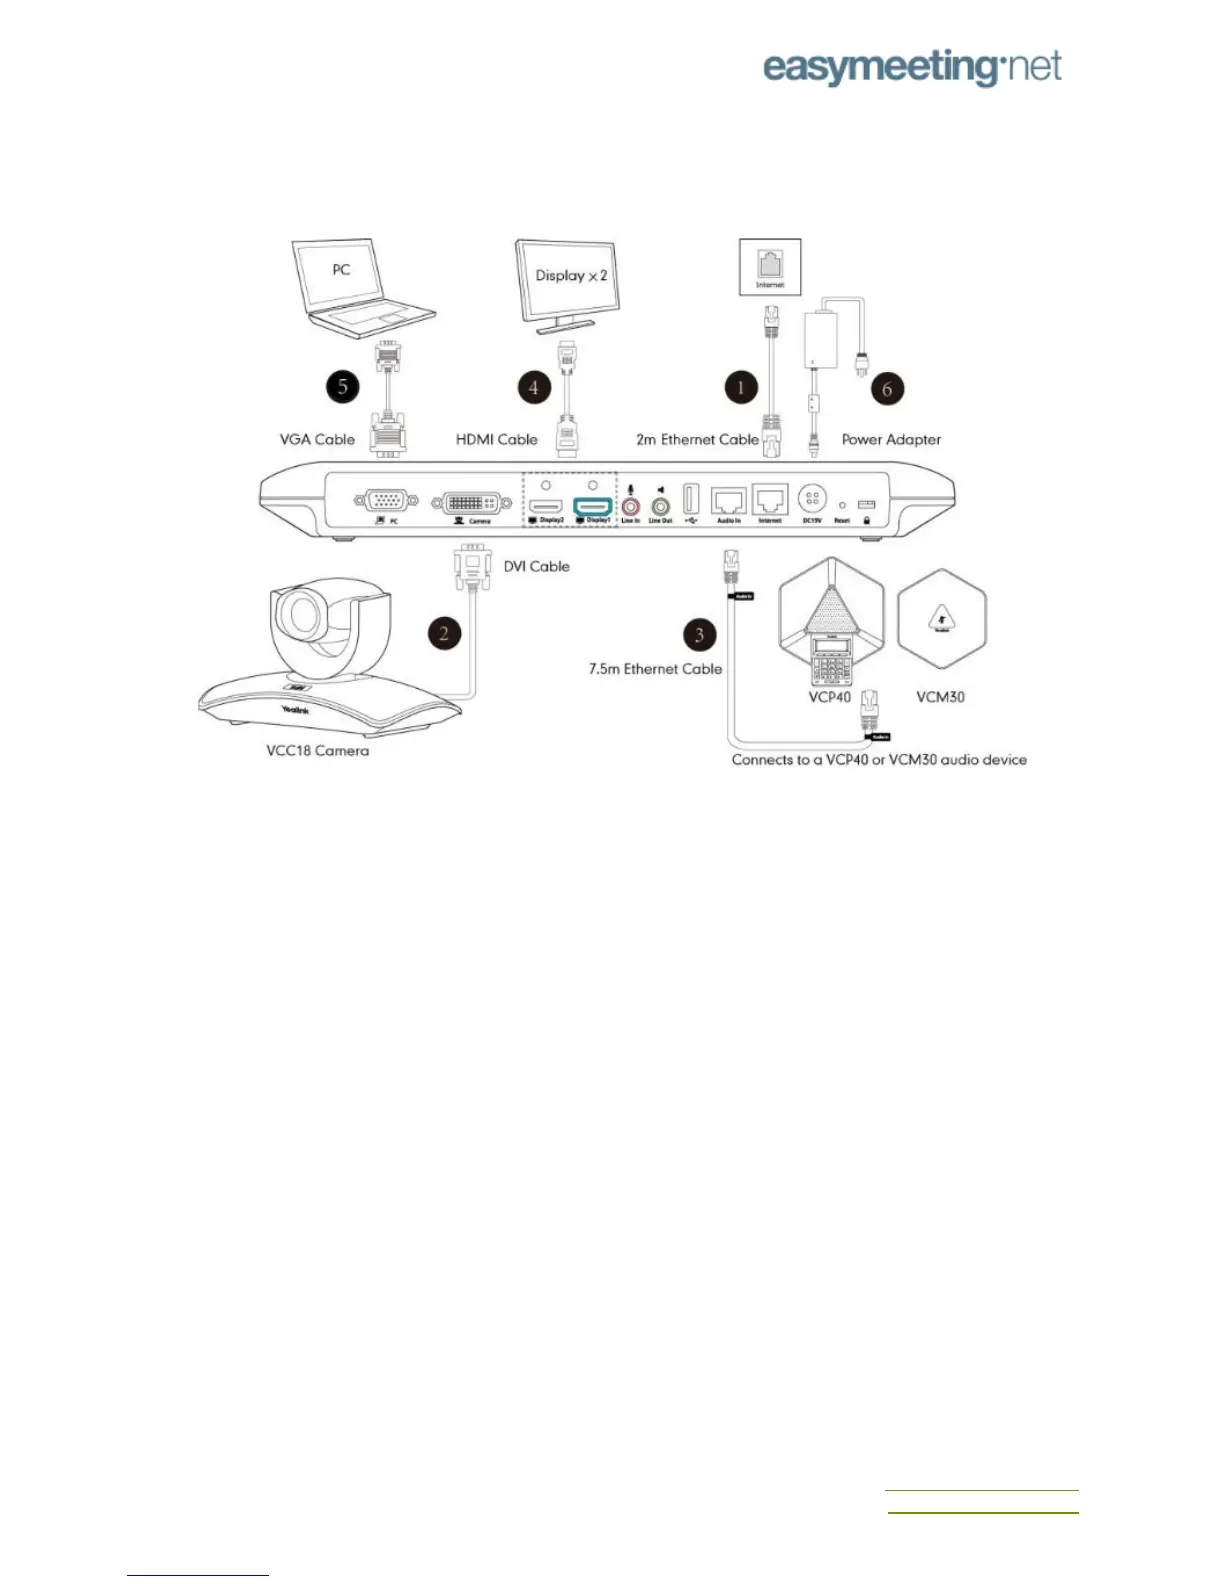
ConnectingTheVC120
1. ConnecttheInternetportoftheVC120codectoaswitch/hubdeviceportwiththe
supplied2mEthernetcable.
2. LocatetheCameraportonthebackoftheVC120codec,andconnectittotheCamera
portonthecamerawiththesuppliedDVIcable.
3. (Optional)LocatetheAudioInportoftheVC120codec,dooneofthefollowing:
● ConnectittotheAudioOutportontheVCP40videoconferencingphonewith
the7.5mEthernetcablethatlabeledAudioIn.
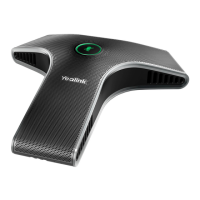
● ConnectittotheAudioOutportontheVCM30videoconferencingmicrophone
arraywiththe7.5mEthernetcablethatlabeledAudioIn.
4. LocatetheDisplay1portontheVC120codec,andconnectittotheHDMIportonthe
displaydevicewiththesuppliedHDMIcable(Makesurethedisplaydeviceispowered
on)
5. (Optional)LocatetheVGAoutputportonthePCandconnectittothePCportonthe
VC120codecwiththesuppliedVGAcableforsharingcontent.
6. ConnecttheDC19VportontheVC120codectoanACpoweroutletwiththesupplied
poweradapterandpowercord.
Afterallcomponentsareconnected,pressontheVC120codec.TheindicatorLEDonthe
VC120codecthenilluminatessolidgreen.
ContactUs
support@easymeeting.net
helpdesk.easymeeting.net
 Loading...