The Other YN-622C User Guide
28/08/2013 Page 10 of 23
More Creative Scenarios
Augmenting Ambient
Indoor event photographers may use flashes high on light-stands and set to bounce light off the
ceiling, or to provide hair- or rim-light. An on-top flash provides on-axis fill/main light for subject.
Basic setup
• Camera menu set to Firing Group A:B C
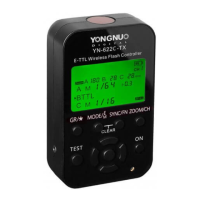
• Transmitter set to Mix mode. CH indicator shows steady green.
• Remote 622’s lighting groups set to B or C.
• On-top Class 1 or 2 flash set on-flash to ETTL mode.
• Remote Class 1 flashes set on-flash to Manual at say 1/4th power.
Remotely adjusting augmenting flashes in Mix mode
• Change Transmitter to Remote mode.
• In camera menus select Manual mode and adjust output levels for B and C.
• Change Transmitter back to Mix mode.
• On-top flash re-set on-flash to ETTL mode.
Walk-About (APOAZ technique)
• On-top flash in ETTL and flashes in Manual to augment.
• To be able to turn off triggering of augmenting lights, set remote 622s to say Channel 2.
• Set Transmitter to CH 2 to use remote lights, and on-top flash will still fire.
• Set Transmitter to CH 1 to use only on-top flash.
Remote mode with Class 2 or 3 flashes (Dan Kinzie technique)
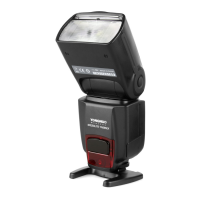
Instead of using Class 1 flashes in the basic setup above, use Class 2 or 3 flashes like the YN-560.
• Camera menu set to E-TTL mode.
• On-camera 622 transmitter set to Remote mode.
• On-top Class 1 or 2 flash, which adopts menu settings to produce an E-TTL/FEC exposure.
• The 560s set on-flash to a manual power level.
• The YN-560s will be triggered at their set levels, and will not respond to menu settings.
• The maximum sync speed may be 1/250S.
Class 5 strobes with Independent Remote Control (David Ward technique)
• Place a 622 on the camera, with an on-top hot-shoe flash.
• Place a 622 nearby and mount another trigger controller, like the Cybersync Commander.
• Mount strobes, e.g. Einsteins, on stands for augmented ambient or rim light. Connect a
Cybersync receiver to each.
• The Cybersync provides easy remote control of strobes for adjusting power, and the 622
provides triggering of the strobes and full control of any 622-mounted hot-shoe flashes.
Two-Shooter Setup (John UK technique)
A second shooter can share augmenting flashes. There is a problem – preventing the zooming and
firing of the other camera’s on-top flash.
• Camera 1 set to E-TTL or Manual, and Firing Group A:B at some ratio/power.
• On-camera 622 set to Remote mode and Group C, with an on-top flash.
• Camera 2 set up the same.
• Enhancing flash stand with remote 622 set to Group B, plus flash.
• When either camera takes a shot, it's on-top flash is treated as Group A, the augmenting
flash as Group B, and the other camera as Group C. Group C is not enabled in Firing
Group A:B, so does not fire.

 Loading...