The Other YN-622C User Guide
28/08/2013 Page 8 of 23
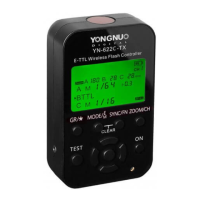
Using a Light Meter
• Set Manual levels (or Multi), either by Flash Control menus or by on-flash settings.
• The test fire will be at the level as it is displayed on the LCD of the flash.
• The test button will not change the setting of the flash.
• If Remote control is being used, first press half-shutter to ensure that settings are applied
• E-TTL will produce a pre-flash, which may confuse the light meter.
• Trigger with any 622 on the same channel. It may be a hand-held one.
First Shots
With the 622 transmitter in Remote Control mode, press [MENU] on the camera, and select Flash
Control / External flash function setting.
• The 622 transmitter’s Status indicator will flash yellow and its CH and GP indicators will
flash green to indicate transmitting. The 622 Receivers will flash red and its CH and GP
indicators will flash green. They will stay in a live update state until the menu session ends.
• Select E-TTL II as flash mode.
• When the off-camera flash settings match the camera’s menu, the AF-assist beam of the
receiver will wink twice to show that the change is successful. If the parameter which has
been changed isn’t supported by the flash (such as hi-speed sync), this function will be
abnormal.
• Half-shutter to focus, and on the flash screen the aperture and effective range etc. will be
displayed.
• The AF-assist beam of the transmitter may assist focusing.
• Ensure that the subject is in the effective flash range, and fully press shutter button to
shoot.
• Enable the Wireless function menu to enable firing group control.

 Loading...