The Other YN-622C User Guide
28/08/2013 Page 6 of 23
GETTING STARTED
Important
• Keep transceivers dry and out of explosive situations.
• Turn off power on camera, transceivers and flashes before connecting.
• Check that all equipment is installed correctly (fully forward) in the hot-shoe.
• Batteries – camera, flash, 622s – are critical. Recharge or replace as required.
• Most Flash Control Menu settings (including the AF-assist C.Fn) are saved automatically in,
and read from, the on-top 622
• Not stored are FEB, Zoom, E-TTL Fire ratio and Group. C’s FEC, which revert to default
values on power-up.
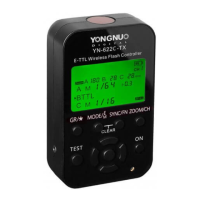
Transmitter on Type A Camera
Install a 622 on the camera’s hot-shoe:
• Back the locking ring up to the transmitter case to withdraw the locking pin.
• Mount the 622 in the camera’s hot-shoe. Press the foot firmly forward.
• Clamp the locking ring onto the hot-shoe. The locking pin will engage.
• Press half-shutter or open External Flash control menu to activate as a transmitter.
Set up transmitter using camera menus:
Keep the transmitter in Remote Control mode (the default mode). Flashes will comply with the
settings in the camera’s Flash control / External flash function menu.
• Set Flash firing to Enable.
• Select External flash function setting and set desired flash mode, zoom setting etc.
• Enable wireless function and set firing group, fire ratio or flash output. (If the Wireless
function is disabled, the firing group consists of All (A+B+C), and all groups of flashes use
the same global settings.
• Set a channel for the transmitter (CH1-CH4 only).using the Wireless function menu.
Confirmation of menu setting
When a change to the camera menu is successfully applied to a remote flash, the AF-Assist Beam
of its 622 receiver will flash twice when the [Set] button is pressed.
• The confirmation light will be emitted only if the remote 622 has C.Fn 8 enabled.
• Changing the C.Fn 8 setting of the 622 will update only the on-camera unit.
• The 622 Factory Reset [CH] + [GP] does not change the C.Fn 8 setting.
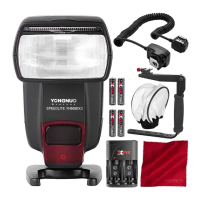
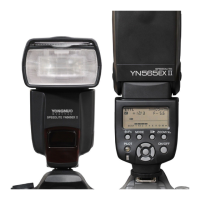
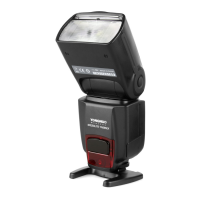
Remote Flashes
Install each flash on the hot-shoe of a Receiver:
• Loosen the locking ring or lever on the flash to withdraw the locking pin.
• Mount the flash on the 622. Press the foot firmly forward to ensure all contacts are secure.
• Tighten the flash’s locking ring or lever.
• Mount the 622 direct on a mini stand, or on a light stand using a cold-shoe adapter.
Turn on Receiver and set Channel and Group:
• Slide Receiver power switch to [ON]. The channel and group indicators light briefly. The
Status indicator turns steady red. The flash may fire once when turning the 622 on or off.
• Set Receiver to the same channel as the Transmitter, using [CH]. The channel indicator will
light for several seconds to indicate the current channel. Quickly press [CH] again to
change the channel.
• Set the lighting group (A, B or C) for each flash using [GP] for the desired lighting control.
Turn Flash on
• Check that each flash indicates ready.
• Press Pilot/Test on the flash.

 Loading...