The Other YN-622C User Guide
28/08/2013 Page 7 of 23
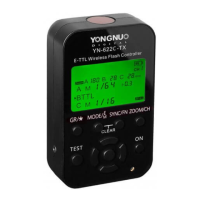
On-Top Flash
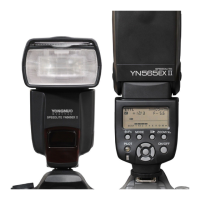
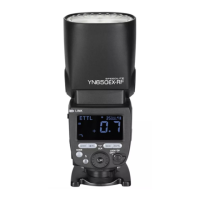
A flash can be installed on the transmitter on top of the camera. It behaves much like a Remote
flash, but there are differences:
• Supports E-TTL, Manual levels and Multi (stroboscopic) modes.
• The On-top flash output settings follow Group A settings.
• The On-top flash has no channel. It is effectively direct-connected to the camera.
• The zoom setting is not controlled by the camera menu. It must be separately set on-flash
as auto or as a manual level. The zoom setting of the On-top flash can be different than off-
camera flashes. E.g. Set the On-top flash zoom to Auto, so that it zooms with the lens.
Using the camera flash control menu, set Manual zoom 24mm – 105mm so that off-camera
flashes keep a constant setting.
• It may provide an AF-assist beam additional to the Transmitter’s AF-assist beam, if that is
enabled.
PC-sync Flash
First curtain, Second Curtain and Fast Shutter (Supersync) syncs are available.
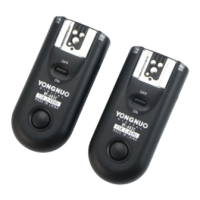
Factory Reset
If a transceiver seems erratic:
• Disconnect the 622 then turn it on.
• Hold down [CH SET] plus [GP SET] at the same time.
• The Status indicator will wink red-green alternately 3 times, then stay red.
• Release the buttons. Factory defaults will be set.
• The defaults will be Flash mode: Manual and Sync mode: HSS. If the unit is then placed on
the camera, the Flash Control menus will be set to those values.
Testing the Lighting Setup
The setup can be tested to ensure that all devices are powered up and that the communication is
working. In addition, actual lighting outputs can be metered if manual levels are being used.
• The [Test] button can awaken the flashes and test whether they can be triggered.
• The test works through both hot-shoe and PC-sync cable.
• If the flash does not wake, manually awaken it.
• Use the PC-sync port to connect a flash which does not have the awakening function.
• All 622s (in transmitter or receiver mode) on the same channel as the test unit will be
addressed, and those flashes in the “Test Group” will be fired.
• An on-top flash will also fire if the 622 transmitter’s Lighting group is included in the test
group.
• All the indicators go out when flash fires.
• The Testing group is not the same as the Lighting group, or the Firing group which controls
ratios and levels.
• To select a testing group, hold down [Test] and repeatedly press [GP SET] to cycle through
the seven testing groups.
• To test all flashes, select All (A+B+C).
• When the desired testing group is shown, release [Test]. The flashes in the selected group
will fire a test flash.

 Loading...