804545 03.17 1.00 Page 7 of 24
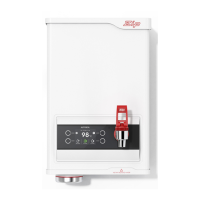
1. Insert the fi lter
To install a fi lter, insert the fi lter into the base of the unit as shown and turn 90° until a click or stop point is
reached, see images below. There should be approximately 20mm of the fi lter protuding when installed.
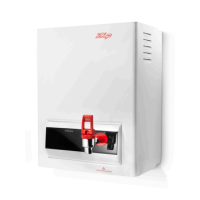
3. After the cover is fi tted, turn the tap fully
clockwise to the end stop and stopped at up-
right position.
4. Use the spanner supplied to tighten the
lock nut anti-clockwise.
2. Turn the fi lter through 90°
until fully engaged
20mm
Lock nut
Step 6 – Installing Filter
NOTE: For safe operation, the filter cartridge should be replaced every 6-12 months, or earlier if you
notice a persistent reduction in water pressure from the appliance or an unpleasant taste or odour in the
water. Refer to Filter Replacement section on page 21 for instructions of changing fi lter.
Installation Procedures
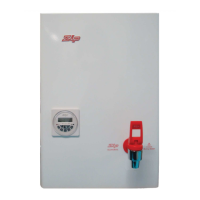
Step 7 – Commissioning - Filter Flush & Calibrate
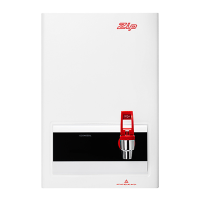
Remove Plug
Fig.1
Warning: Do not turn on the power until
instructed. Water must first be available from
the tap outlet to prevent damage.
1) Remove the plug on the left side of the unit to access
the filter flush valve as shown in fig 1.
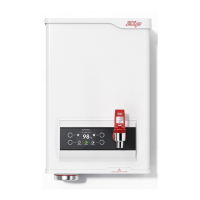
2) Use an 8mm allen key (or flat blade screw driver) to
rotate the valve 180⁰ (either way) to the “FILTER FLUSH”
position (fig 2).