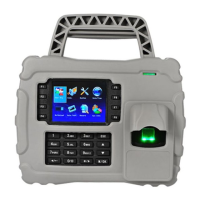
US922 USER GUIDE | 2016
3
Step 1: Install the US922 and power it up.
Step 2: Enroll users by registering his/her ngerprints or passwords.
If the US922 is operating in stand-alone mode, (where no 3rd party access con-
trol panel exists) assign users’ security privileges directly on the US922.
Note: If using the US922 with a 3rd party Wiegand access control panel, users’
security privileges will be maintained by the access control panel and NOT the
US922.
Step 3: After enrolling user(s), verify that his/her enrolled ngerprint or password
is recognized by the US922.
Step 4: Congure the US922 communication settings and then download the
users’ newly enrolled ngerprints from the US922 onto a computer. Data can be
transmitted via TCP/IP or by using a USB ash drive.
Step 5: Verify that US922 displays the correct day and time
Note: Always back up the ngerprint templates on a computer or removable
media source. Having a “template backup” can potentially save you a lot of time.
If the US922 fails or is vandalized, having a “backup” eliminates the need of hav-
ing to re-enroll all your users.
Operating | Brief Overview
 Loading...