Page 17
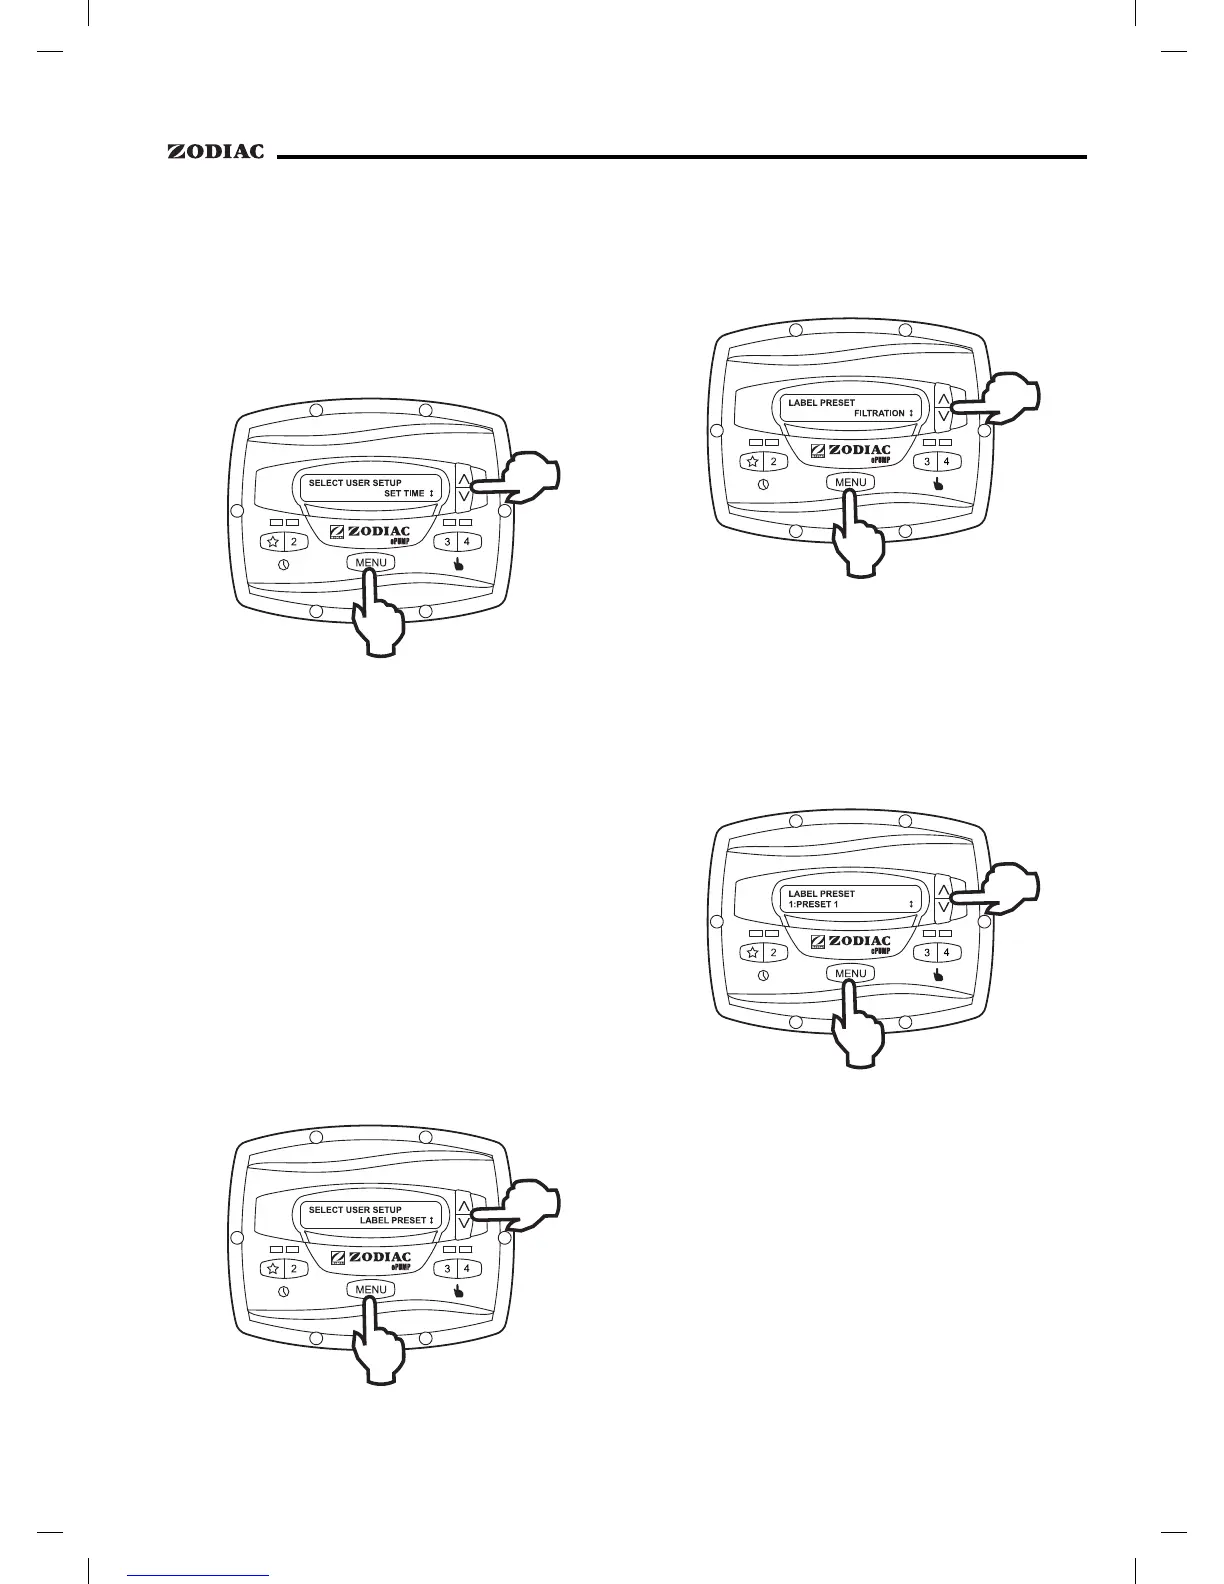
From the setup menu, select . Press
the
button to display the currently-set time.
Using the arrow keys, adjust to the desired time. Press
to save your setting.
The ePump™ controller comes from the factory
with pre-programmed labels or names for the preset
speeds. While these labels may be appropriate for many
owners, they may be changed as desired to suit your
particular installation.
Two types of labels are provided by the
controller:
• General Labels - selected from a list
• Custom Labels - created by the user
From the setup menu, select
.
Press the
button to display the currently selected
preset. Using the arrow keys, choose the preset to be
changed. Press
to select. The controller displays
. Select or
as desired using the arrow keys.
Using the arrow keys, select a general label
from the list to assign to the preset. Press
to
assign the label to the preset.
In the custom label mode, the controller
displays a flashing cursor at the character position to be
changed. Using the arrow keys, change the character as
desired. Press
to accept the change and advance
to the next character position. Press any preset key "
"
through "4" to return to the previous cursor position.
Continue this procedure until the end of the
label is reached. The new label is saved when
is
pressed at the last character position.