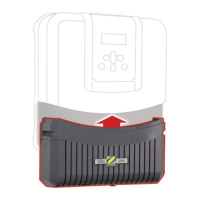
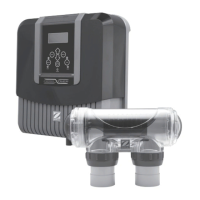
7. Position the TRi PRO module correctly and tighten the 4 screws. Put the silver cover cap back into
place.
IMPORTANT
: Do not connect unit to mains supply before the TRi PRO module, the POD holding
sensors and its pH minus release pipe are installed (see chapter 3.8 / ‘Testing / Priming
peristaltic pump’).
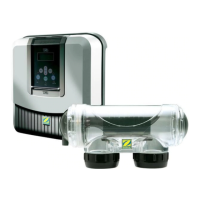
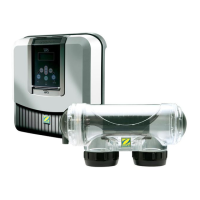
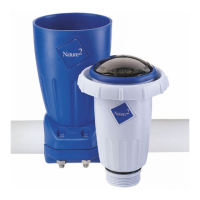
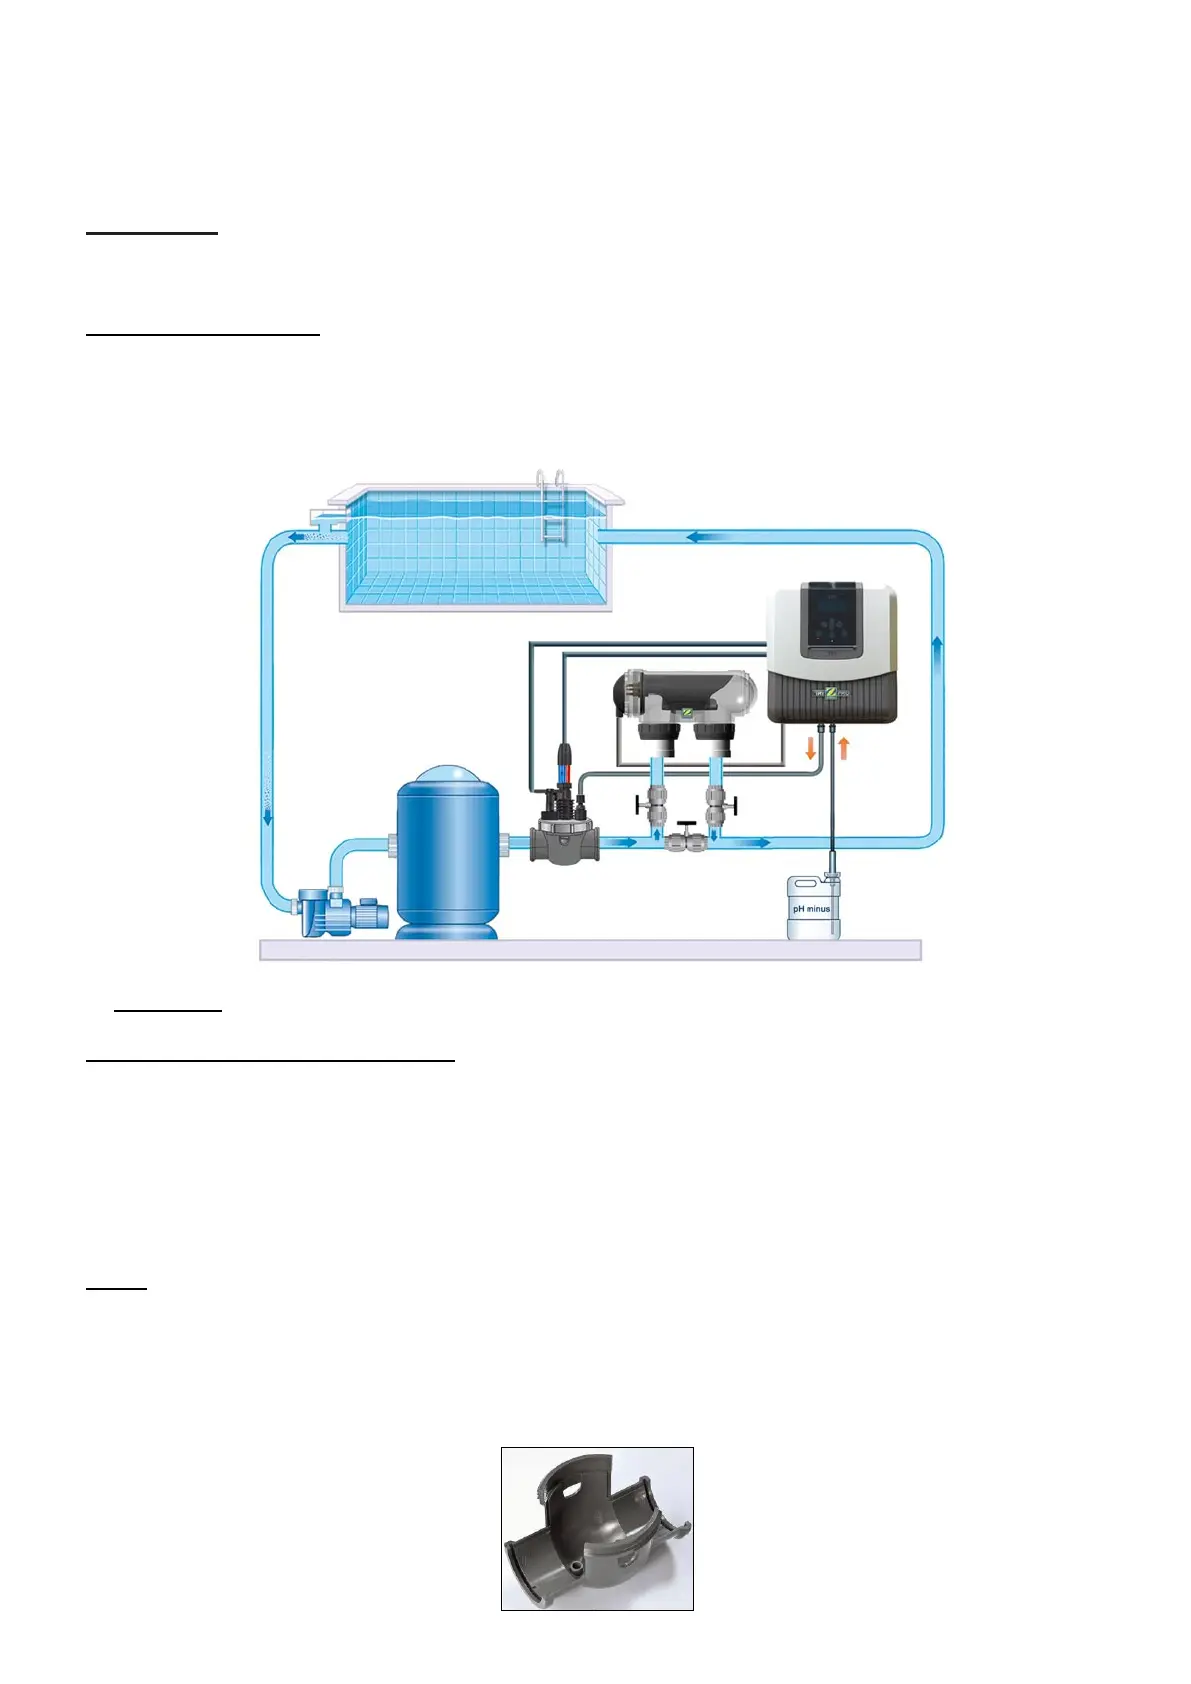
3.3/ Installing the POD
TRi PRO POD integrates in a single sub-assembly all the necessary elements. That means flow switch
(used by your TRi salt water chlorinator), pH sensor, ACL sensor and pH minus one-way valve.
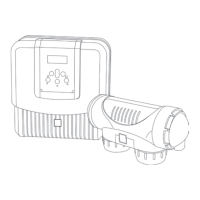
Figure illustrating the location of TRi PRO complete system
WARNING
: TRi cell bypass valves must always be fully opened.
IMPORTANT RECOMMENDATIONS
:
- TRi PRO POD must always be installed onto a horizontal pipe to be sure that pH & ACL sensor
will be positioned vertically.
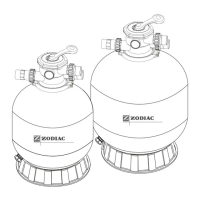
- POD must be the first element installed just after the filter.
- If pool is heated (heat pump, heat exchanger, electric heater…), POD will be positioned before
heating system bypass.
- It is recommended to place the POD at least 20 cm from a bend in the pipe.
- pH & ACL sensor cables must not be close to high voltage cables to prevent false readings.
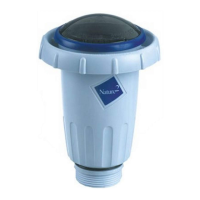
NOTE
: An incorrectly installed pH and/or ACL sensor may give erroneous measures resulting in
inappropriate operation of your TRi equipment. Neither the manufacturer nor the appliance will be held
responsible in this case.
1. Choose a straight pipe section with appropriate length after filtration (30 cm minimum, without bend).
2. Disassemble POD sub-assembly (part #10) to keep the bottom part of POD clamp (with 2 holes).