/ 9
2
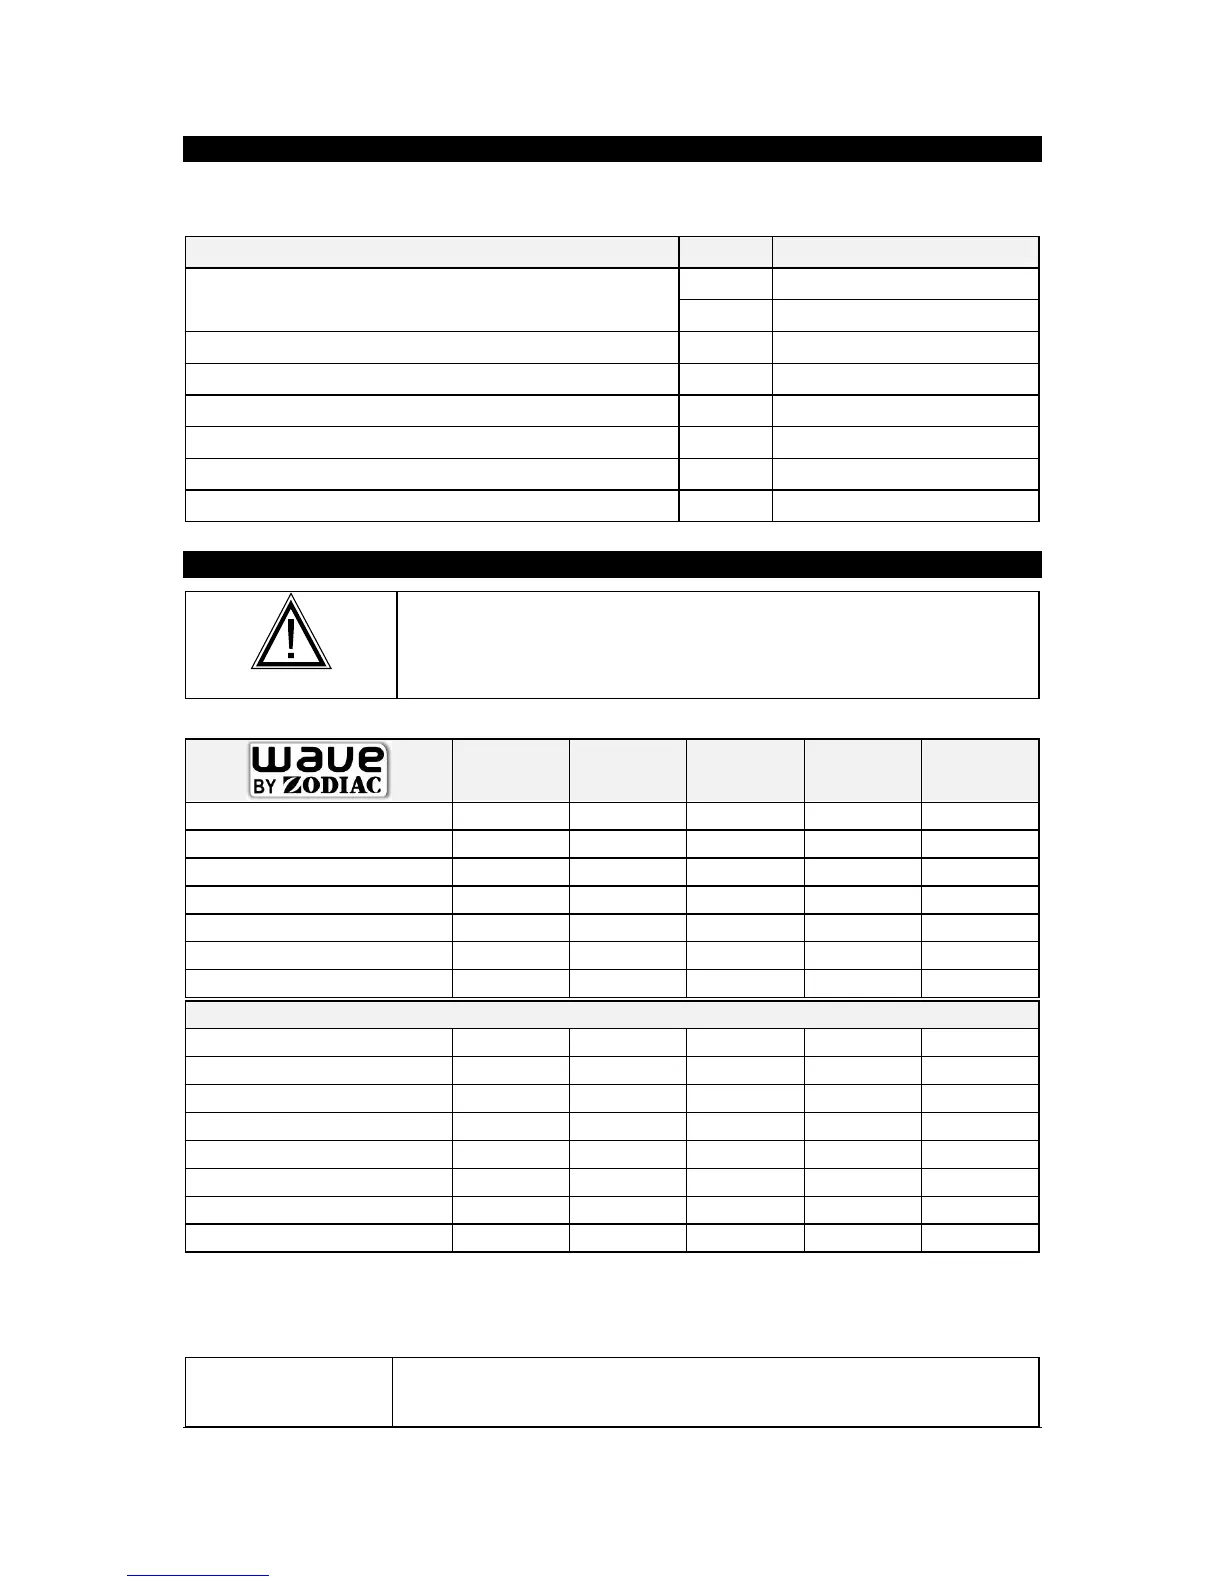
ASSEMBLY PROCEDURE
We recommend that you follow the specific order of the assembly procedure. Proceed step by step
and refer to the corresponding pages.
PROCEDURE PAGE SECTION
1. inventory the elements composing your boat,
and learn how to recognise them
2
CHECK ON UNPACKING
I - IV
DESCRIPTION
2. activate valves into inflating position
5
INFLATION SYSTEM
3. slightly inflate the main buoyancy tube 6
INFLATION
4. install the floor in the boat (except Aero and Rib C)
3 - 4
ASSEMBLY
6. Install the seat 8
ASSEMBLY OF EQUIPMENT
7. finish inflation of the boat to the correct pressure 5 - 6 / 7
INFLATION / PRESSURE
8. Install the oars 8
ASSEMBLY OF EQUIPMENT
CHECK ON UNPACKING
CAUTION
DO NOT USE A SHARP TOOL
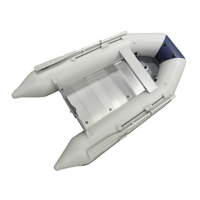
The pack must contain: 1 buoyancy tube +
WAVE 11
Solid
Floorboard (1)
5
Inflatable floor (Aero)
-
Rigid hull
-
inflatable keel
1
Stringer
2
Repair kit
1
Owner’s manual (2)
1
Standard equipment
Carry bag For Boat
1
Carry bag For Floorboard
1
Reinforced aluminium oar
2
High pressure foot-pump
-
HP electric inflator
-
Standard foot-pump
1
Fuel tank strap
-
Removable wooden seat
2
(1) Marine Plywood Floor – Number of elements (2) 2 volumes
You can equip your boat with many optional accessories (transportation wheels, boarding ladder,
lifting rings etc.). Ask your dealer to advise you.
NOTICE :
IF YOU WISH TO ADD LIFTING RINGS, YOU MUST FIX THEM ON THE
BUOYANCY TUBE, NEVER ON THE FLOOR