3-13
Figure 3-16 Connect an AC power cord to a horizontal AC power socket (2)
Figure 3-17 Connect an AC power cord to a vertical AC power socket (1)
Figure 3-18 Connect an AC power cord to a vertical AC power socket (2)
Connecting the RPS Power Cord
Connect RPS power cords of the Switch 4210G (excluding Switch 4210G PWR 24-Port and
Switch 4210G PWR 48-Port)
The Switch 4210G 24-Port, Switch 4210G 48-Port, Switch 4210G NT 24-Port, and Switch 4210G NT
48-Port can work with RPS500-A3 using its +12 V/10.5 A output and a 0404A03C power cord.
Procedures for connecting the RPS power cords are the same for these three models.
Follow these steps to connect an RPS power cord to the switch:
Step1 Wear an ESD-preventive wrist strap, ensure a good skin contact and make sure that the
ESD-preventive wrist strap is properly grounded.
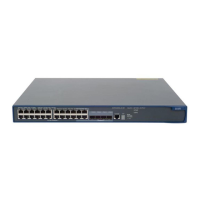
Step2 Loosen the captive screws on the RPS receptacle protective cover and remove the protective cover, as
shown in
Figure 3-19. (If you do not use the +12 VDC RPS interface, install the protective cover.)
 Loading...
