26 CHAPTER 2: INSTALLING THE SWITCH
CAUTION: Opening the switch or tampering with the warranty sticker can
void your warranty.
Rack-Mounting the
Switch
Follow the steps below to mount your switch in a standard 19-inch rack:
1 Check that the rack is sturdy and properly grounded. Attach the
rack-mount brackets to the front or rear panel of the chassis with screws.
2 Place the switch on a shelf in the rack and slide it to a proper position along
the guide rails, reserving a suitable clearance between the device and the
guide rails.
3 Fix the brackets to the rack posts with screws, making sure that the device
is securely attached.
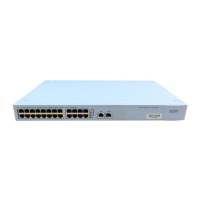
Figure 9 Installing the switch in a 19-inch rack

 Loading...


