3D Systems, Inc.
9
30-0433 Rev. A
4 INSTALLING THE 3D SYSTEMS HAPTIC DEVICE
4.1 Overview
This chapter describes, step by step, how to install the haptic device and drivers:
• Install the Touch Device Driver software to allow your computer to communicate with the haptic device.
• Connect the haptic device to your power source and computer.
4.2 Important Information for Existing Users Upgrading to 3D Systems Touch™ or
Touch X™
If you are an existing user with a haptic device and want to upgrade, before you run the Touch Setup (on the next
page), you must follow these procedures prior to setup.
4.2.1-Uninstall the Previous Version of the Device Driver
Before installing the new Touch Device Driver, you MUST rst uninstall any previous versions of the Phantom Device
Driver (PDD) that you have installed on your system.
1. From the Control Panel, click Programs and Features.
2. Locate, select and uninstall the 3D Systems Touch Device Drivers.
3. Delete all les in the following location: C:\Users\Public\Documents\3DSystems\
4. Reboot the computer prior to performing the following steps.
4.3 Connecting the 3D Systems Touch Device
In this section you will setup the haptic device and plug in all of the cables. The following steps detail the
recommended connection process (Connection Setup below).
NOTE: Exact appearance of your equipment may vary from that shown in the gures.
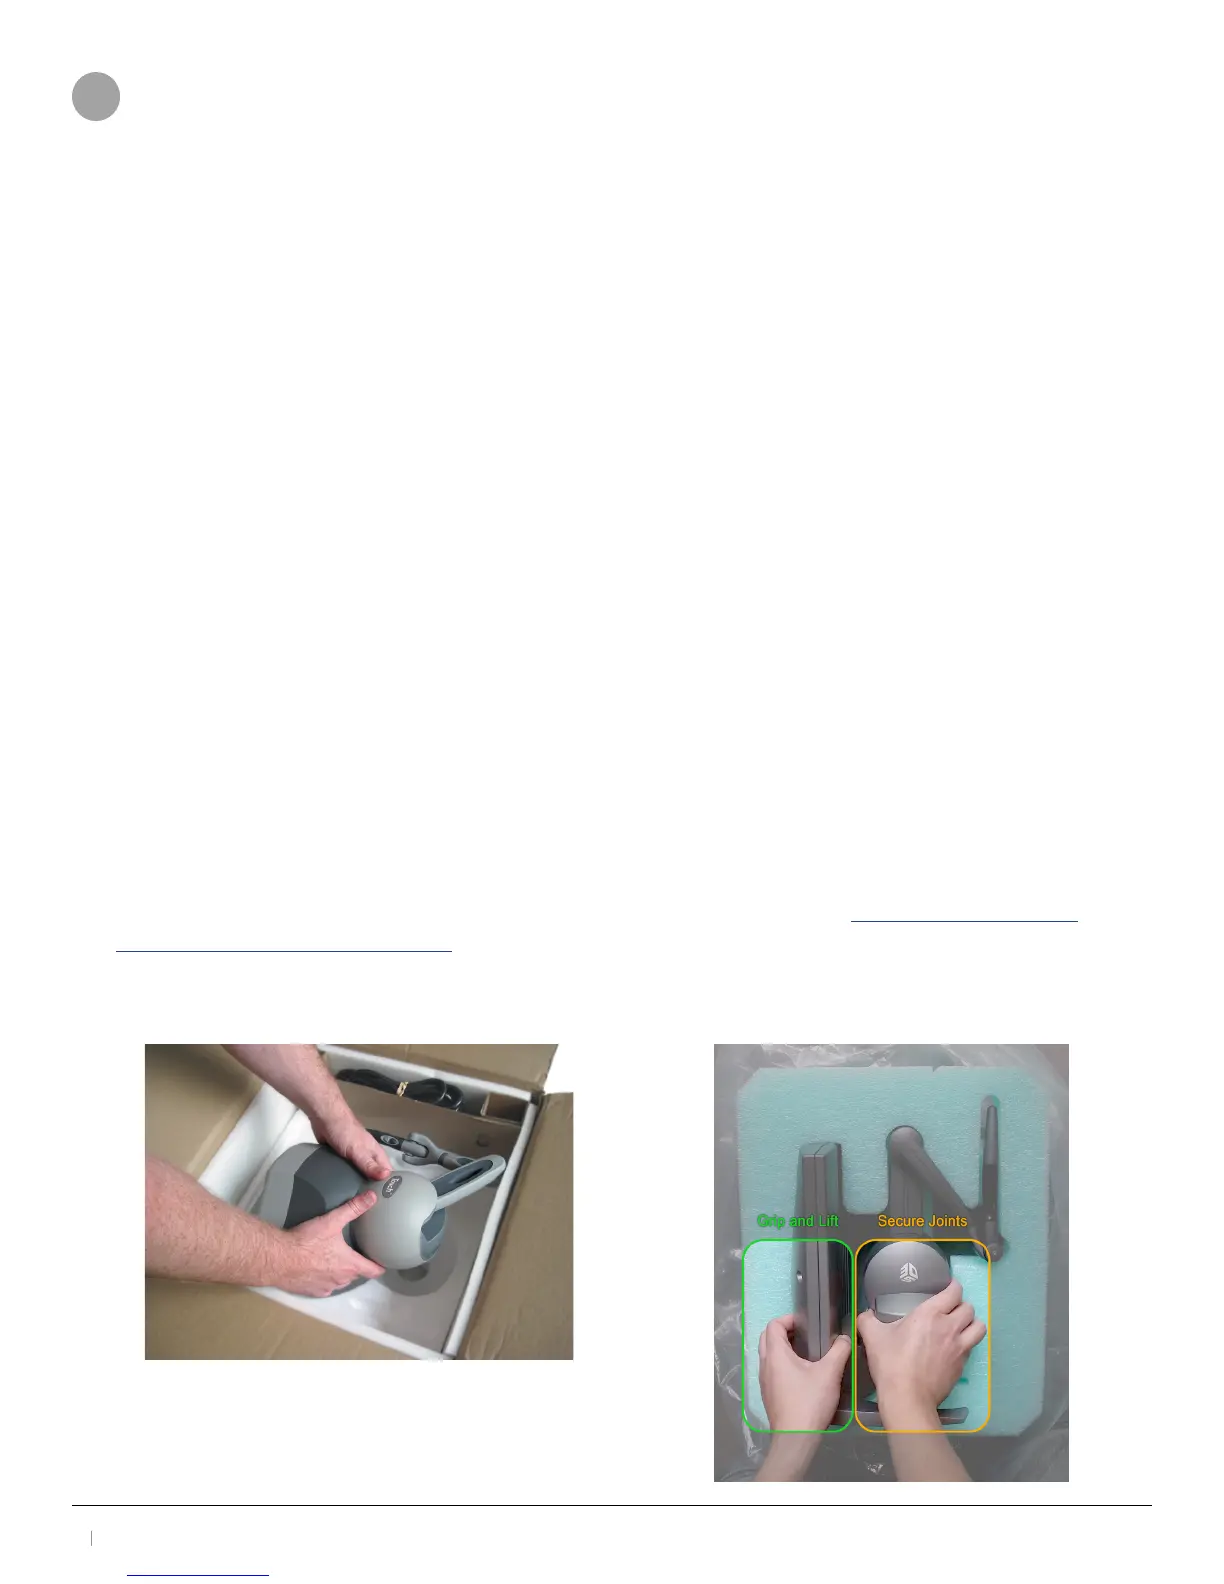
1. Remove the haptic device from the packaging, as shown in the following image. Position the haptic device in
your workspace, using both hands to grasp the covers and base of the device. See PROPER HANDLING AND
POSITIONING OF THE HAPTIC DEVICE section for instructions on how to handle the device to reduce the risk of
damage.
Touch Extraction Touch X Extraction