10
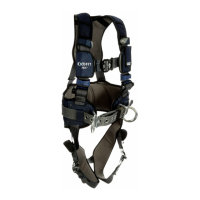
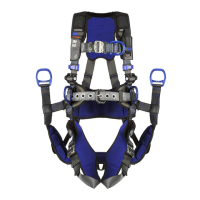
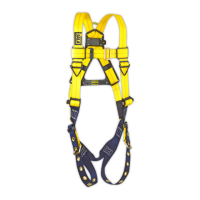
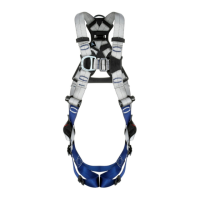
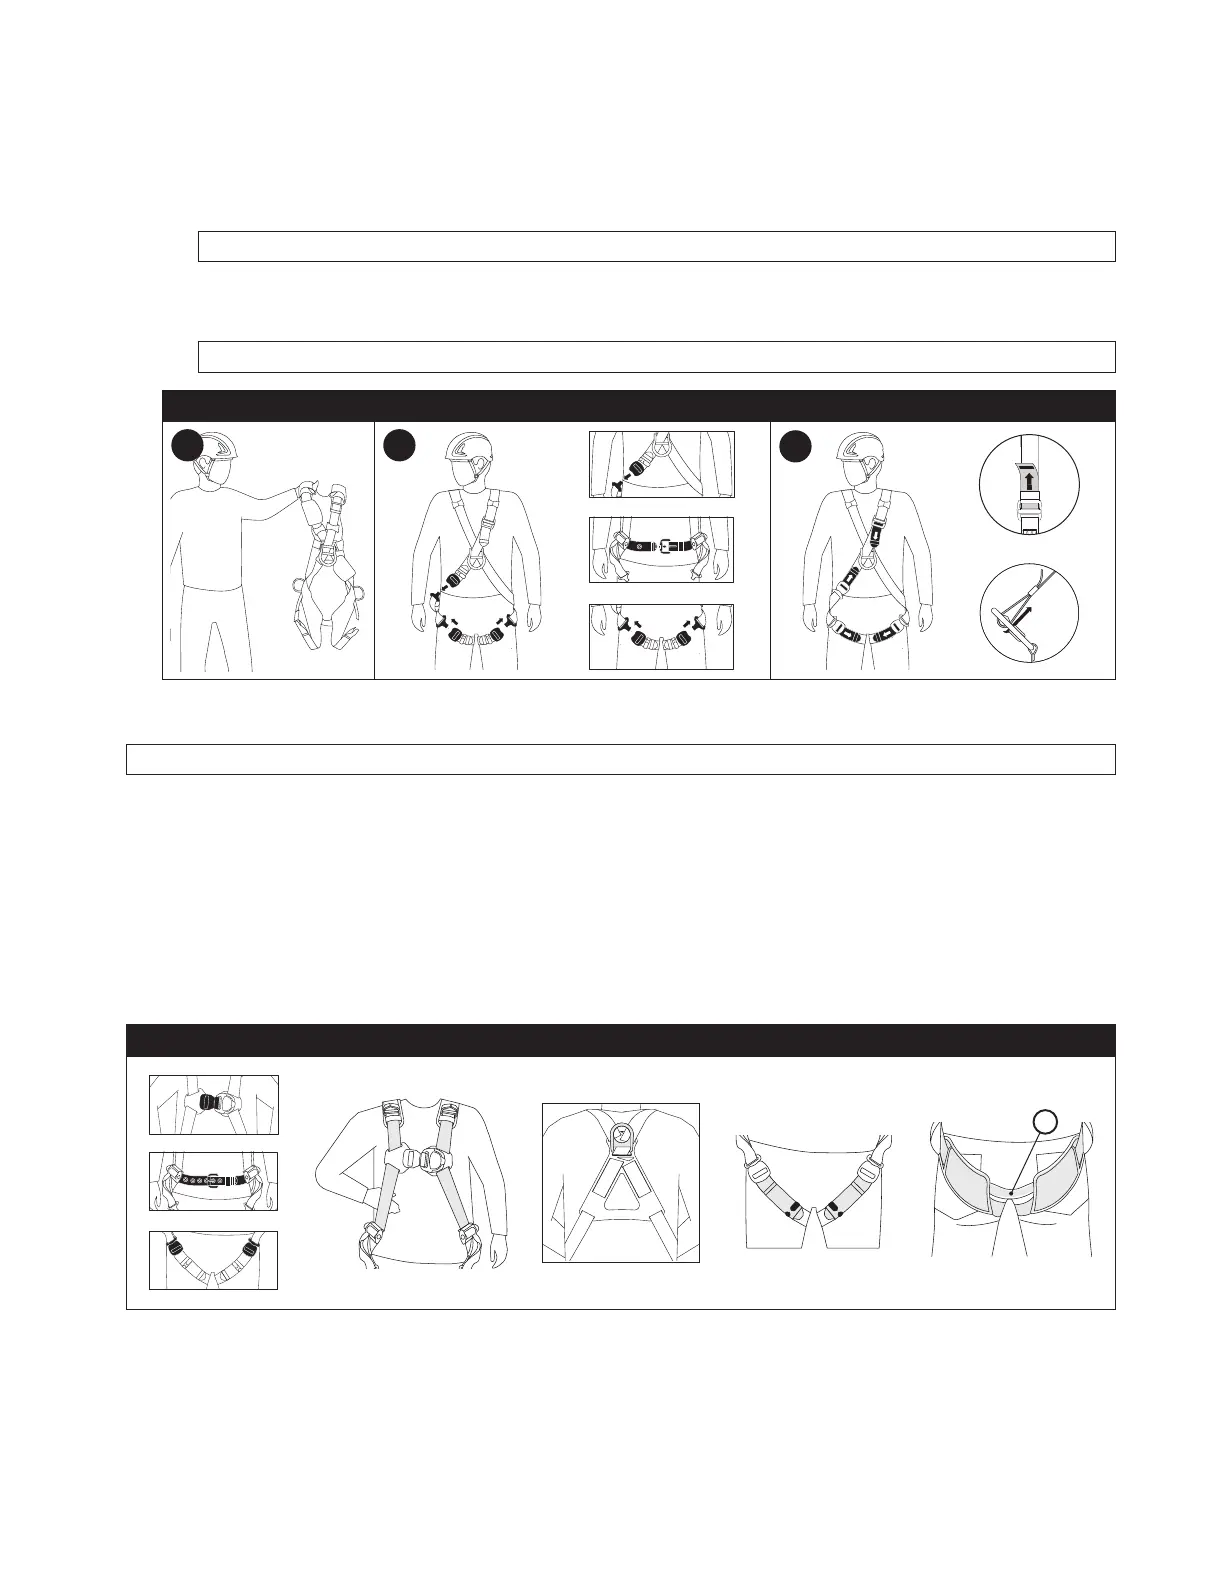
B. CROSSOVER-STYLE HARNESSES: “Crossover style” harnesses include crisscrossing torso straps. See Figure 6B for
reference.
1. Put on the harness. Lift the harness by its dorsal D-ring. Slip the harness over your head to put on the torso
straps, then let the harness hang loosely from your shoulders. Position the sternal D-ring on your chest as
shown. Verify no straps are twisted.
2. Connect the harness buckles. Secure the leg straps rst, then secure the chest buckle. If present, secure the
waist belt buckle.
;
See Section 3.6 for buckle instructions. See Figure 1 for which buckles are on your harness.
3. Adjust the harness for proper t. Check all adjustable features on your harness, including buckles and
adjusters. Position the sub-pelvic strap and adjust your leg straps, then adjust your torso straps. All harness
straps should have a snug, comfortable t.
;
See Section 3.7 for adjuster instructions. See Figure 1 for which adjusters are on your harness.
Figure 6B - Donning the Crossover-Style Harness
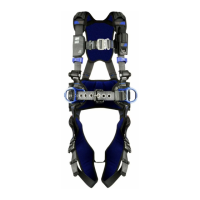
3.5 EQUIPMENT CHECK: Use these equipment checks to verify that your harness is properly installed. See Figure 7 for
reference.
;
The user should verify with a second trained user that their harness has been properly installed.
A. All buckles and adjusters are secure. Check each harness strap to verify that all buckles are connected, and that
each adjuster is locked in place.
B. All harness straps are comfortably snug. Check the t of your harness straps. Ensure no harness straps are
twisted. Verify that the sub-pelvic strap (X) is positioned just beneath the buttocks.
C. All D-rings and other attachment elements are properly positioned. Verify that the dorsal D-ring, if present, is
positioned between your shoulder blades.
D. All harness straps are properly stored. Secure adjustment straps with strap keepers, where present. Move all
keepers to strap end.
E. All harness pads are comfortable, if present. Shoulder pads are along upper back and leg pads are against
buttocks. Pads should remain largely in place and resist sliding.
Figure 7 - Equipment Check
X
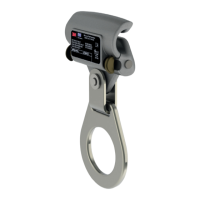
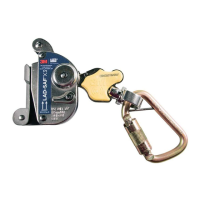
3.6 CONNECTING THE BUCKLES: 3M Harnesses are equipped with a variety of buckles for fastening and adjusting harness
straps. See Figure 8 for reference. See Figure 1 for which buckle types are on your harness.
A. QUICK CONNECT BUCKLES (FIGURE 8A)
1. Engage: Insert the tab into the receptor. You should hear a click when the buckle is secured.
2. Disengage: Squeeze the lock levers on either side of the receptor. Pull the tab out of the receptor.
3. Adjust: Turn and hold the buckle 90 degrees from the harness strap. To shorten webbing, pull down on the
adjustment strap. To lengthen webbing, pull upwards on the buckle.
1 2
3
 Loading...