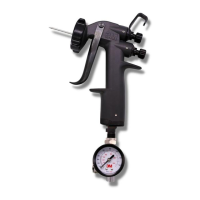
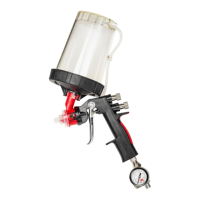
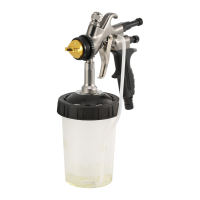
88
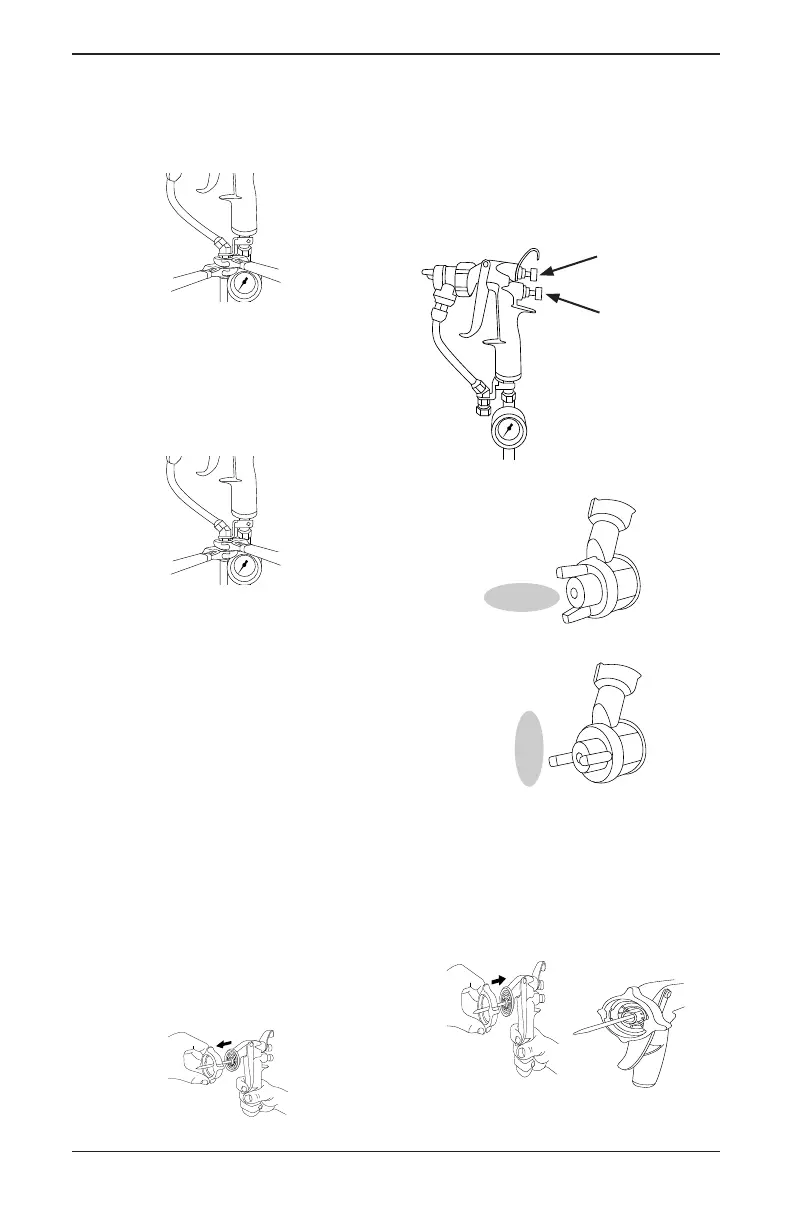
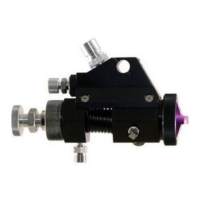
Connecting Pressurized Hose
1. Connect pressurized paint or coating supply
hose to bottom threaded fitting of pressure
fluid hose connector by wrench tightening
with two wrenches in the locations
shown below.
Disconnecting Pressurized Hose
1. Release Pressure from paint or coatings
supply hose.
2. Disconnect pressurized paint or coating
supply hose from bottom threaded fitting of
the pressure fluid hose connector by wrench
loosening with two wrenches in the locations
shown below.
Note: Use of a shut off valve is recommended
(sold separately: 3M™ Performance Spray Gun
Ball Valve - 26839)
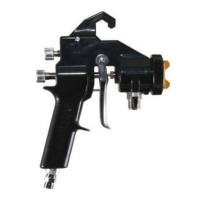
Adjusting the Fan Pattern Size
The fan size is regulated by the fan adjustment
knob. The spray gun in the kit is preset in the
closed position (gently turn the fan adjustment
knob clockwise to verify; knob should not move).
Next, turn the knob counter-clockwise 2 rotation.
The fan adjustment will allow you to spray from a
small round to a full fan pattern.
Adjusting the Fluid Flow
The fluid flow can be adjusted by using the fluid
needle adjustment knob. The spray gun in the
kit is preset in the closed position (pull trigger
to verify; there should be minimal fluid needle
movement). To allow fluid flow, gently turn the
fluid needle adjustment knob counter-clockwise
4 full turns. These adjustment procedures will
serve only as a starting point. Fine tuning of
these adjustments will be based on your material
and technique.
Fan Adjustment
Knob
Fluid Needle
Adjustment
Knob
The spray pattern can be changed from vertical
to horizontal by rotating the air cap a 1/4 turn.
HORIZONTAL PATTERN
VERTICAL PATTERN
Locking Collar Removal
If desired, the atomizing head locking collar
can be removed from gun frame in order to
thoroughly clean head of gun body.
1. While atomizing head locking collar is in the
“+ configuration” and without an atomizing
head attached to the spray gun body, pull
locking collar firmly forward.
2. Reverse process to re-attach locking collar
ensuring that the retention bumps on the ID
align with spray gun body head protrusions.