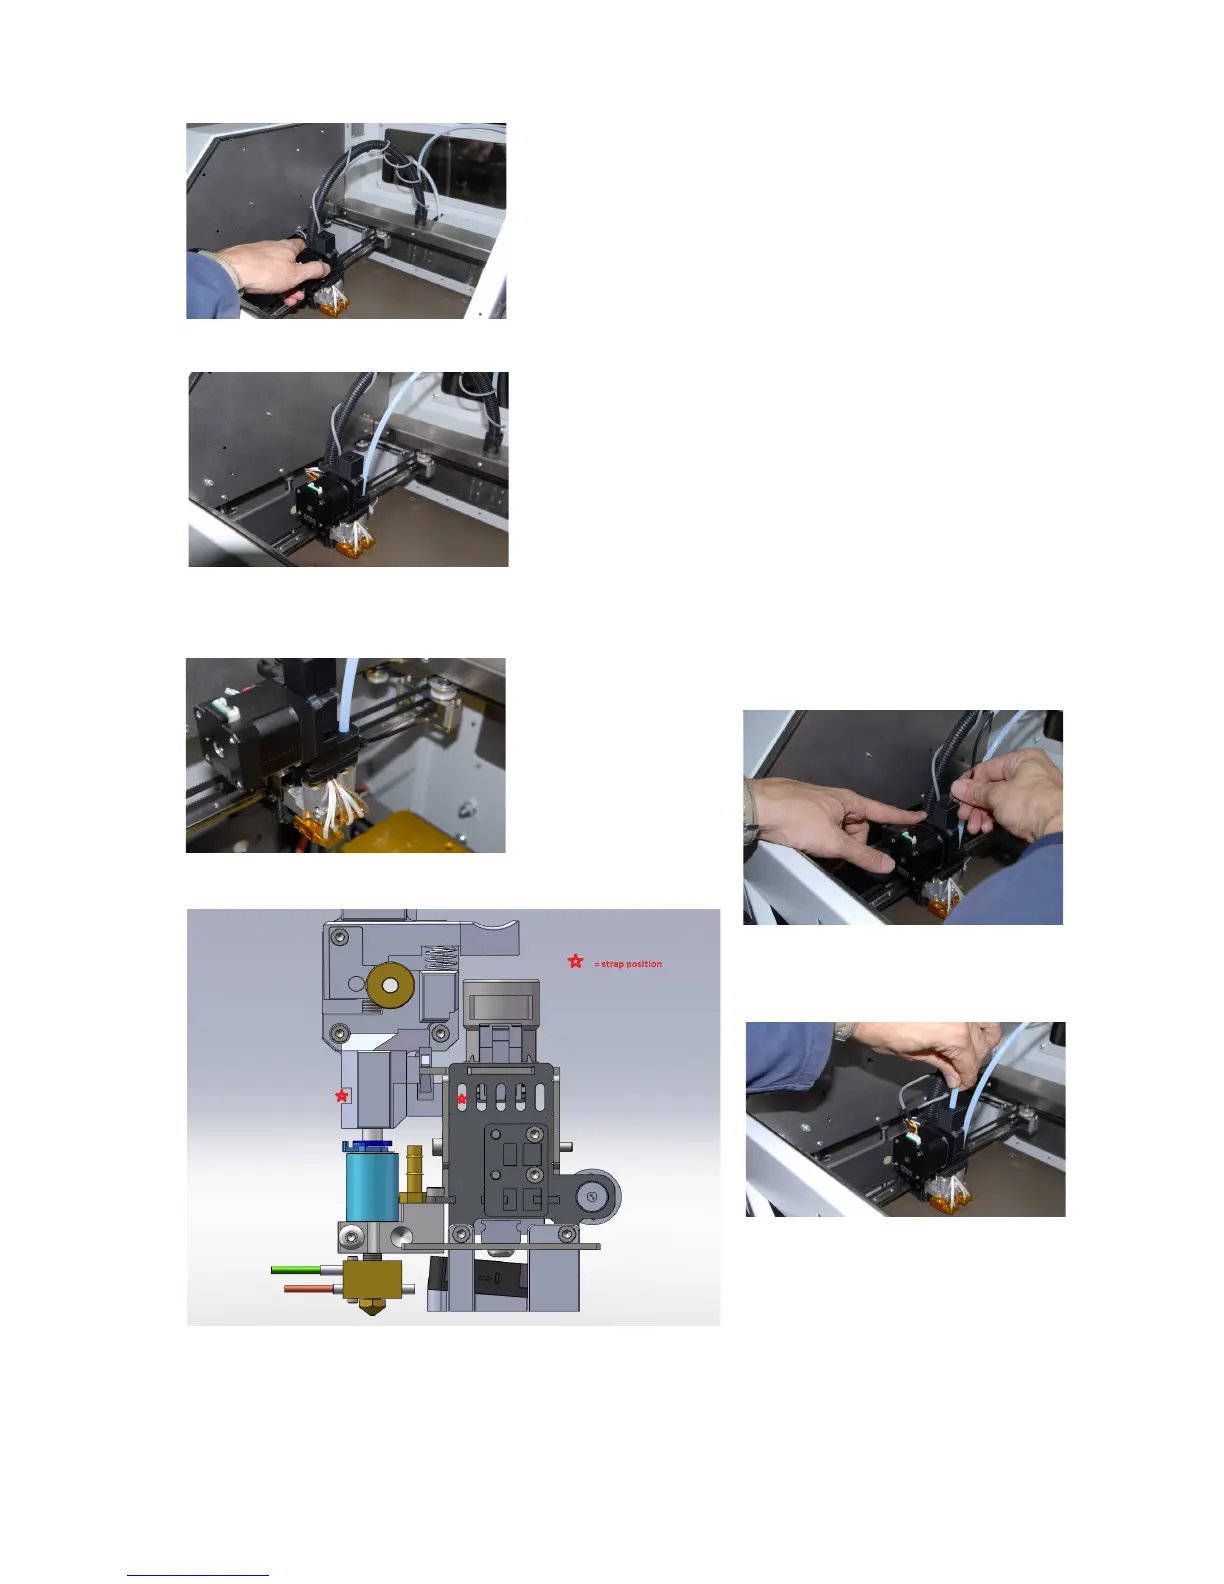
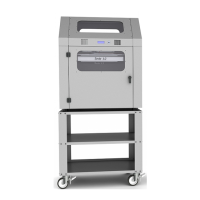
6. Place the SPFU unit on the extruder #1, plugging the
small PTFE part protruding from the unit into the #1
extruder tube adapter
7. Arrange the SPFU routing the extruder cables around it,
avoiding any cable pinching or pulling
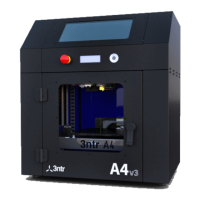
8. Lock the SPFU to the extruder body with a plastic strap
(refer to fig 36-38)
9. Put back on the #2 PTFE piping, routing it thru
corresponding hole into SPFU
10. Lock both PTFE pings entering extruders with the blue
lockrings
11. Plug the motor connector into SPFU
12. Feed the supplied 6x4 PTFE pipe thru the opening on
the back (used to route the existing #1 piping)
13. Feed the soft polymer filament into 6x4 PTFE pipe
14. Push on the feeding lever to feed (pointed) filament thru
SPFU. Push until you don't reach the extruder heating
area
15. Bring the 6x4 PTFE to match upper opening on the
SPFU
16. Select the Kisslicer printer profile for rubber printing. Now
you can turn on machine and start printing!
31