4 On-site Installation
4.1.1 Lifting manipulator with fork lift
3HAC 16245-1 A 39
No personnel must under any circumstances be present under the suspended load!
Step Action Info/Illustration
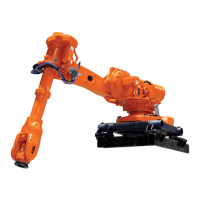
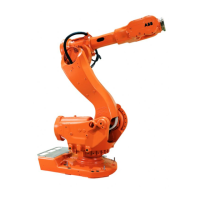
1. Make sure the manipulator is posi-
tioned as shown in the figure to the
right. If it is not, position it that way.
Note! Depending on which fork lift set
is used, the manipulator may or may
not be equipped with a load, see fig-
ures on the right!
Release the brakes if required as detailed in
Manually releasing the brakes on page 44.
xx0200000079
When using fork lift set 3HAC 0604-2, no
load is permitted on the manipulator!
xx0200000387
When using fork lift set 3HAC 0604-1, a
load is permitted on the manipulator!
2. Fit the two spacers to the manipulator
and secure.
Shown in the figures Illustration, 3HAC
0604-2 on page 37 or Illustration, 3HAC
0604-1 on page 38!
3. Secure the fork lift pocket horizontally
to the spacers with four washers and
securing screws.
Notice the tightening torques! All the
securing screws are identical, but
they are secured with different tight-
ening torques!
Shown in the figure Illustration, 3HAC 0604-
2 on page 37 or Illustration, 3HAC 0604-1
on page 38!
4 pcs; M16x60; tightening torque: 60 Nm
±12 Nm (not oil lubricated screws).
Make sure the original screws are always
used (or replacements of equivalent quality:
M16, quality 12.9)!
m
1
0
°
5
0
°
m
1
0
°
5
0
°

 Loading...

