• Place the camera and bracket completely on the wall plate
and fix the elements to the underside of the bracket with the
Allen key.
• Use a commercially available weather-protected installation
box (width and height min. 105 mm, depth min. 35 mm) for
a waterproof installation.
• Guide the cable of the camera into the installation box and
carry out the wiring there. For further installation with an
installation box, follow the installation instructions for this
box.
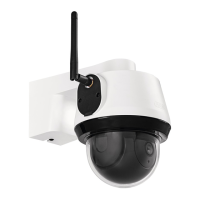
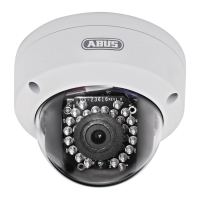
3.1.3. WI-FI outdoor camera (flush-mounted)
During the installation of the camera, you have the option of accessing the following installation
instructions via the help in the app.
Attention!
Place the camera under a canopy or similar to avoid direct sunlight. The camera should
not be pointed directly at a light source or at the sun.
• Mark the position of the required 3 drill holes at the
desired location using the drilling template or the wall
plate of the bracket and, for example, a pencil. To do this,
please unscrew the bracket.
• Drill the holes and insert the enclosed dowels.
• Connect the power cable and LAN cable (optional for Wi-
Fi use) to the 2 connectors on the camera.
• Guide the cables into the wall.