Installation Guide
6
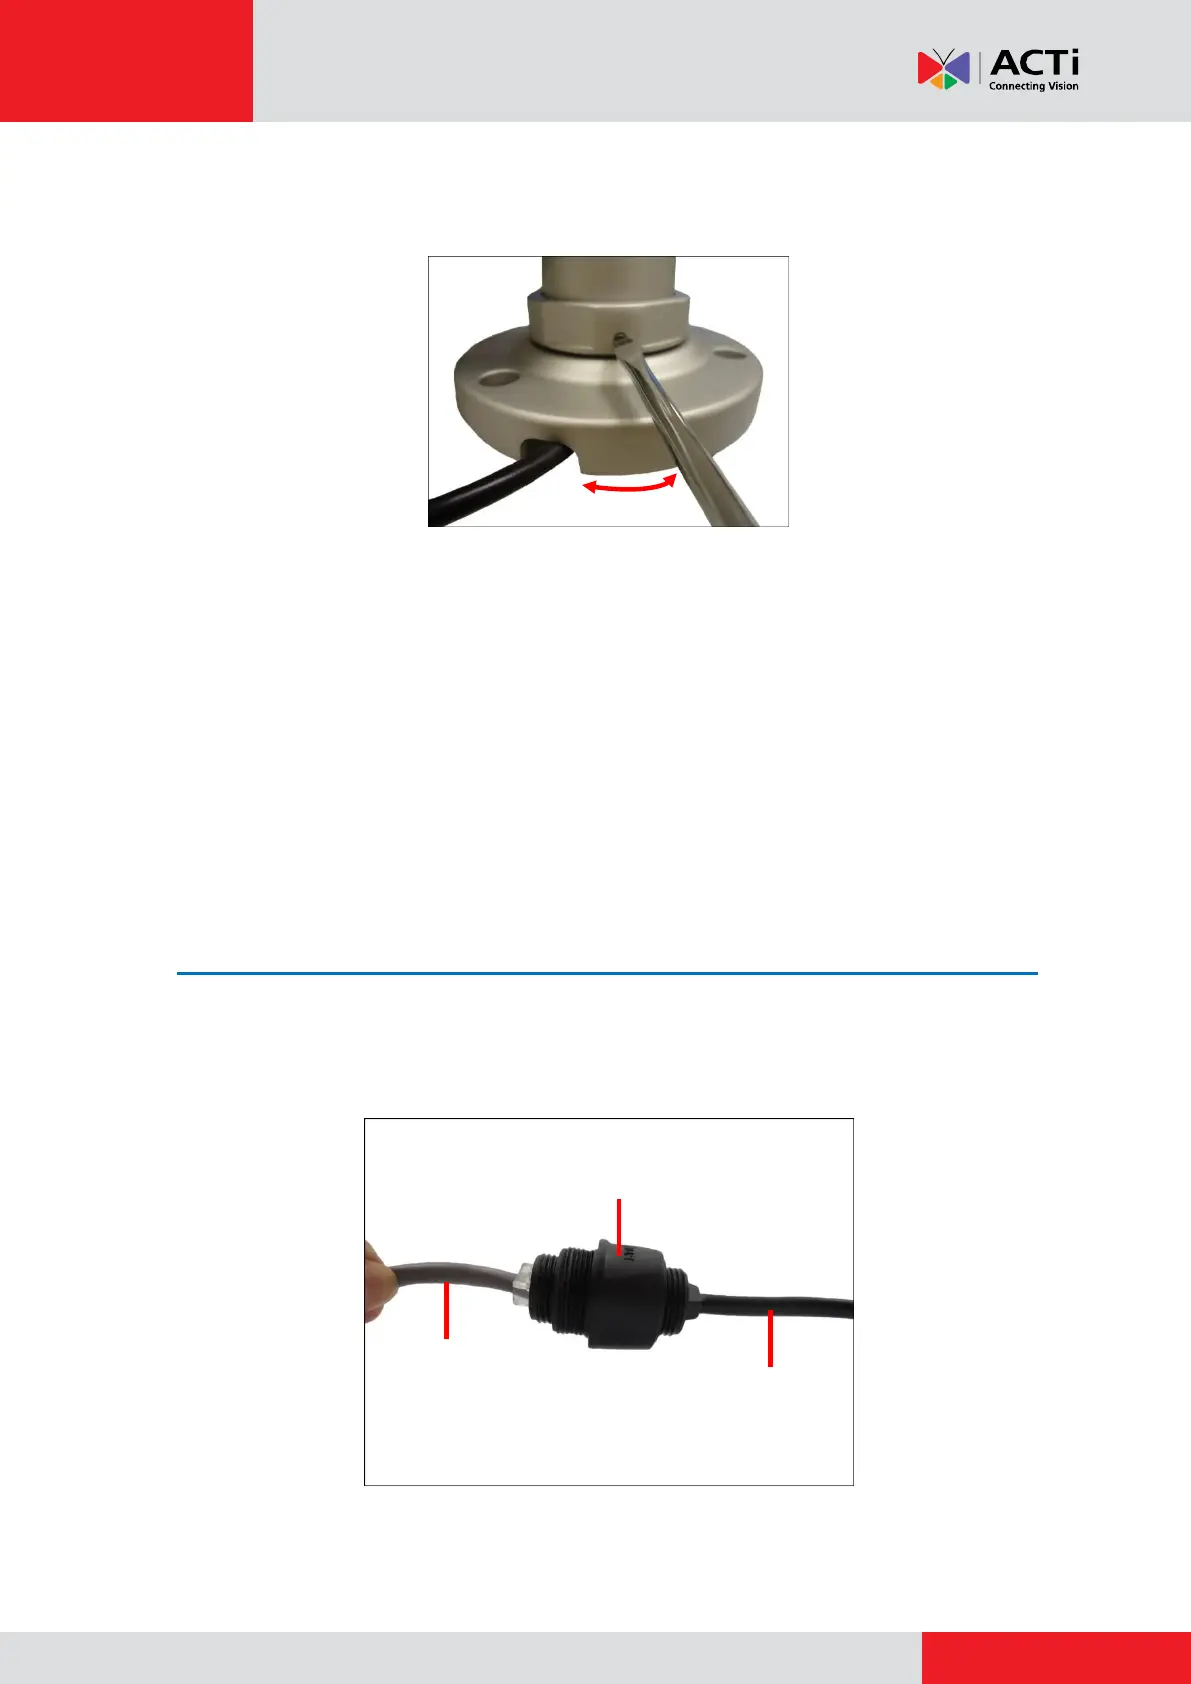
b. If necessary, adjust the bracket position and then tighten the lock screw to lock
its position (torque 0.5 +/- 0.05 Nm).
NOTE: Make sure to secure the screw with the appropriate torque force (torque
= 0.5 +/- 0.05 Nm). The use of electric screwdriver or putting too much torque
force may cause damage to the bracket.
3. Mark and drill the location of the screw holes and cable hole, if necessary.
NOTE: Depending on the surface where you will install the camera, it may be necessary to
drill three (3) holes and use the supplied screw plugs.
Step 2: Install and Connect the Camera
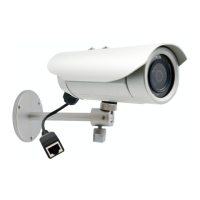
1. Connect the Ethernet connector of the camera and the network to each side of the bundled
2-sided female type connector. If the cables will pass through the ceiling, push the cable
through the hole on the ceiling.
Ethernet cable
of the camera
Ethernet cable
from the network
2-Sided Female
Type Connector