6
|
Quick Start Guide English
573101 REV A | 02.2015
Bosch Automotive Service Solutions Inc.
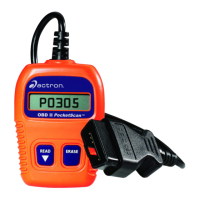
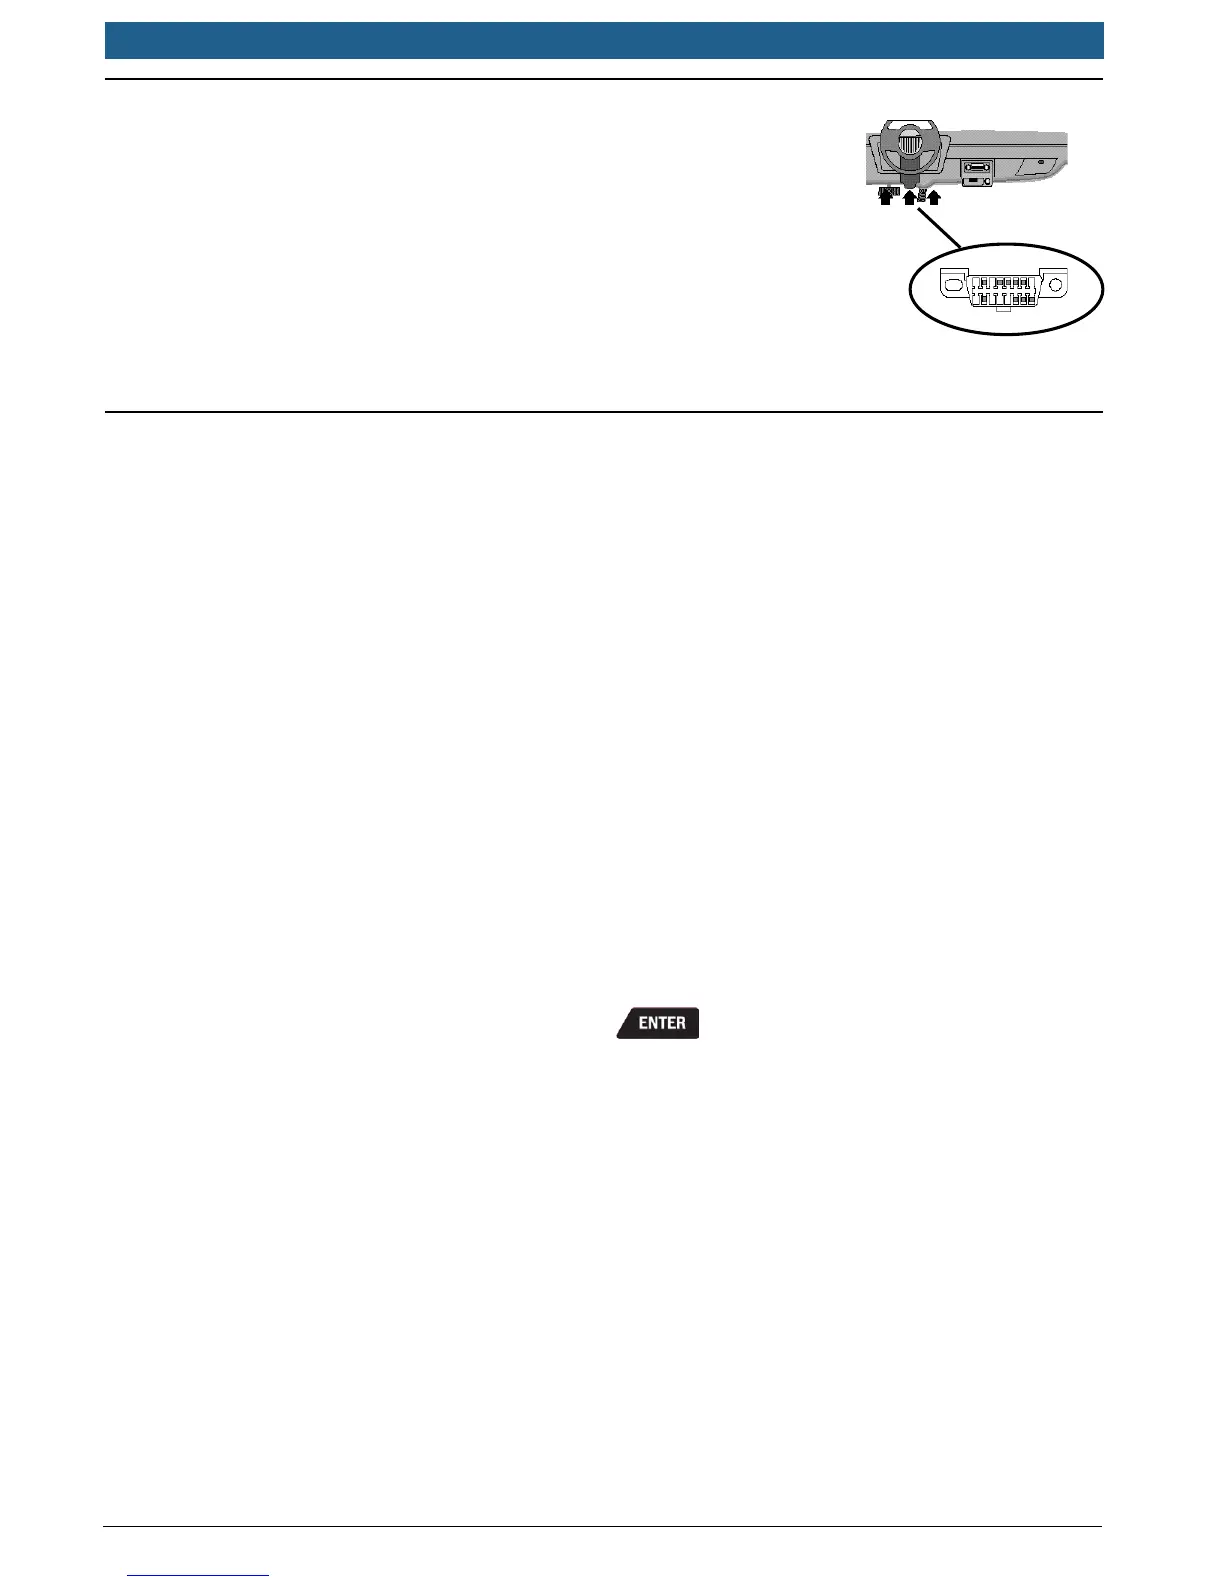
3.2 Locating the OBD II Data Link Connector (DLC)
• The OBD II Data Link Connector (DLC) is usually
located under the driver’s side dash.
• Refer to user’s manual for DLC location.
• For more information, go to http://www.obdclearing-
house.com/oemdb.
NOTE: When tool is connected to the vehicle’s DLC,
power to the tool comes from the vehicle.
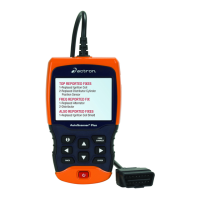
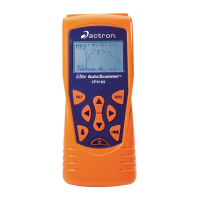
3.3 Connect the Tool
1. Locate the OBD II Data Link Connector under the steering column. If
the connector is not there, a label should be there indicating the where-
abouts of the connector.
2. If necessary, remove the cover from the vehicle connector.
3. Turn the ignition switch to the ON position. Do not start the engine.
4. Plug the OBD II connector attached to the Tool into the Data Link con-
nector.
5. The tool will attempt to identify the vehicle. If successful, the vehicle
identied will be displayed. If vehicle couldn‘t be identied, menus will
be shown for you to select the vehicle manually.
6. The tool can support up to 5 previous vehicles in the garage. If you
already have 5 vehicles in your garage, the tool will display a menu
asking you which previous vehicle to replace with the currently identi-
ed vehicle.
7. Review Quick Test Results.
8. Go to Diagnostic Menu by pressing
.