7
Settings
After powering on for the rst time, the display will automatically enter setup
mode. Follow the on-screen instructions to set up the display.
To adjust the currently selected item, press and release the “
T
” or “
V
“
buttons.
To save your adjustments, press and release the “ ” button again to adjust
the next preference. The preference set order is as follows:
TIME ZONE (PST, MST, CST, EST, AST, HAST, NST, AKST)
AUTO DST (Daylight Saving Time YES or NO)*
CLOCK HOUR
CLOCK MINUTE
CALENDAR MONTH
CALENDAR DATE
CALENDAR YEAR
PRESSURE UNITS (inHg or hPa)
TEMPERATURE UNITS (ºF or ºC)
WIND SPEED UNITS (mph, km/h, knots)
RAINFALL UNITS (inches or mm)
DISTANCE UNITS (miles or kilometers)
AUTO DIM (YES or NO)**
AUTO CYCLE (OFF, 15 sec., 30 sec., 60 sec., 2 min., 5 min.)
ALERT VOLUME
*If you live in an area that observes Daylight Saving Time, DST should be set to YES,
even if it is not currently Daylight Saving Time.
**For more information see page 11, under “Display”.
Enter setup mode at any time by pressing the “ ” button to access the menu,
then navigate to “Setup” and press and release the “ ” button.
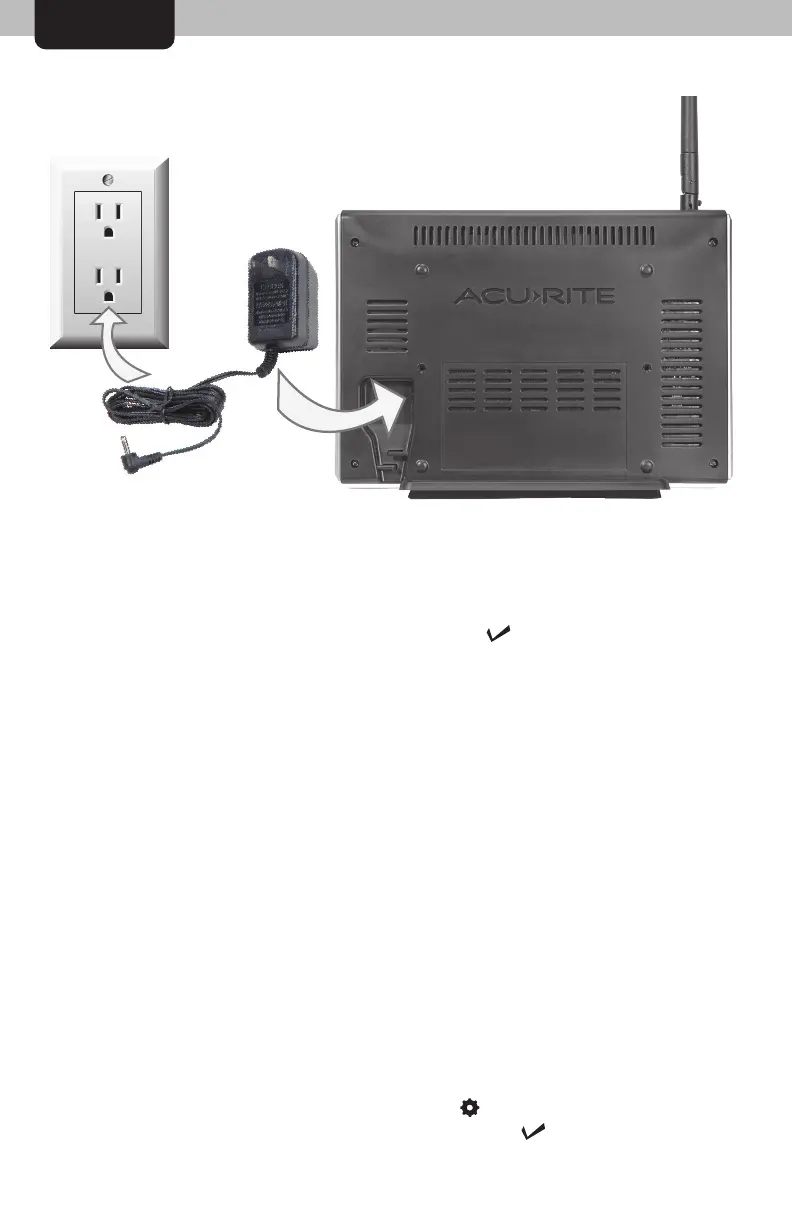
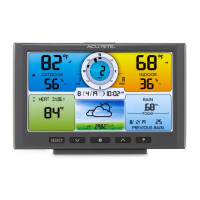
Display Setup
Plug Power Adapter into Electrical Outlet
SETUP