13
PLUG / PORT
CONNECTION
AIR CONNECTOR
(Coiled Tubing)
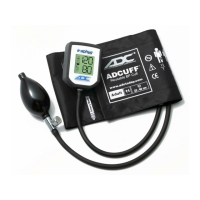
Cuff Connections
1. Squeeze the middle of the plastic air connector on
the end of coiled tubing between thumb and
forefinger,and insert into the air connection port on
the face of the e-sphyg 2
TM
. Make sure connector
firmly “lock” snaps into the port(Figure 1).
2. Firmly insert male connector of coiled tubing into fe-
male connector at end of the Adcuff
TM
bladder tub-
ing. Be sure the connectors are tight (Figure 2).
MALE
CONNECTOR
(Coiled Tubing)
FEMALE CONNECTOR
(Bladder Tube)
Figure 2
Figure 1
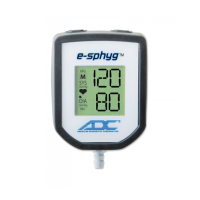
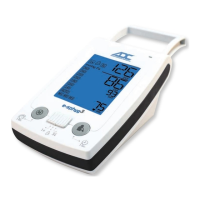
Taking Blood Pressure (Auto Mode)
Turn on the device by pressing "I" side of MAIN POWER SWITCH.
Move MODE SELECTOR downward and set the device to "AUTO".
See page 15 for "MANUAL" measurement.
Set the initial inflation value with PRESET PRESSURE KNOB.
Select the pressure approximately 30 to 40 mmHg above
expected systolic pressure.
Pressure can be set between 100 mmHg and 280 mmHg.
Set the pressure at 180 mmHg if patient's systolic pressure is
difficult to predict.
The cuff is re-pressurized to a higher value if the preset
pressure is too low for blood pressure to be taken during cuff
deflation.