103
USING ADOBE CAPTIVATE 5
Interactive Objects
Last updated 4/22/2010
Click boxes
Click boxes are areas on the slide where the user must click before the next action can take place. You can use click
boxes to demonstrate an application's functionality, for example, by placing them on menus or buttons where the user
must click. You can determine what happens after the user performs a successful click. For example, the project can
advance to the next slide, open a URL, or send an e-mail message.
You can insert the following types of click boxes in Adobe Captivate:
• Right-click box
• Left-click box
• Double-click box
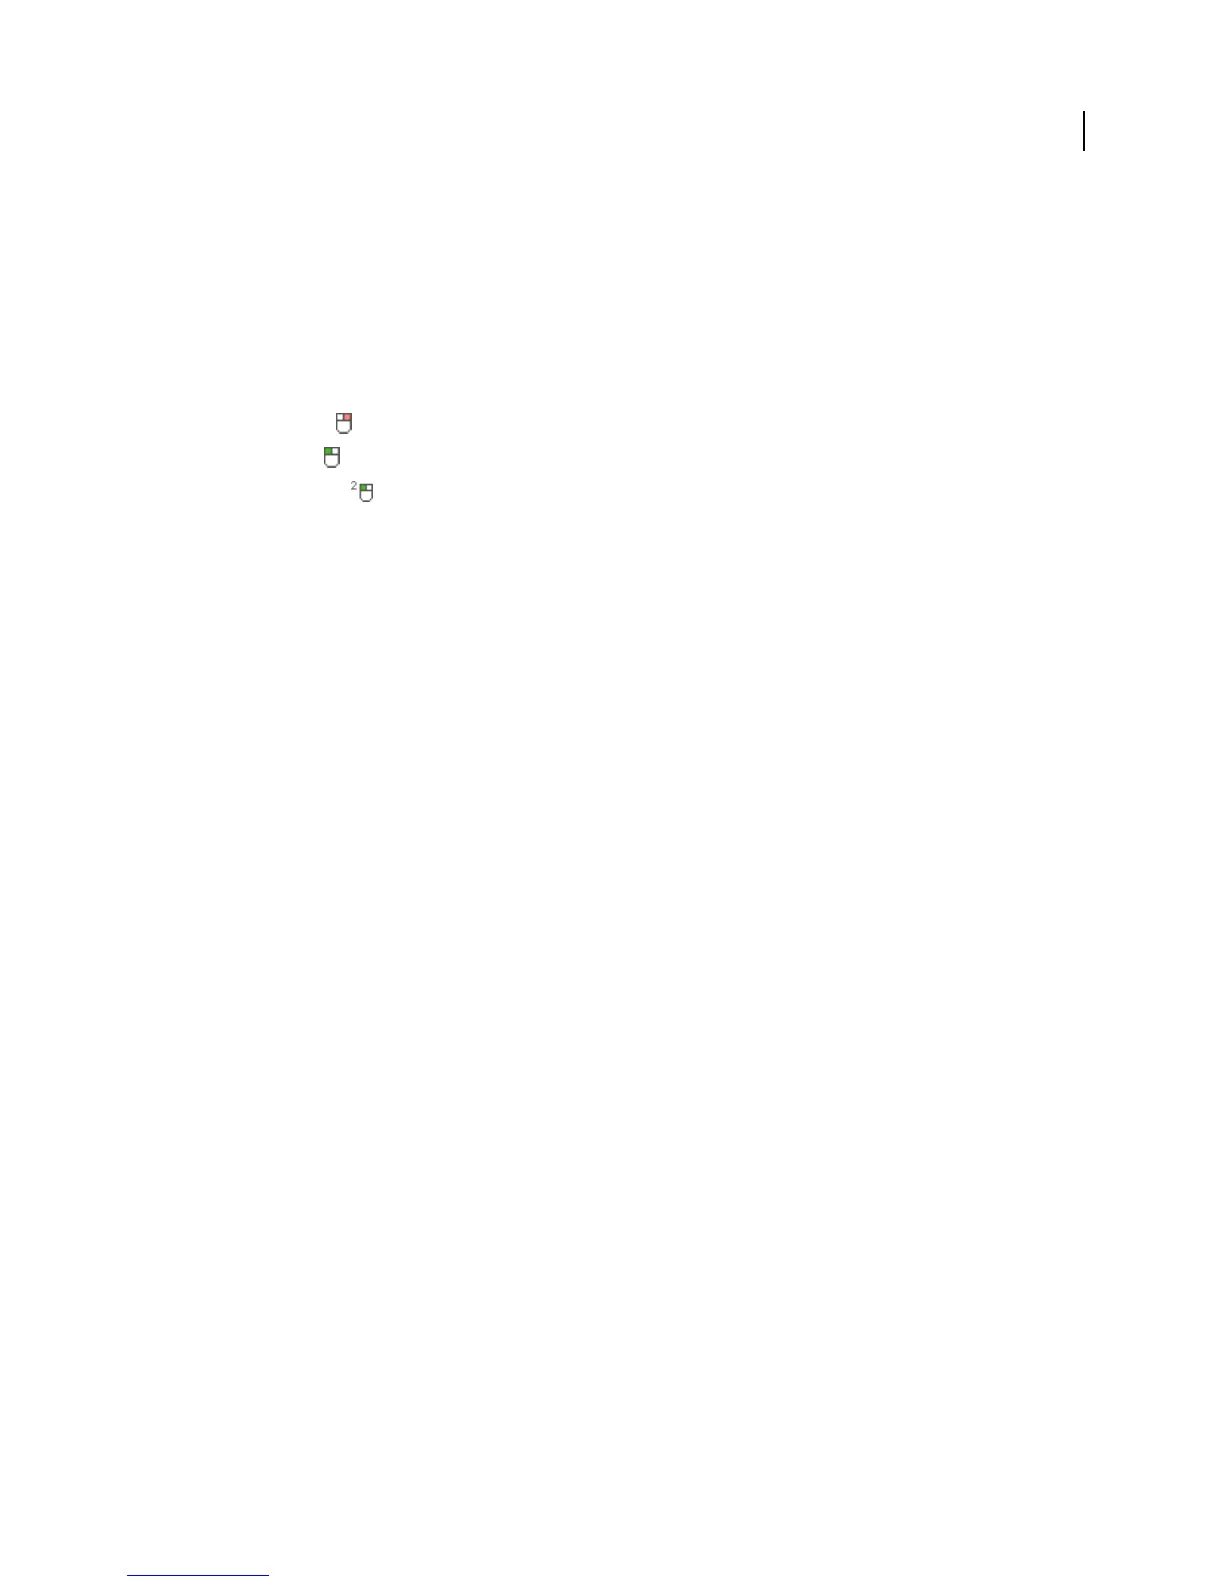
Unless specified as a double-click or right-click box in the properties, click boxes act as left-click boxes. You can
recognize the different kinds of click boxes by their associated icons.
Right-click boxes are not supported in the following cases and act as left-click boxes after you publish the Adobe
Captivate project.
• Publishing a project for Flash Player versions earlier than 8.0.
• Publishing a project using ActionScript 3.0.
• Publishing a project with 508 compliance enabled.
• Publishing a project to a PDF file.
• Publishing projects as EXE files. In this case, right-click works only if the project is published as AS2.
After you have added a click box to your project, you can view and edit its properties using Property inspector. To view
the properties of a click box in relation with other interactive objects in the project, select Project > Advanced
Interaction.
Properties of click boxes
To view the properties of a click box, select it on the slide. The Property inspector displays the properties of the click box.
When you change the properties, the changes are instantly applied to the selected instance of the click box. Click the
Apply to all icon to apply the changes to all the click boxes in the project or to those that use the same object style.
Click Box section
Item Name Enter a unique name for the object. You can use this name when defining the visibility conditions for the
object.
Visible Deselect this option if you want the object to be invisible on the slide. The object can be made visible using the
Show option. For more information, see “Controlling the visibility of objects” on page 50.
Action section
On Success Specifies the event that occurs when a user clicks the box. For the description of the available options, see
“Defining project navigation” on page 102.
Attempts [#] Specifies the number of times the user can attempt the question before the specified action takes place.
By default, the number of attempts allowed is infinite. To specify a number, clear the Infinite check box and then click
the numeral associated with the Attempts option.
Infinite Allows users an unlimited number of attempts.