ADT 7100 User Manual Operating Procedure
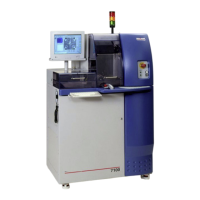
● There are buttons above the zoom box for (M) medium and (H) high zoom. Zoom is from
1 to 2 in increments of .25.
Running a Process
1. Ensure that your recipe, blade, and workpiece are loaded in the tool.
2. Verify that your recipe has the proper parameters, including the critical ones such as sample size,
sample thickness, blade type, etc.
3. Teaching alignment and generation of the cut map.
a. Alignment uses the Vision System to precisely align a workpiece parallel to the blade to
ensure accurate cutting down the middle of each street. These instructions will describe
manual alignment (performed by the User). In addition, auto-alignment (performed
automatically by the Pattern Recognition System) is available to advanced users.
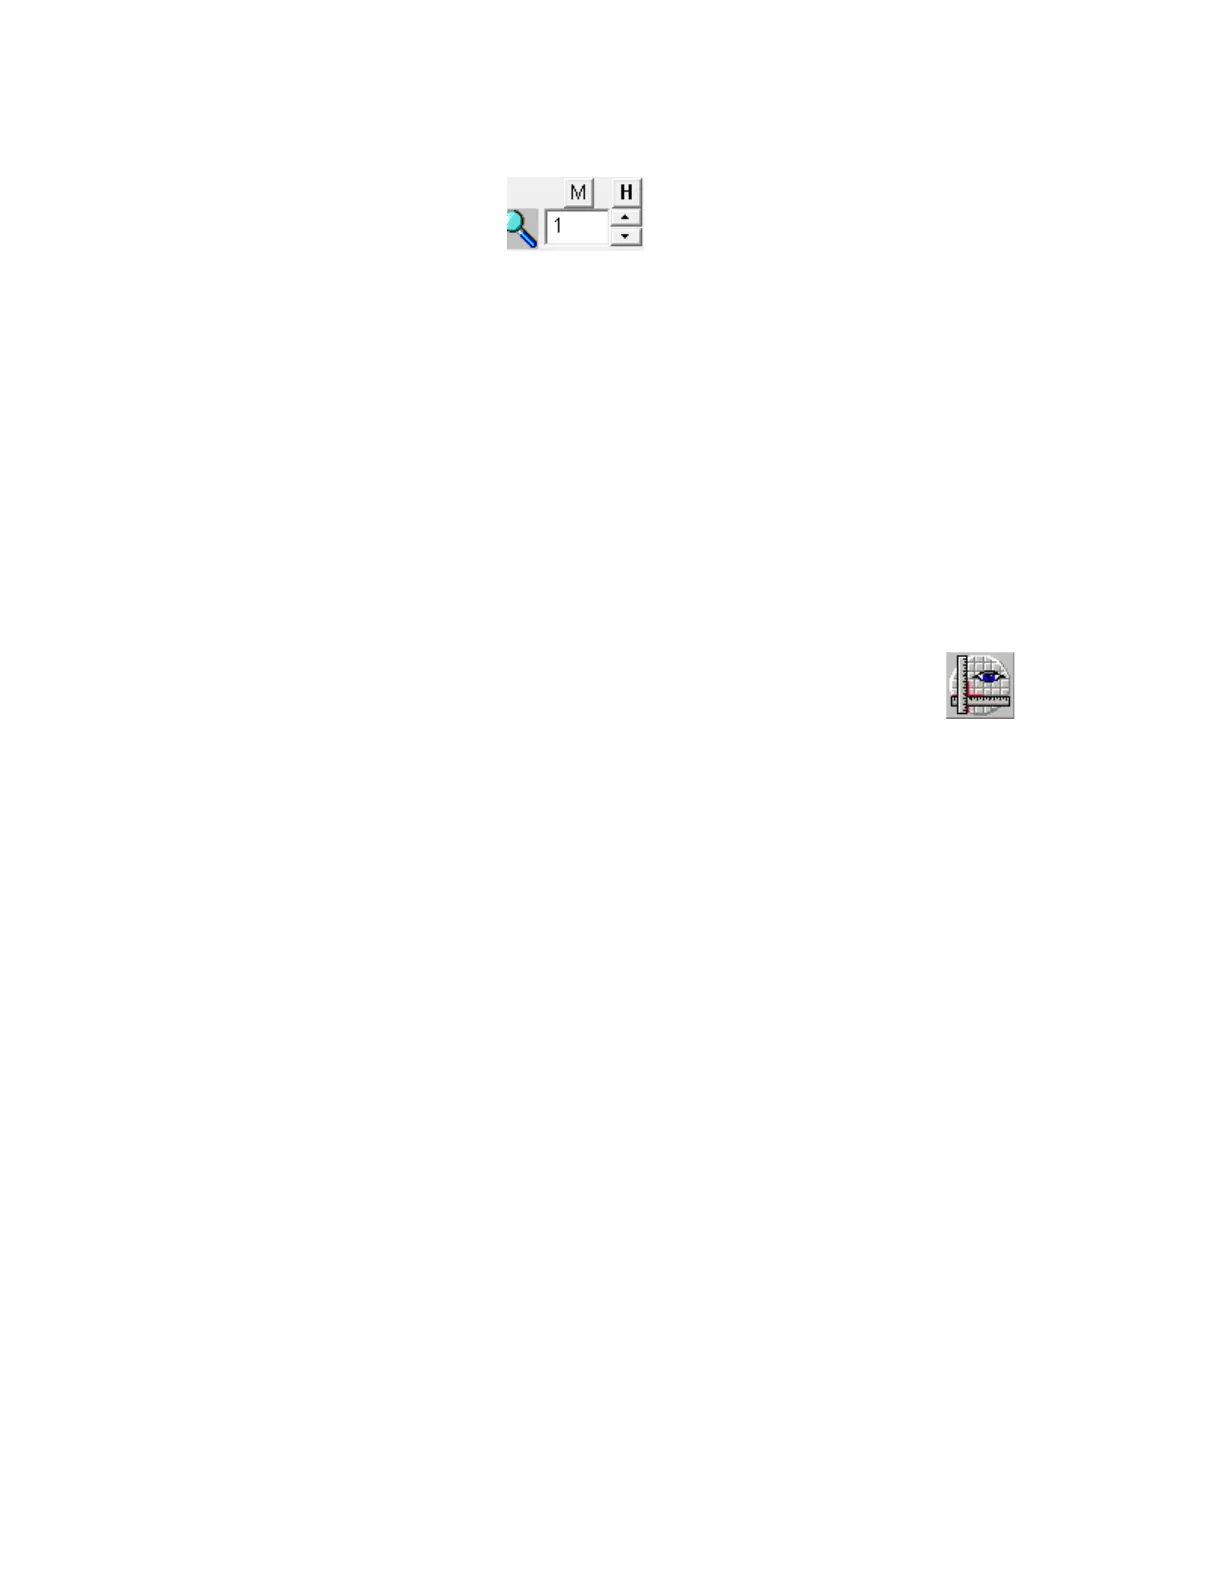
b. From the Manual menu, select Vision → Manual Alignment, or click in the
toolbar. The display automatically switches to the Video Workspace, and the first step to
being performed by the User is displayed in the wizard.
c. Adjust focus and illumination as needed.
d. Right-click on the wafer view window in the upper left corner of the screen and uncheck
Show Z View and Show Cameras. Adjusting this view is optional, but it helps to get a
clearer view.
e. Scroll the window to show a drawing of the wafer. Then, zoom in by clicking the larger
box on the toolbar. The green X indicates where the camera is looking.
f. Follow the directions given in the wizard. It will guide you through finding the alignments
on the left and right sides of the sample.
Note: If a cut map for the wafer already exists, the system goes to the defined cut
position. To manually repeat the alignment, click Back.
i. During the alignment, you may rotate the chuck manually for a gross theta
alignment.
ii. During the alignment, you can move the camera to locate the alignment points
in three different ways. One, using the X/Y axis controls (four arrows at the
bottom of the screen)—two, by double-clicking on the wafer map. Three, by
double-clicking on the camera view.
g. Once you are done with the theta alignment, you will be prompted to define a cut
position to cut the workpiece. It is recommended to select a cut position at a
well-defined point on the workpiece, usually at the top of the wafer.
h. Once the camera is located at the desired place for the cut, click Finish. Then, according
Lurie Nanofabrication Facility 2-14
 Loading...