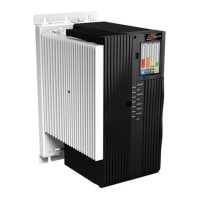
TO CONFIGURE FOR VSC
1. Remove the covers from the unit at an ESD safe work space.
2. Disconnect and remove the factory-installed wires connecting A1.X1 to A3.X1
(VSC 3 only) and A5.X1, including the connected factory-installed jumpers
A1.X1.1 to A1.X1.2, A3.X1.1 to A3.X1.2 (VSC 3 only), and A5.X1.1 to
A5.X1.2.
3. Install a replacement jumper between A1.X1.1 and A1.X1.2.
4. Install a jumper between A1.X1.4 and A1.X1.5.
5. Install a jumper between A3.X1.4 and A3.X1.5 (VSC 3 only).
6. Install a jumper between A5.X1.4 and A5.X1.5.
7. For VSC 3 units:
a. Connect A1.X1.5 to A3.X1.3
b. Connect A1.X1.6 to A3.X1.2
c. Connect A3.X1.5 to A5.X1.3
d. Connect A3.X1.6 to A5.X1.2
To convert a 3-phase unit to VSC 3, see Figure 5‑30. The wiring changes are
shown as bold lines.
8. For VSC 2 units:
a. Connect A1.X1.5 to A5.X1.3
b. Connect A1.X1.6 to A5.X1.2
To convert a 2-phase unit to VSC 2, see Figure 5‑31. The wiring changes are
shown as bold lines.
9. Install the covers.
10. Update the unit hardware configuration.
◦ Using the Thyro‑Touch display.
1)
Press → Settings→ Thyro-Controller→ Thyro-PX Device→
Hardware config (gen.)→ Basic configur.
2) Enter the level 1 pin: 160387
3) Scroll to the appropriate VSC configuration
4) Press the green check icon to save the new configuration.
5)
Press to return to the home screen.
◦ Using the Thyro-Tool Pro software.
1) Connect to the unit via USB.
2) Open the unit in the port explorer.
3) Select Parameters→ Hardware config. (gen.)→ Basic configuration.
Advanced Energy
®
Thyro-PX
®
Power Controller
57010148-00G Installation, Setup, and Operation 5‑25


 To Next Page