Do you have a question about the AerAtron FR3 and is the answer not in the manual?
Securely mount the hanger bracket to the ceiling joist or mounting box using provided screws.
Connect the mains power supply to the terminal block, ensuring correct wiring for live, ground, and neutral.
Insert the fan motor into the hanger bracket, ensuring the lug engages correctly in the suspension ball slot.
Slide the remote control receiver into the hanger bracket from the opposite side of the terminal block.
Connect the DC motor and mains power cables to the receiver using the provided 3-pin and Earth connectors.
Pair the remote control with the receiver by using the learn switch and button, allowing control of multiple fans.
Align tabs on the housing with holes and slide upwards until a click is heard, securing the motor housing.
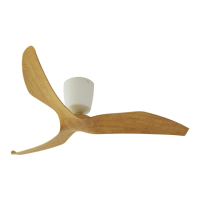
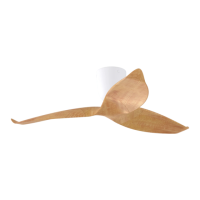
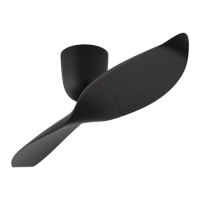
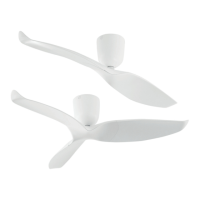
Assemble fan blades to the hub using hub screws, ensuring a tight and secure fit.
Attach assembled blades to the drive shaft, securing with pivot connector, pivot lock, and lock screw.
Install the LED light by aligning pins with the ceramic holder and ensuring the safety clip is engaged.
Details on installing ceiling extension rods of various lengths for different ceiling heights.
Information on fitting the raked ceiling kit for ceilings with varying angles, including rod lengths.
Addresses random on/off or improper fan operation by checking batteries, re-pairing remote, or connections.
Covers causes and checks for fan noise, including suspension ball security, bracket mounting, and blade screws.
Explains problems with low airflow despite fan rotation, considering room size, obstructions, or reverse function.
Details the 3-year in-home warranty for the ceiling fan, excluding remote controls, requiring proof of purchase.
Outlines the 1-year in-home warranty for remote control receivers and transmitters.
Explains that repaired or replaced products are covered only by the balance of the original warranty.