Press the Power (on/off) switch:
The front-panel display illuminates while the
multimeter performs its power-on self-test.
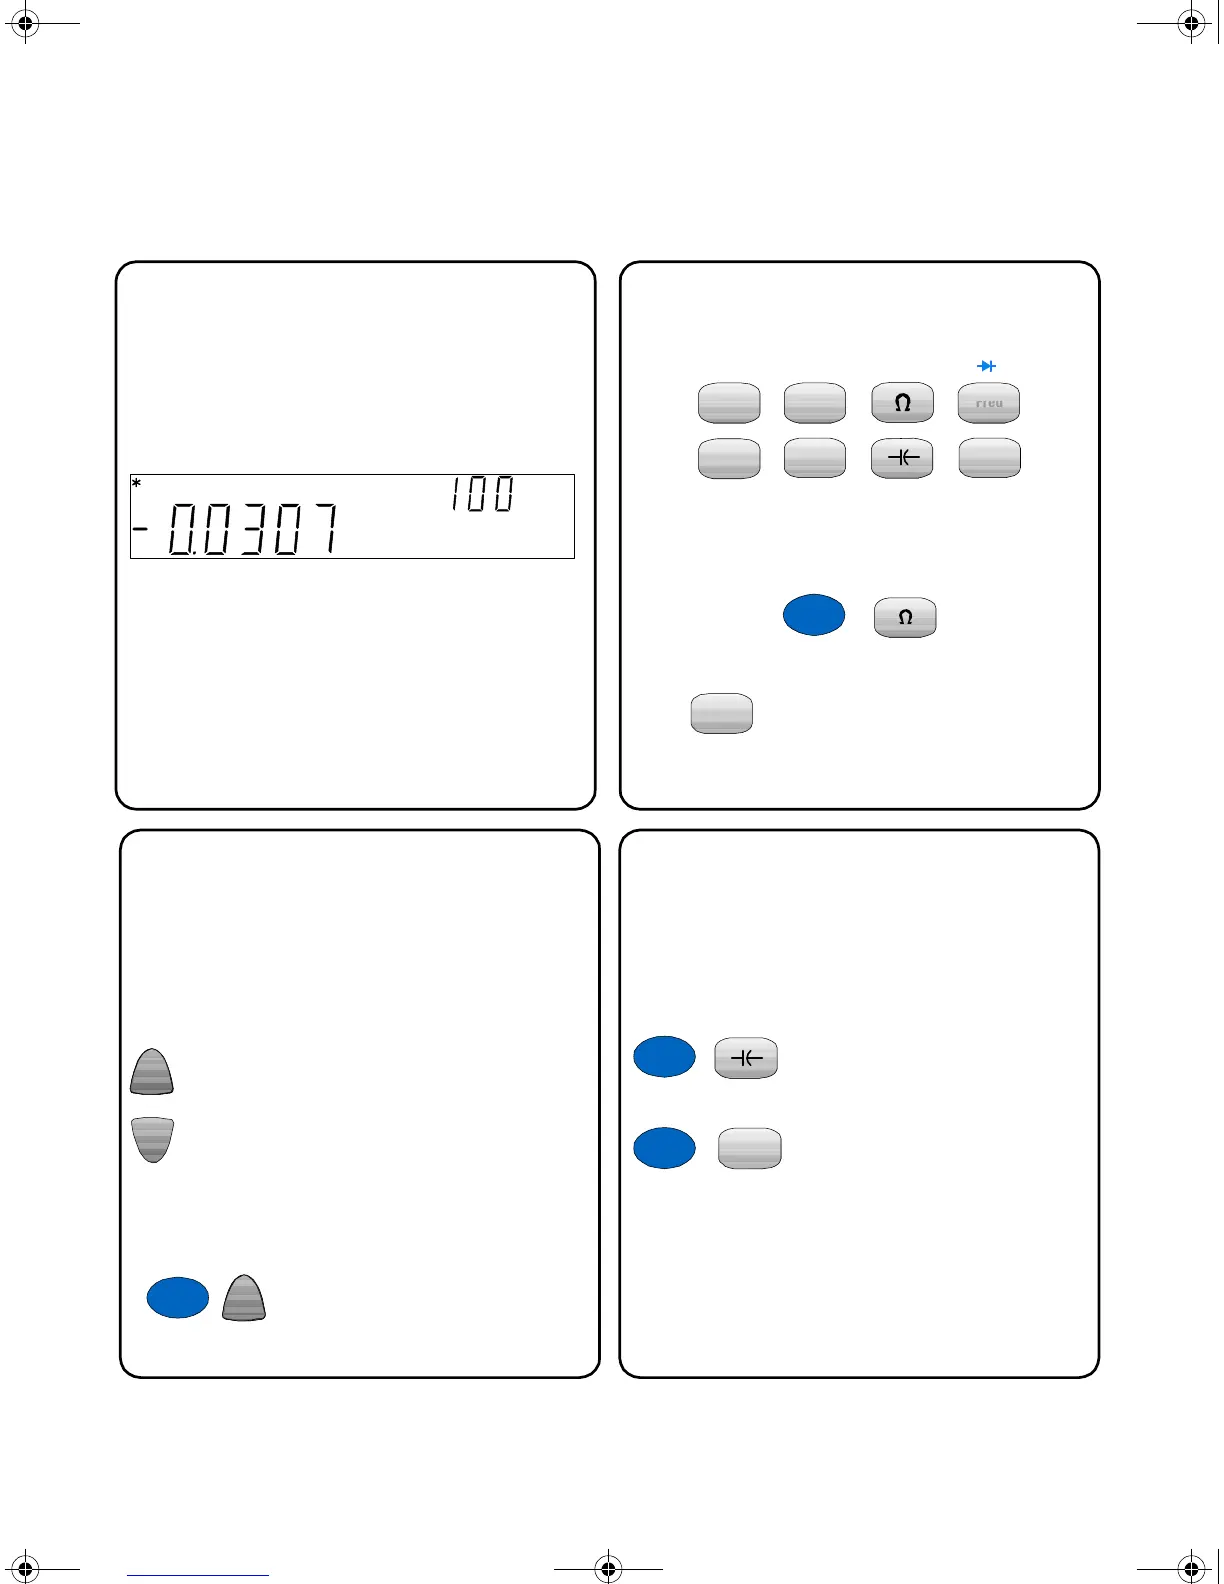
Following self-test, the multimeter defaults to
DC voltage measurements.* Typical display:
Measurements are shown in the primary
display (bottom left) and the measurement
range is shown in the secondary display (top
right).
*You can set the multimeter to return to the last
power-down state when power is applied. See the
34405A User's and Service Guide for details.
4. Turn On the Multimeter
mV DC
mV DC
Range
Press one of these keys to select a
measurement function:
The continuity and diode test functions are
shifted (shown in blue). For example, to
select continuity, press:
Press to return to the DC voltage
function.
5. Select a Function
Cont
Freq
)
)
)
ACI
DCI
DCV ACV
Temp
Freq
DCV
Cont
)
)
)
Shift
For most measurement functions, you can let
the multimeter automatically select the range
using autorange or you can select a fixed
range using manual ranging. The ManRng
annunciator is displayed when manual
ranging.
Selects a higher range and disables
autoranging
Selects a lower range and disables
autoranging
To return to autoranging and disable manual
ranging, press:
6. Set the Range
Shift
Range
You can select either 4½ or 5½ digit
resolution for most measurement functions.
5½ digit readings have the best accuracy and
noise rejection. 4½ digit readings provide for
faster readings.
Selects 4½ digit mode
Selects 5½ digit mode
Note: The continuity and diode test functions
have a fixed, 4½ digit display. Capacitance
and temperature have a fixed, 3½ digit
display.
7. Set the Resolution
Digits4
Shift
Digits 5
Temp
Shift

 Loading...


