36 Chapter 3 Disassembly/Assembly Procedures and Parts List
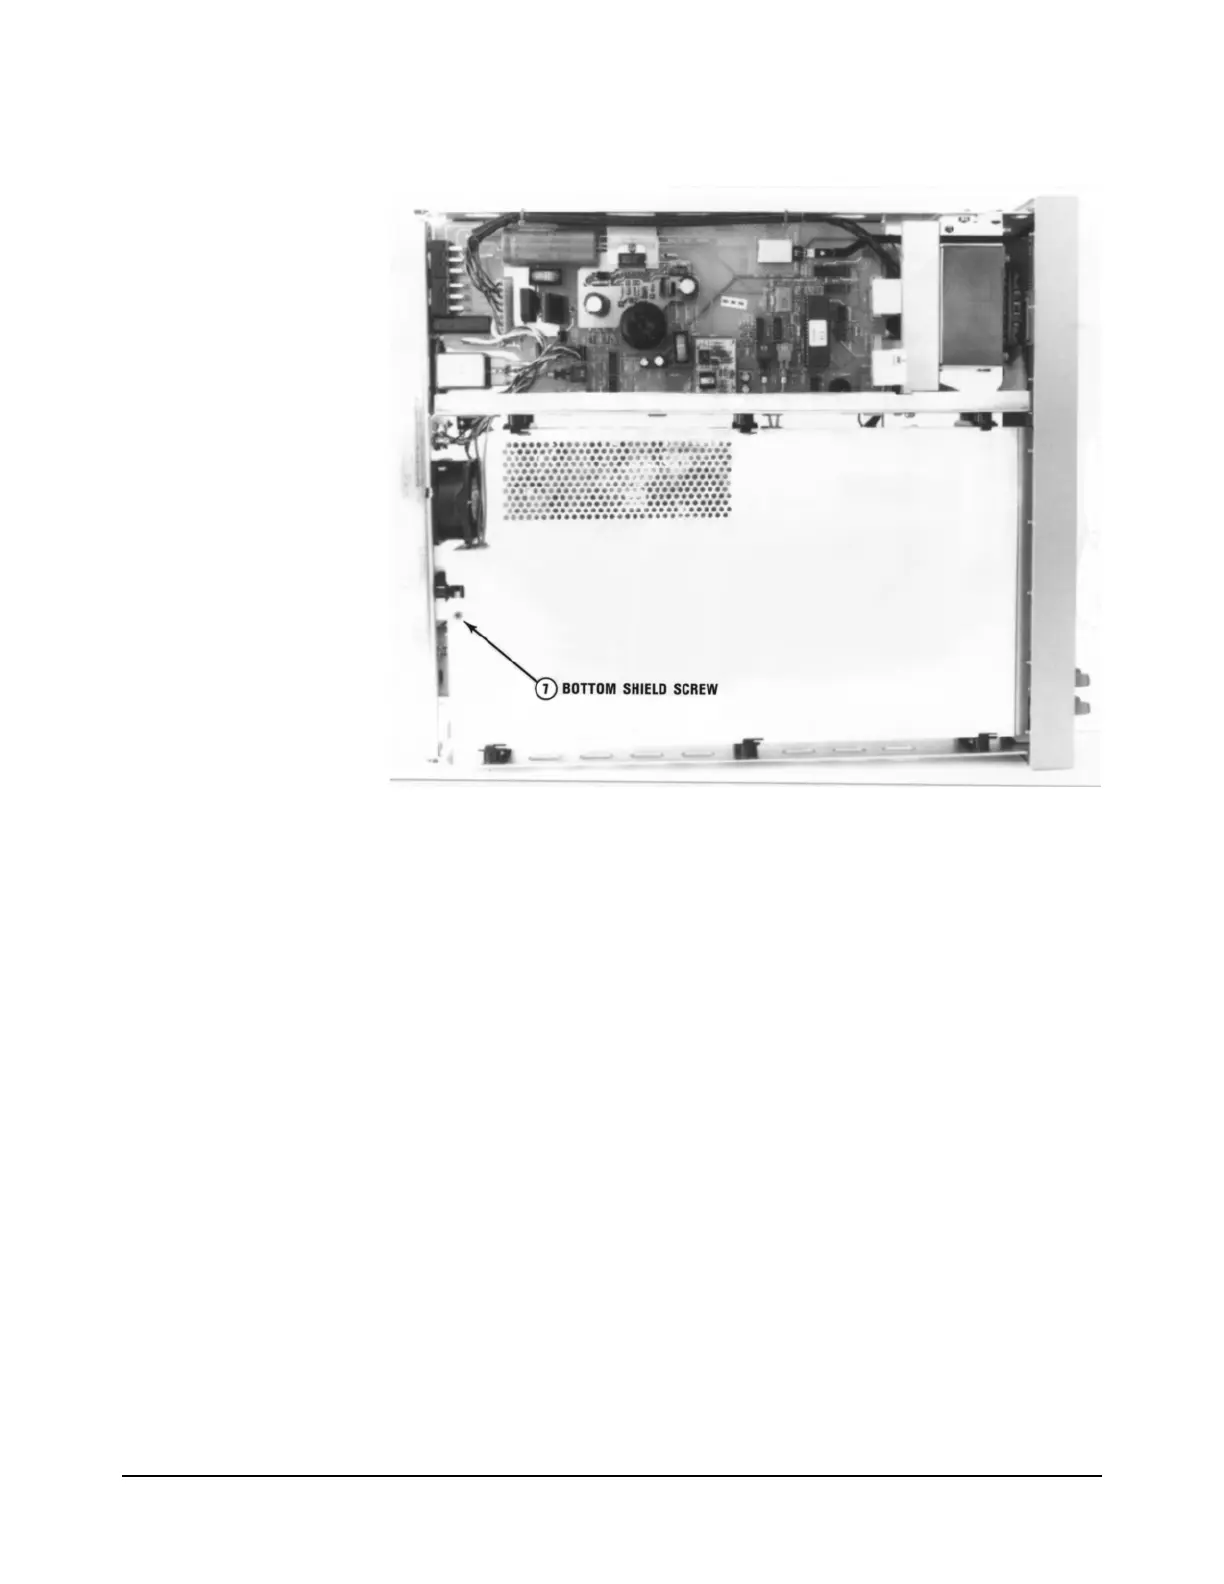
Figure 10. Remove/Install Bottom Shield Screw
17. Refer to Figure 11. Turn the instrument over so its bottom sits on your
workbench.
18. Use the #TX10 Torx driver to remove the top shield screw. Then
remove the shield. Pull the shield toward the rear of the instrument
until the shield retainers line up with the slots in the shield. Lift the
shield off.
19. Refer to the appropriate procedures in this section to remove the
printed circuit board assembly.
Covers Installation
Procedure
Do the following:
1. Remove all connections to the 3458A.
2. If installing the top shield is not required, continue with step 6.
3. Refer to Figure 11. Turn the instrument over so its bottom sits on your
workbench.
4. Line up the slots on the top shield with the shield retainers. Then push
the shield toward the front of the instrument until the shield screw hole

 Loading...


