2.1.3 CAN connection
CAN Connection and Preparation
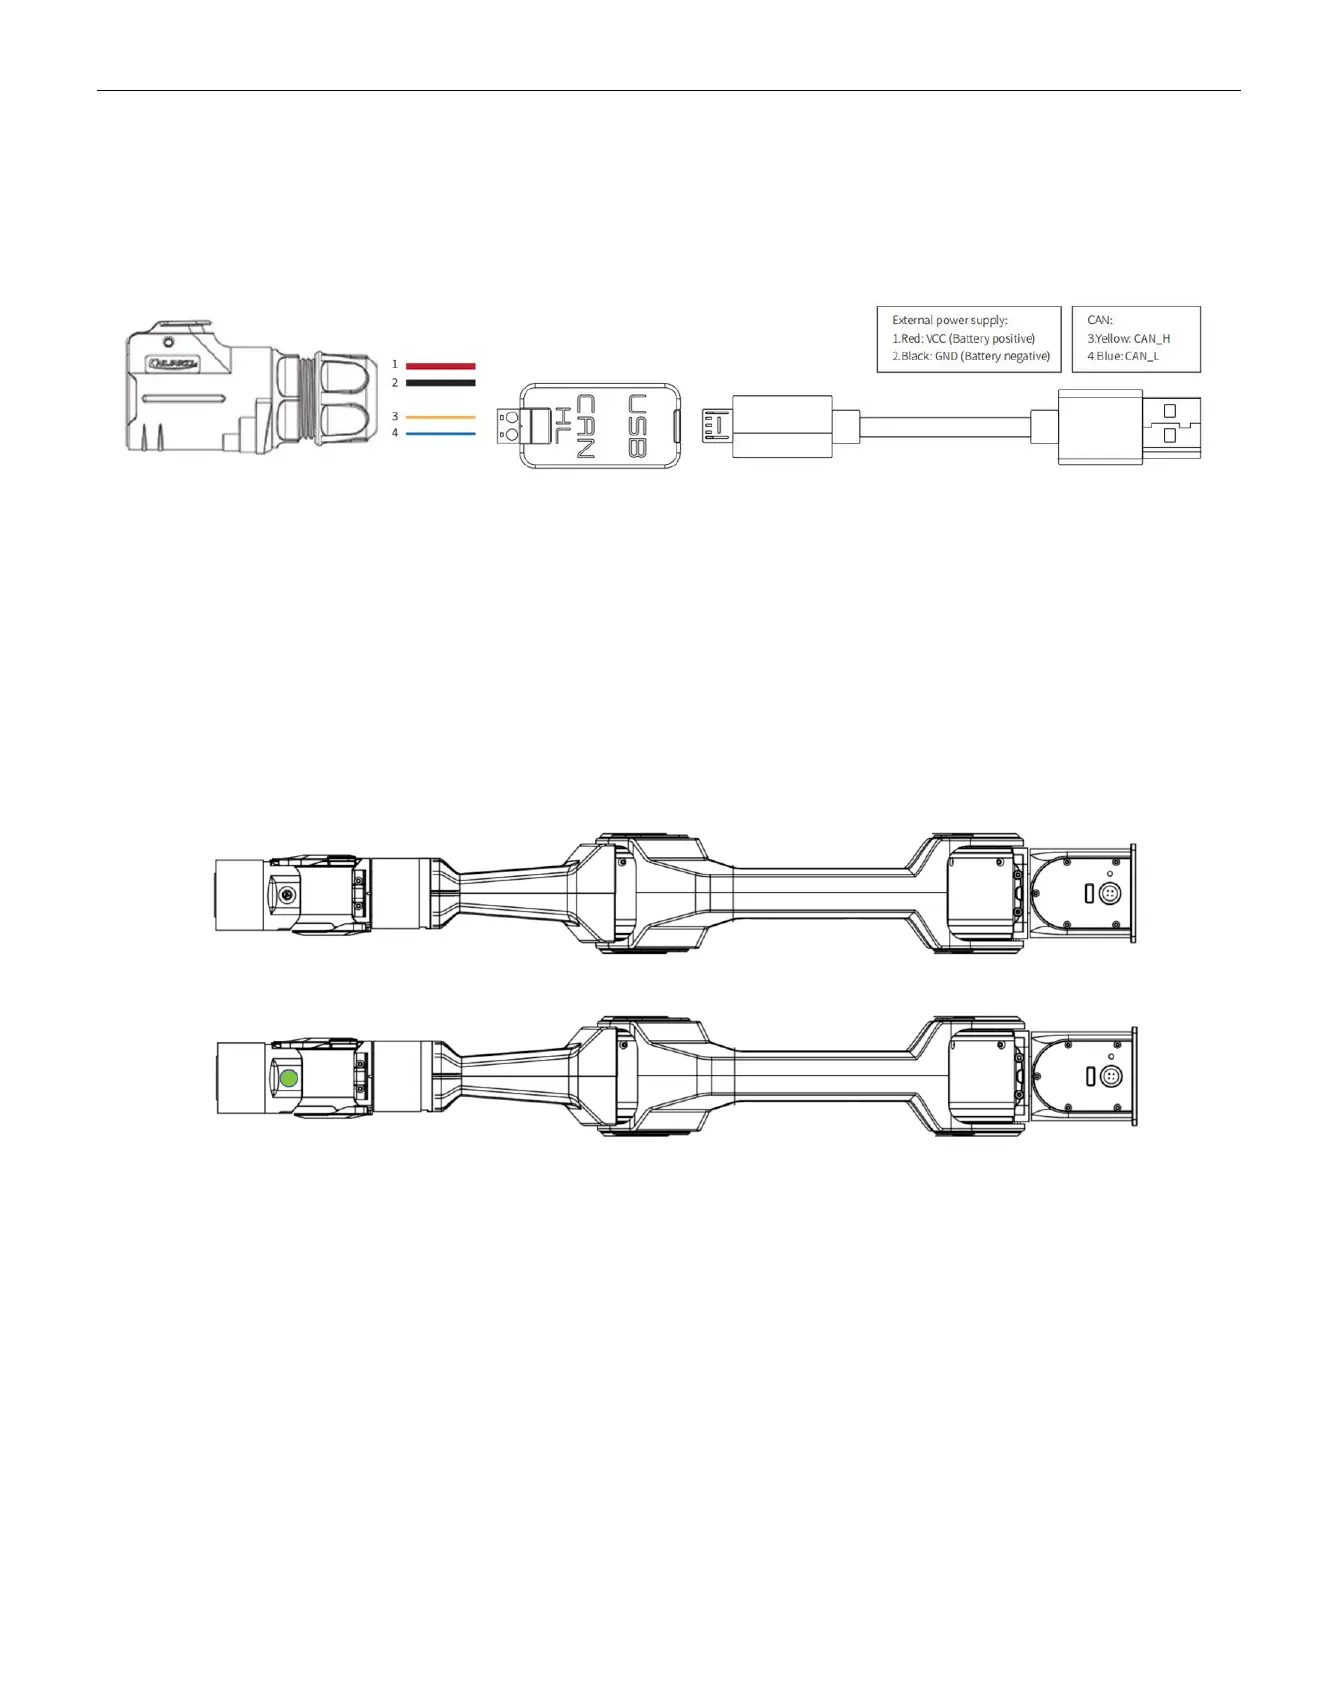
Lead out the CAN cable and connect the CAN_H and CAN_L wires to the CAN_TO_USB adapter.
Connect the CAN_TO_USB adapter to the laptop's USB port. The connection diagram is shown in Figure 3.4.
Note: If using a non-standard charger, the power input must not exceed 26V, and the current must be no less than 10A.
2.2. Robotic Arm Teach/Demonstration Mode Instructions
The robotic arm's drag & teach mode status is indicated by the button light between J5 and J6.
There are three types of robotic arm status light displays:
1. No light display: Robotic arm’s drag & teach mode is stopped, or the drag recording has ended.
2. Solid green light: The robotic arm has entered the drag & teach mode for trajectory recording.
3. Flashing green light: The robotic arm has entered the drag & teach mode for trajectory playback.
How to switch to drag mode:
1. Single click button: Toggle between drag teach trajectory recording and stopping the drag recording.
2. Double click button: Activates the drag teach trajectory playback mode.
Instructions:
First, observe the indicator light status: