9
To Automatically Center the Beam
On laser keypad, press simultaneously. &
On remote, press
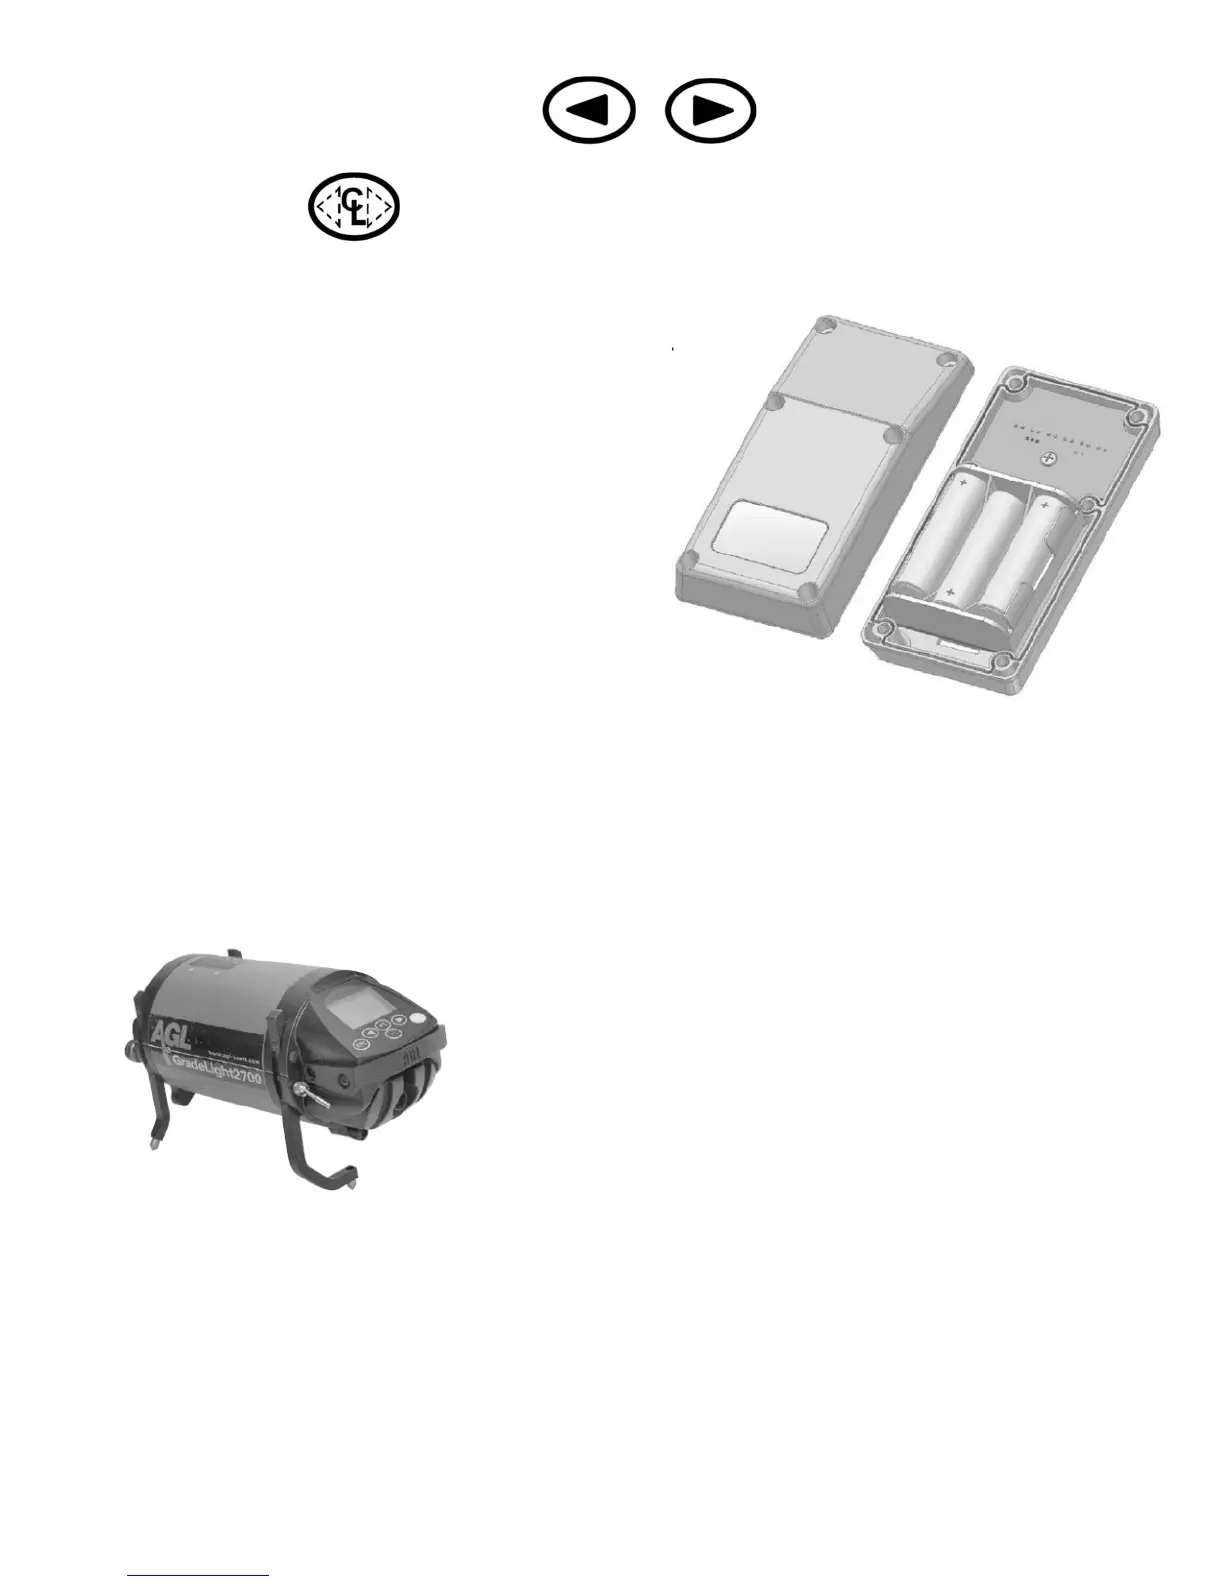
Replacing the Batteries of the Remote Control
The LED on the remote will flash red when the
batteries are low. To change the batteries.
1. Open the housing by removing the 6
screws.
2. Take the back case off and replace the
batteries, matching the polarity indications.
Use AA alkaline batteries of the same type;
do not mix new and old batteries, as their
lifetime will decrease.
3. Before closing, check that the seal is free of
dirt, to ensure it remains waterproof.
4. Close the housing and tighten the 6 screws
so it is watertight.
Adjustable Leg Set
One leg set covers multiple pipe sizes. The adjustable “slide leg system” allows the user to
set centerline in 8”, 10”, and 12” pipe (200, 250, and 300mm with the metric leg set). The
legs can also be adjusted to non-standard heights.
The three-leg design provides stability when setting up on uneven, rough surfaces.
To attach legs:
1. Use the curved centerline leg at rear (keypad end) and
two side legs at front.
2. Slide each leg into the slot on the housing.
3. Match the red reference marks on the housing to the
red mark on the leg. There are 3 reference marks: 8”,
10”, and 12” (200 mm, 250 mm, 300 mm).
4. Tighten front legs with thumb screws, and single leg
with toggle screw.
Note: The legs will then be aligned for use in a pipe’s curved surface, where the two side
legs need to be shorter than the center leg. If the set-up in on a flat surface, adjust the legs
differently to level the unit.
For 6” pipe (150 mm), use the unit’s built-in feet. A long leg set is available as an optional
accessory for 15” to 24” pipe (with metric leg set for 375 to 600 mm pipe).
 Loading...