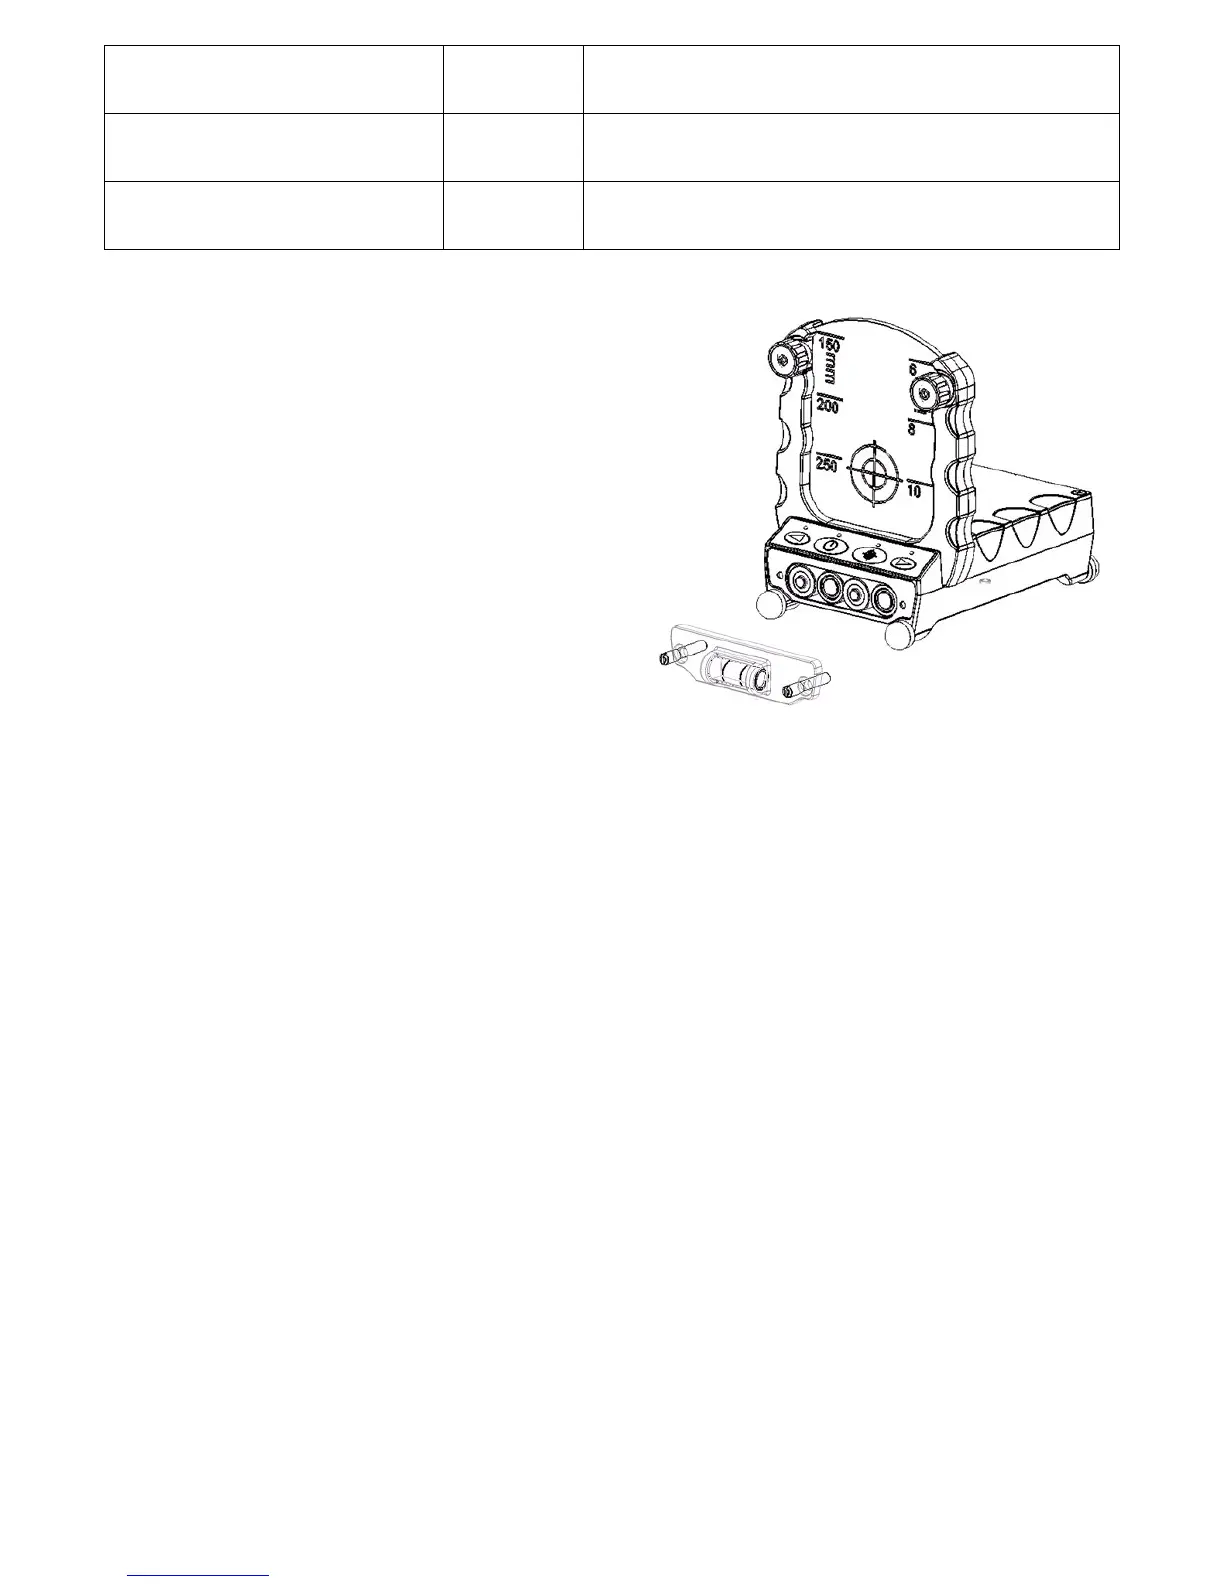
Power
The Auto Target is powered by 4 AA Alkaline
batteries. To remove or change the batteries,
release the battery compartment screws (2).
Operation:
The three basic steps to successfully set up the GL3000 pipelaser for laying pipe are:
A. Entering the correct grade.
B. Transferring the elevation to position the laser at the correct height.
C. Aligning the laser beam to the forward manhole.
The AutoTarget helps you with the third task.
The GL3000 pipelaser, beside the pipelaser’s main laser dot, is equipped with a vertical
rotating laser beam, which may be detected with a standard hand detector of a rotational
laser. The AutoTarget uses this vertical rotational beam to align the pipelaser’s laser beam
into the desired axis – e.g. to the forward manhole.
It may either be directly put into the pipe or attached to an optional bracket, which connects
the AutoTarget to a grade rod, post, stake or pole.
Narrow and Wide modes:
The AutoTarget has both narrow and wide azimuth operating range mode If unsure whether
the pipe laser has been manually aligned within +/-3° of the middle of the AutoTarget, then
the wide mode (+/-6°) should be utilized. This will help ensure that the AutoTarget function
works properly when in open cut or above ground applications. When using the AutoTarget
function inside the pipe, the wide mode will generally not be needed as the azimuth range is
smaller than +/-3º.
To toggle between narrow and wide:
1. Power down the AutoTarget, by using the green On/Off button
2. With the AutoTarget powered down, press and hold the red Scan button and at
the same time turn the AutoTarget On
3. Release both the green On/Off button and red Scan button at the same time.
4. Once the target is On, if the two outside red LED’s are lit solid, the target is in
wide mode. If the two outside red LED’s are not lit it is in narrow mode