6
OPERATION
PipeLaying Overview
The three basic steps to successfully set up the GradeLight for laying pipe are:
A. Dialing in the correct grade.
B. Transferring the elevation to the position on the laser at the correct height.
C. Aligning the laser beam to the forward manhole.
Before Starting
Attach the necessary mounting accessories, such as the handle/rod mount, trivet, legs, etc.
to the unit. Power-up the unit and adjust the line control to the center of the range.
At the beginning of a pipe laying job, consider the following tips for improved performance:
· The GradeLight can be used to check the hubs prior to actually starting the work. This
in an opportunity to catch potential errors using the hubs as a reference to lay pipe.
· Place grade rod or marker at the forward manhole for a place to align to.
· When the last joint of pipe has been laid approaching a manhole, bring the GradeLight
forward so that as soon as the manhole is in place, you can set up again without delay.
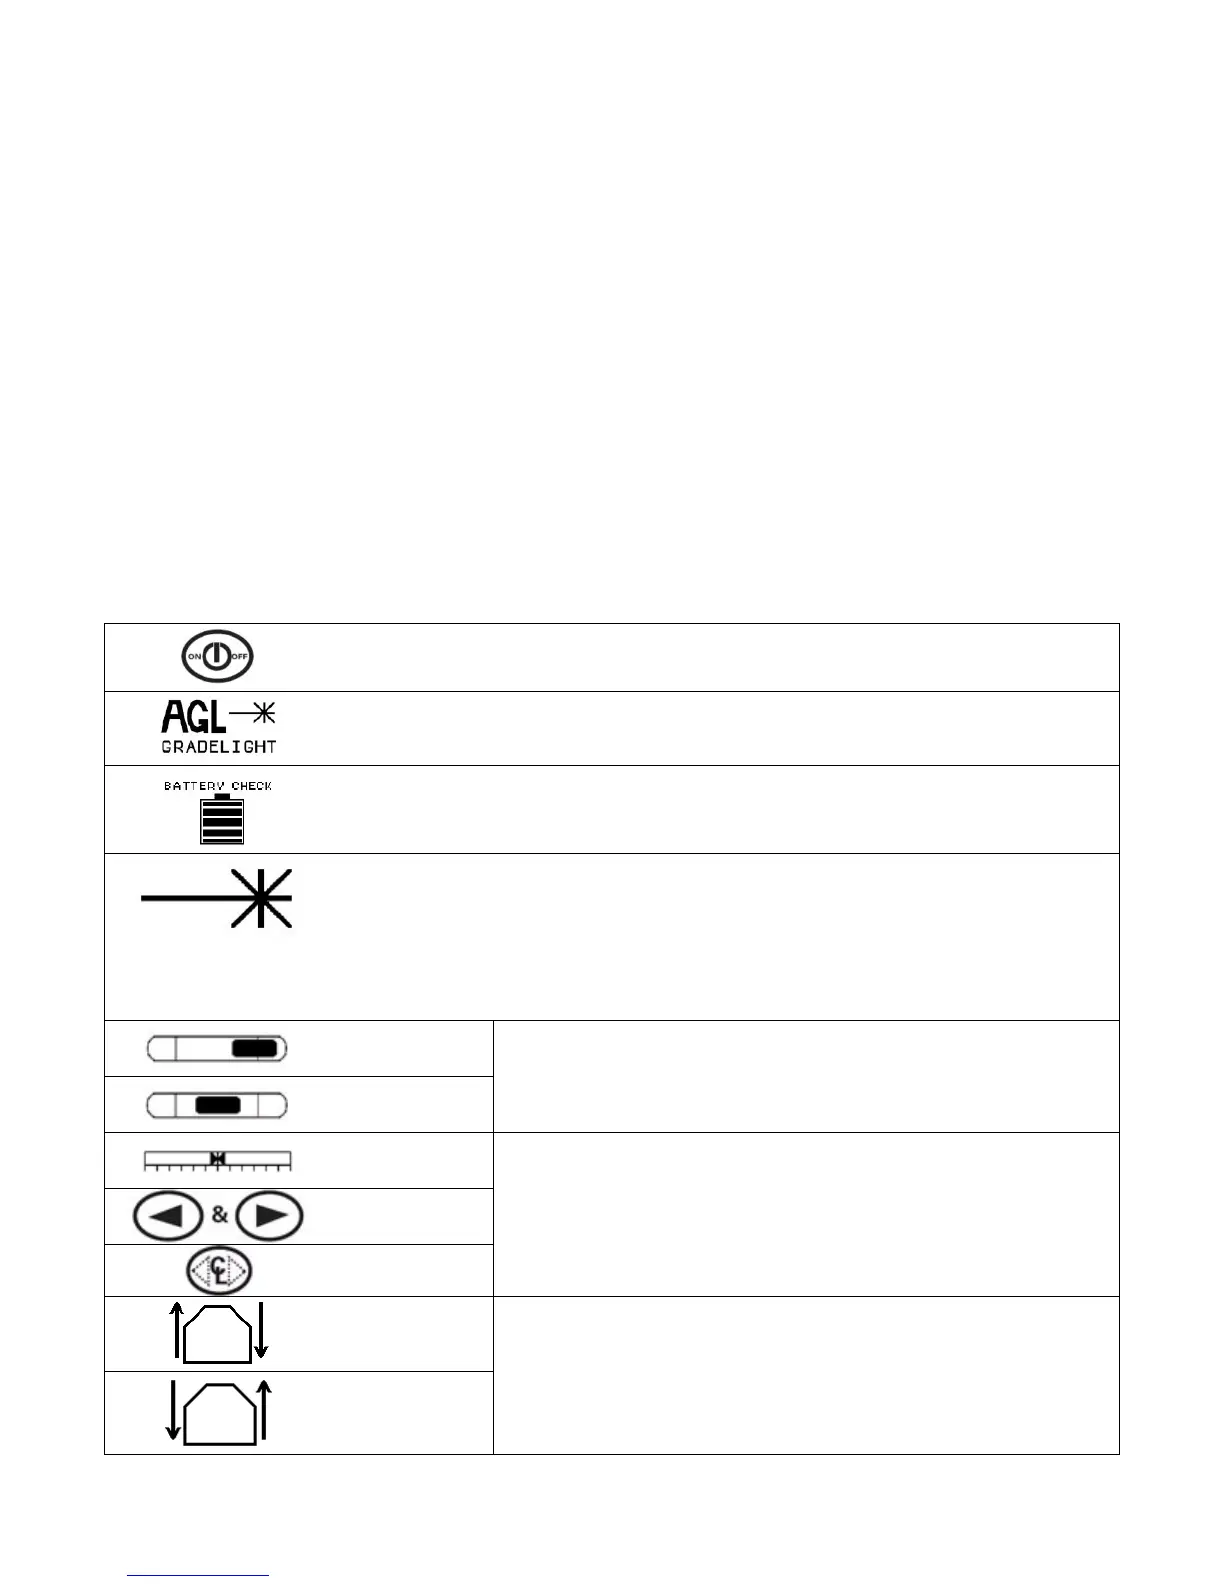
Laser Start-Up
Press On/Off button to power-up the laser.
Check the following indications on the LCD:
The start-up screen shows AGL.
The battery capacity is displayed.
Charge when there is one bar left.
The laser automatically self-levels, and returns to the same grade and
line as last used. If the LCD laser beam symbol is flashing, it’s still
leveling. When the symbol is lit solid, the laser has leveled and is ready
for use.
Likewise, the beam emitted from the GradeLight flashes until the unit
has leveled.
Check the electronic cross axis vial. The laser will self-
level in the cross axis within ±6 degrees. The level
should be between the lines of the vial. Rotate the unit if
necesaary.
Before each setup, center the beam using the laser
keypad (press both arrows simultaneously for 2
seconds) or the remote (press CL button).
Out of Self-Leveling Range.
Adjust the unit by moving the display endcap in the
indicated direction.