60
3) On this screen, select one or two motorised outputs and use the icon in the bottom right to
move on to the default screen.
In the case of EnerFace, access the ECO Menu option and adjust the electrical power of the
machine.
If you wish to add a BlueFace/EnerFace to your already installed Flexa zoning system, it
must be reconfigured by reseting the main controller, connecting and configuring the
BlueFace/EnerFace and reasociate the zone thermostat (see annex 3).
5.3. Tacto Flexa Thermostat Start-up
In this section, the thermostats will be associated with the system, and the motorised
component to be controlled by each thermostat will be selected. Each thermostat can be
associated with one or two motorised components. The second motorised component is
called the Slave.
NOTE: Take into account that the time available for associating a thermostat, after pressing
the System Control Unit's SW100 associating button, is 6 minutes. If this time is
exceeded, the SW100 associating button must be pressed again.
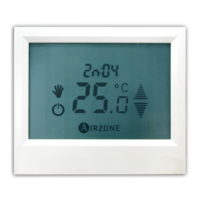
Fig. 38 - Tacto Flexa
Master Thermostat
1) Check that the Tacto thermostats screens are as in Fig. 11.
2) Briefly press the Flexa System Control Unit's SW100 Associating
Button. The System Control Unit’s D100 associating LED (green)
will stay lit for approximately 6 minutes.
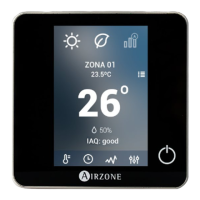
Locate the thermostat closest to the Flexa System Control Unit.
Press and hold down AIRZONE until the word SCAN starts
flashing.
The word SCAN will flash on the screen of the thermostat, and
then the channels will be scanned consecutively, starting with
channel 1 and going up to channel 16, and the number of the
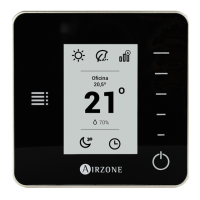
channel being scanned will be displayed. The word “Conectando”
(Connecting) will then be displayed, as scrolling text. If an error
code is displayed, consult the Error Codes section.
3) When the system has registered the zone in the Control Unit’s
register, the thermostat screen will display the word “AsOCIADO”
(Associated), scrolling. To confirm the association, use the arrows
to select the option “SI” (Yes) and confirm by pressing the
AIRZONE key.
Fig. 39 - Tacto Flexa
connected to the
System Control Unit