61
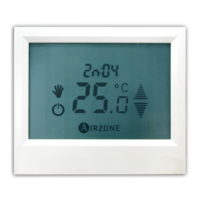
Fig. 40 - Tacto Flexa
Association
Fig. 41 - Free
Motorised Component
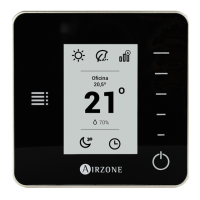
Otherwise, select “NO”and confirm by pressing AIRZONE. The
word “DESA” (de-activated) will be displayed on the thermostat
screen, the thermostat will be free, and it will return to the “SCAN”
screen.
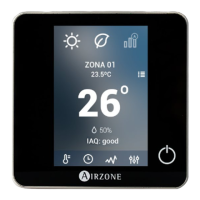
4) Once the thermostat has been associated with the network, it will
be necessary to indicate the motorised diffusion components that
will be controlled by that thermostat. The motorised components
that are free (not yet associated with a thermostat) are displayed
with the damper number followed by a “L”, while the occupied
motorised components are shown with a “O”.Use the arrow keys
to select the desired free motorised component. Confirm the
choice by pressing the AIRZONE key.
5) The information will be transmitted to the Control Unit. At that
moment, the word “COMP” will flash. If the result is positive, the
motorised component goes from free to occupied (the letter “L”
becomes a “O”) and the component immediately closes.
If an error code is displayed, consult the Error Codes section.
6) Once the motorised component has been occupied, or
associated, press the AIRZONE key and the option of associating
a slave motorised component will be displayed (Fig. 15). Use the
arrow keys to select the option of a slave motorised component or
no slave component. If the option “NO” (No) is selected, and then
confirmed by pressing the AIRZONE key, the process of
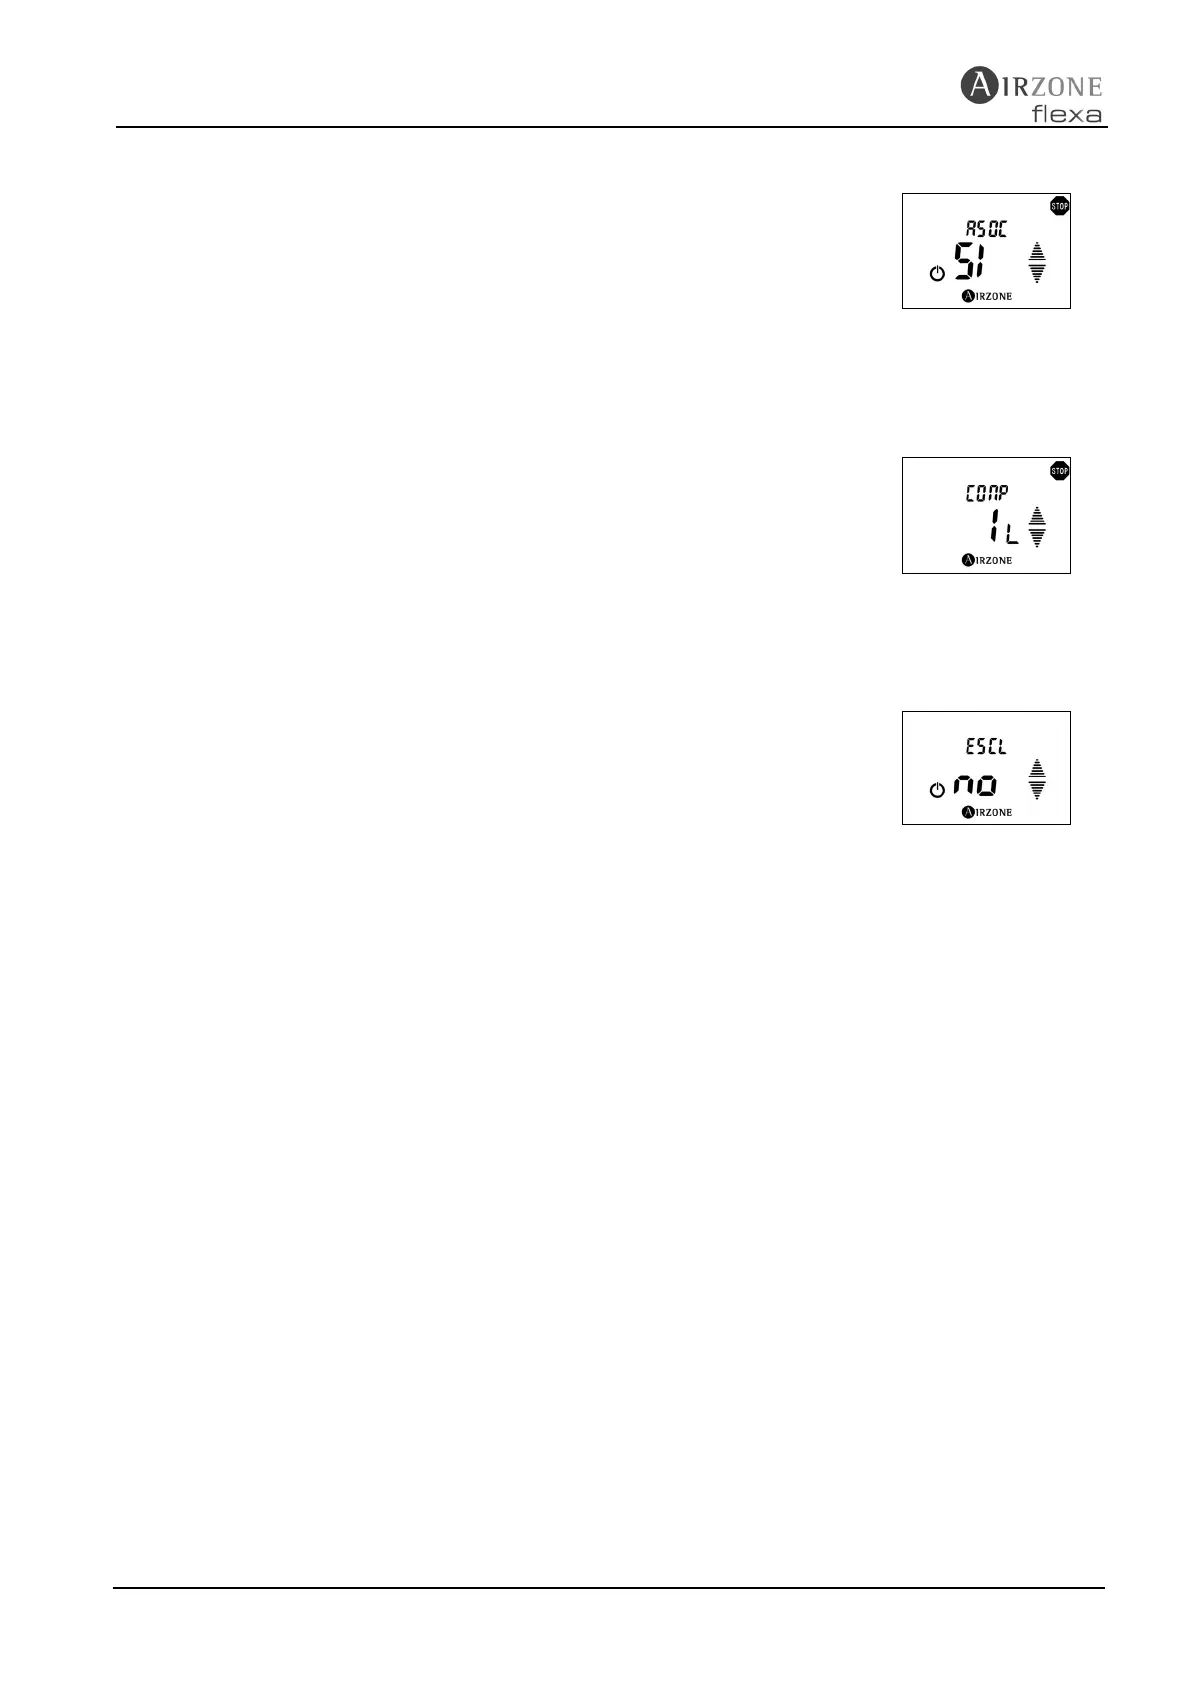
associating that thermostat is now complete. If “SI” (Yes) is
selected, a motorised component must be chosen as the slave,
and then confirmed by pressing the AIRZONE key, as before.
Fig. 42 - Selecting a
Slave Motorised
Component
6. INSTALLATION PARAMETERS SETUP
There is a set of system operation parameters that can be configured. These are
configurable by the BlueFace/ EnerFace as well as from the thermostat using the
Configuration Menu.
6.1. BlueFace and EnerFace Setup
To configure the BlueFace/EnerFace controller, access the Adjustments -> Installation menu
option. The following configurable options will appear: Replace damper, Opening angle,
Setting range, Machine configuration. Click on the options to access them and configure
them in the same way as with the Flexa Tacto thermostat. For further information, consult
section 6.2.
6.2. Tacto Flexa Thermostat Setup
Follow these steps to access the Configuration Menu:
1) Set the master thermostat to STOP mode.
1) Set the zone thermostat to be configured to OFF.