3 Interfacing
3.1 General
Section 3 applies to both the
PERCEPTION 120
and the
PERCEPTION 220
.
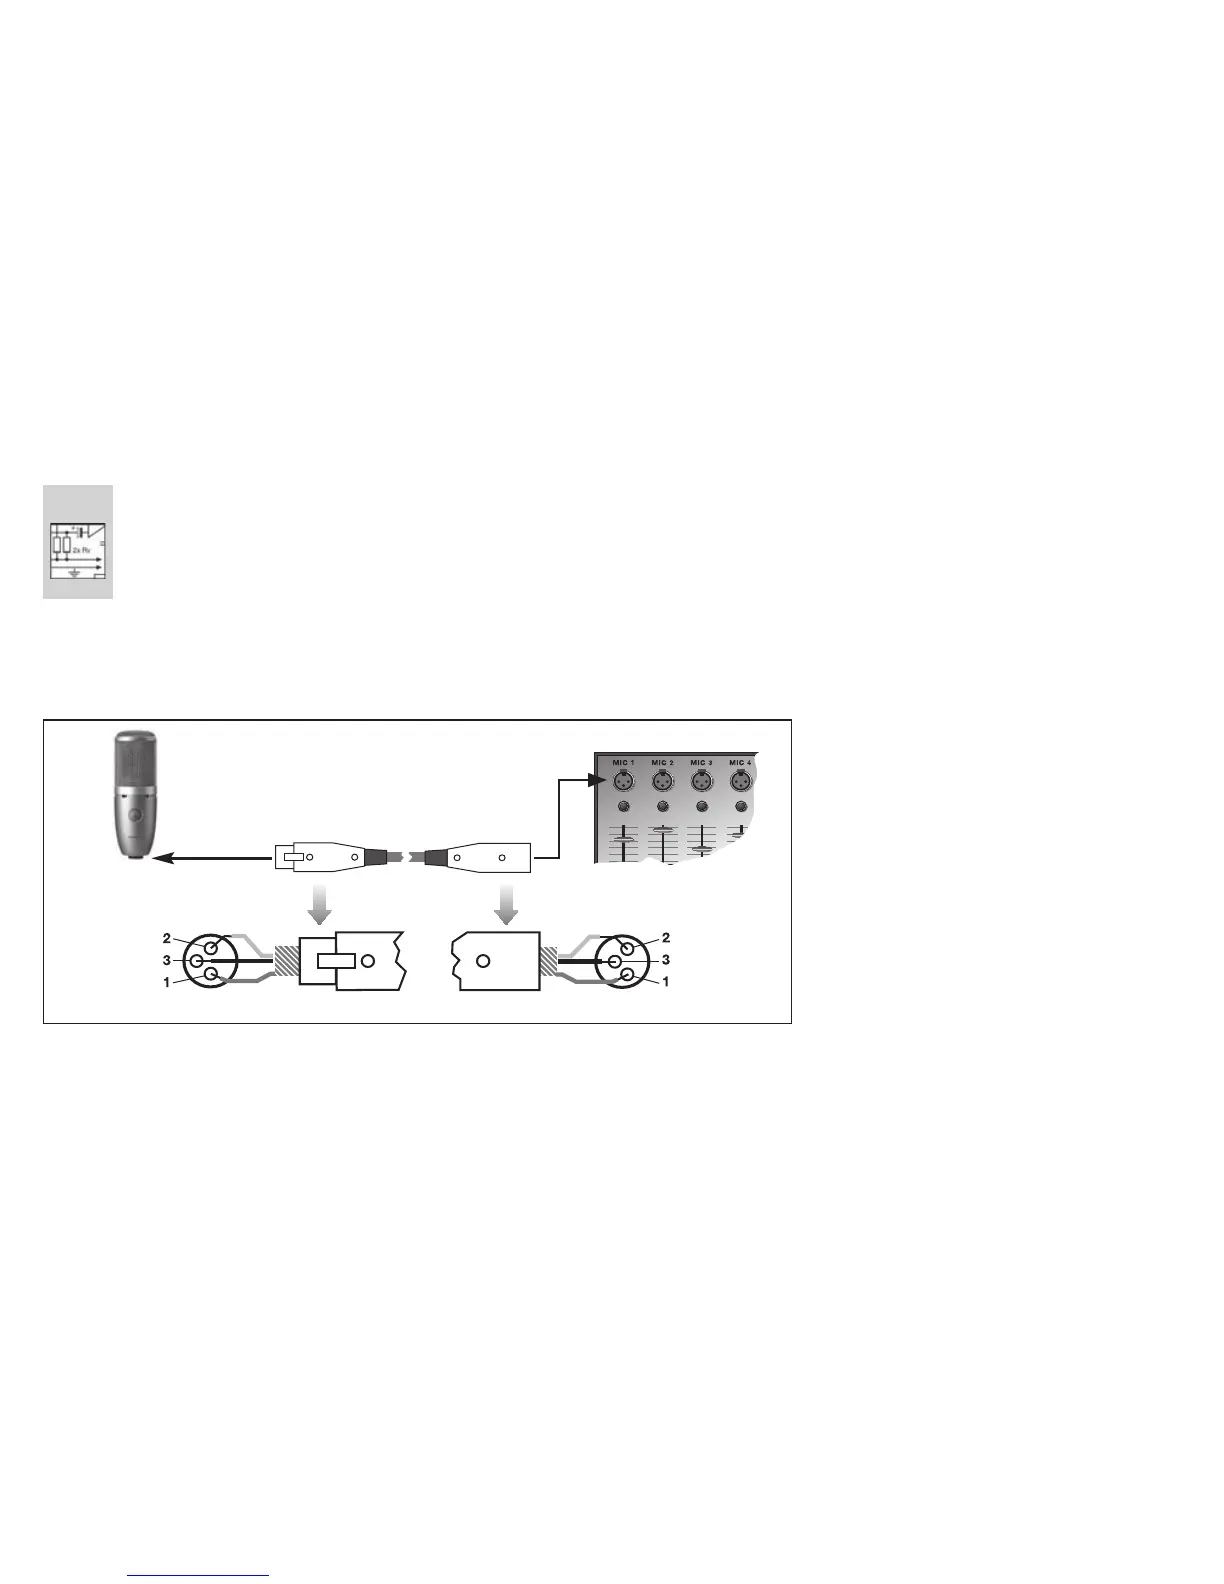
The microphone uses a condenser transducer de-
signed for 48-volt phantom powering to DIN 45 596/
IEC 268-15 and needs an external power supply.
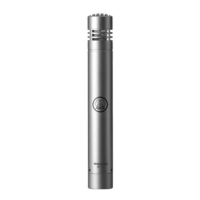
3.2 Pinout
The microphone provides a balanced output on a 3-
pin male XLR connector:
Pin 1: ground
Pin 2: hot
Pin 3: cold
3.3 Connecting the Microphone
Refer to fig. 2.
1. Use an XLR cable to connect the microphone to
a balanced XLR input with phantom power.
2. Switch the phantom power on. (Refer to the user
manual of the unit to which you connected your
microphone.)
5
Fig. 2: Connecting to a balanced input with phantom power.
AKG PERCEPTION 120/220