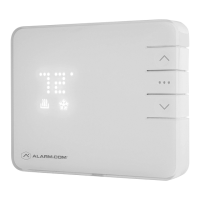
Alarm.com Smart Thermostat Product Manual | 9
RH
RH
RH
RC
RC
RC
Z
Z
Z
W2
W2
W2
W
W
W
C
C
C
Y
Y
Y
Y2
Y2
Y2
G
G
G
Install Your New Thermostat
Install the Back Plate
Use the bubble level provided
on the back plate as a guide.
Mark where the screws will go
with a pencil through the screw
holes on the back plate.
TIP: If necessary, use the trim
plate to cover up any marks
or holes left from the old
thermostat. Attach the trim
plate before securing the
back plate to the wall.
TIP: Drill holes with 3/16”
drill bit to tap in the drywall
anchors for added support.
Wire Your New Thermostat
Reconnect the wires to the
new thermostat and indicate
the connected wires with a
pencil in the image below.
This information will be
needed when conguring
the thermostat.
TIP: If you have extra wires do
not install them in the new
thermostat. Please contact
your local HVAC professional
for additional assistance.
• If you have R, connect it to RH.
• If you have RH & RC, remove
the black jumper in the lower
left corner of the back plate
terminal board with needlenose
pliers.
Jumper On
Jumper O
• Z can be used for W3, H, or DH.
O/B
O/B
O/B
 Loading...