31
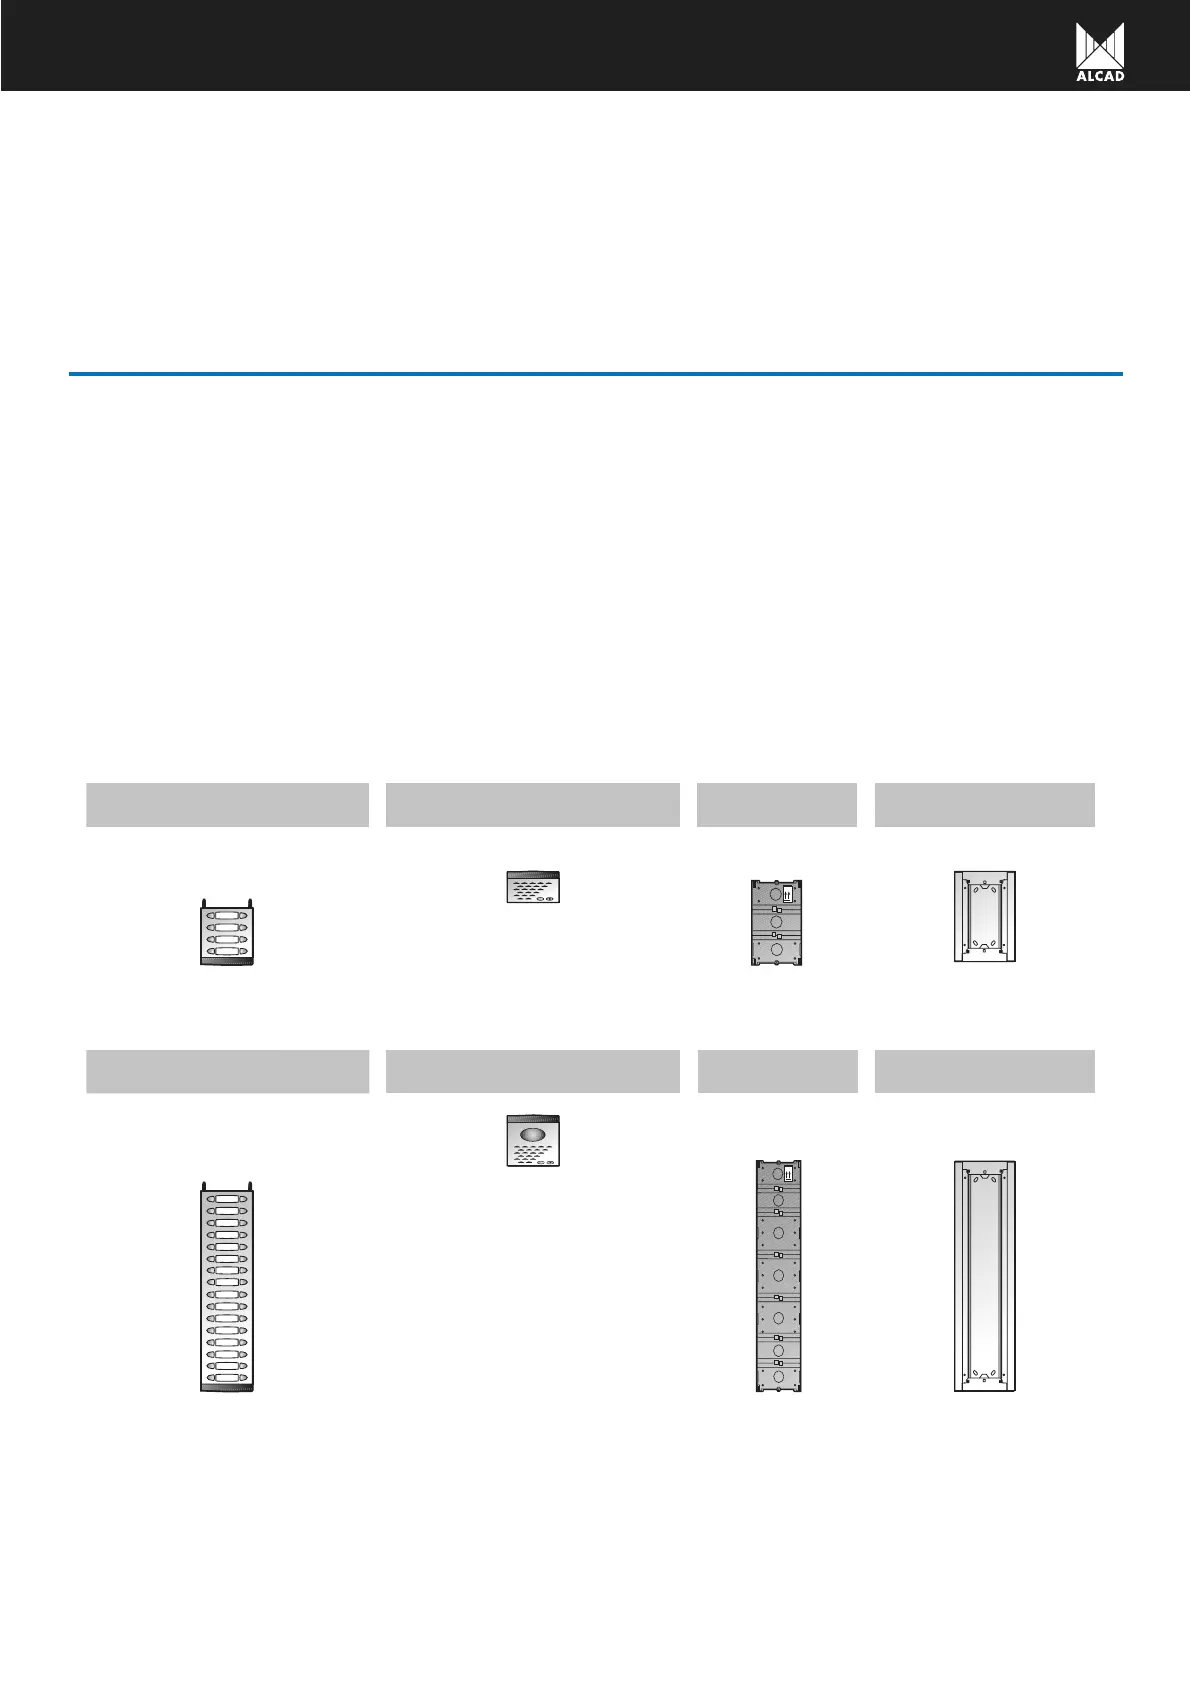
RANGE OF PANELS
3
The appropriate combination of the different entrance panel modules will allow you to carry out any type of installation: with one
or several panels, for one or several entry points.
Depending on the number of push-buttons in the chosen panel, the final entrance panel will be of a different height, its width, ho-
wever, will remain constant.
The following pages show the possible combinations of the different upper and lower panel modules. The dimensions of the mount-
ed panel are shown, as are those of the required flush-mounted or surface wall-mounted box in each case.
Please bear in mind that when combining different entrance panels (panels in parallel), you will need to have as many flush-moun-
ted boxes as panels, as well as the corresponding number of flush-mounted box separators. These separators will increase the sta-
ted width of each flush-mounted box by 15 mm. (Consult the technical information of the separator for flush-mounted box, page 21).
When using surface wall-mounted boxes, choose double or triple surface wall-mounted boxes according to each case (Consult the
technical information of the surface wall-mounted box, page 22).
Entrance panel lower module
Entrance panel lower module
MPD-004
MPD-016
Entrance panel upper module
Entrance panel upper module
MAN-041
MDN-041
MDN-141
Flush-mounted box
ARRIBA
UP
HAUT
CMO-004
ARRIBA
UP
HAUT
CMO-018
Flush-mounted box
CSU-019
Surface wall-mounted box
Surface wall-mounted box
CSU-012
 Loading...